How often do we change a password for any of our accounts. Unless the website prompts us to change the password, we keep on using the same one forever. In this article we will see how to set password expiration date in Windows 10. Prolonged use of the unchanged password might be risky and it can be more perilous if you’re using it at various platforms. To protect yourself from data breach, you should change your computer password at regular intervals. Now Windows 10 allows you to set password expiration date for your Microsoft or local account, so you will have to change the password after the expiration date. With this feature of Windows 10 you can protect the computer’s networks, programs, and data from unauthorized access.
To set password expiration date you will have to follow a number of steps, which will obviously differ based on the type of account (Microsoft or local) you are using. In this tutorial, we will take a look at the process for both cases. To do that, you need to head to the Microsoft account security area and follow the below steps.
How to Set Password Expiration Date in Windows 10?
You are either using a Microsoft account with your Windows 10 PC or you are using a local account in your PC. Let’s see the steps below to set password expiration date for both types of accounts.
Also read: How To Unlock Windows 10 PC Remotely Using Fingerprint?
Set Password Expiration Date for Microsoft Account:

Step 1: First of all, you need to visit this link and enter the credentials if needed. Clicking on the “Sign in” button opens Microsoft Account Security Page.
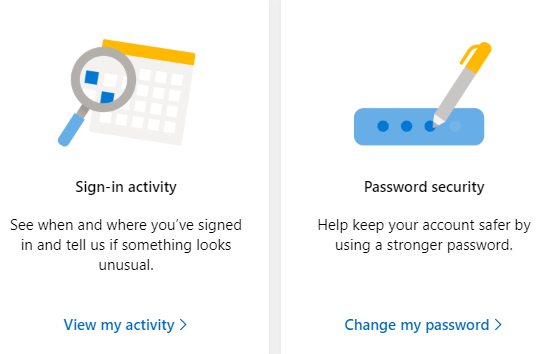
Step 2: On the next window, locate Password security and click on the “Change my password” link.
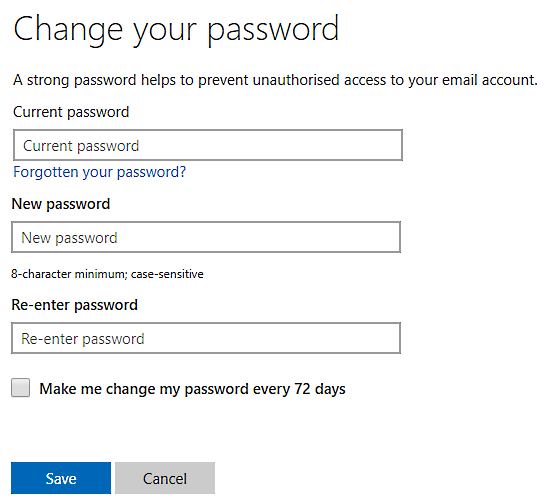
Step 3: Enter the current password and then enter a new password. Re-enter your new password and check mark the box “Make me change my password every 72 days”.
Step 4: Click on the Save button to save the changes. Do note that, the new password that you enter should be different each time and not a variation of the last three passwords you used.
Set Password Expiration Date for Local Account:
Step 1: At first, open the Run dialog on the screen using Window key + R together. In the given space, type“lusrmgr.msc“ (without quotes) and hit the Enter key.
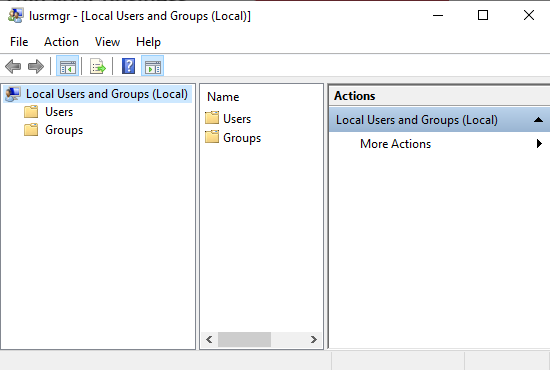
Step 2: When the Local Users and Groups Editor opens, click on the Users folder. In here search for the user name you would like to change the password for.
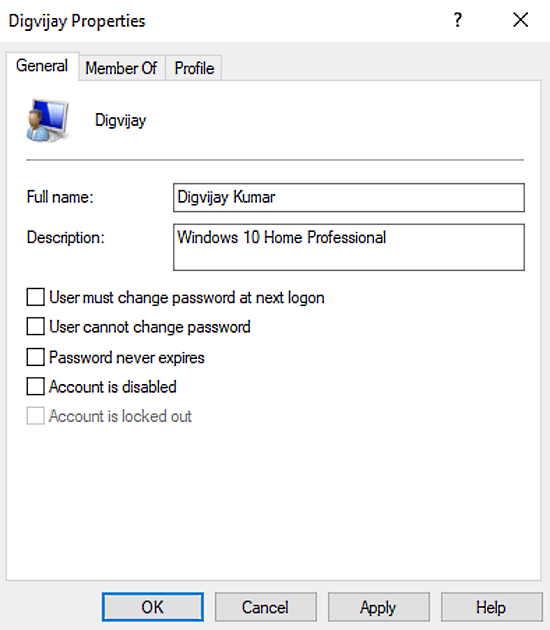
Step 3: Once you find the username, double click on it and open the user properties window. Uncheck the box which says Password never expires.
Step 4: Click on the Apply and OK button to save the changes.
Note: You can also set the password expiration date using PowerShell with Administrator privileges. In this workaround, you need to open an PowerShell prompt and run a list of commands.
Closing words:
Whether you are using a Microsoft account or another local account, it’s pretty essential to set password expiration date for your account in both cases. Once you do it, your device will ask you to reset your password every 72 days. At this time, you need to set a new password before you enable or disable the settings.