This tutorial explains how to backup files to Google Drive automatically.
Gackup (beta) is a free software that lets you backup your important files and folders to your own Google Drive automatically. This third-party software is quite useful to select multiple folders (including sub-folders) and files for backup. You will be able to set desired time (in minutes) to schedule backup process for selected items.
Apart from auto backup process, this software also lets you manually backup your precious files to Google Drive. It runs in system tray silently and doesn’t slow down your PC during backup process. Thus, you will be able to comfortably work with your PC while backup is in progress.
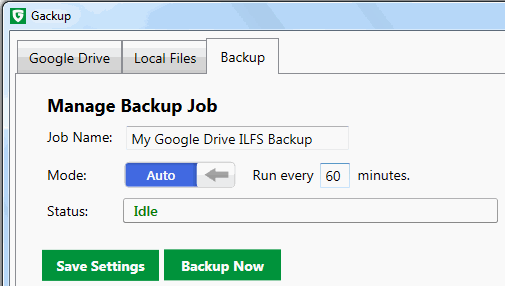
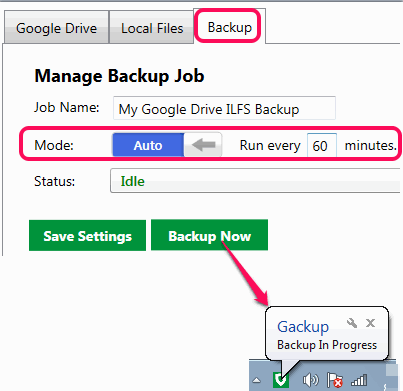
In above screenshot, you can see interface (or console) of this software where you can set backup settings.
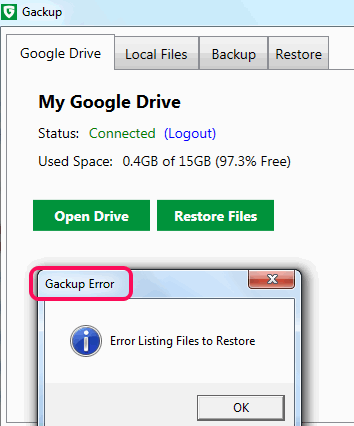
Gackup also provides feature to Restore files. But whenever I tried this feature, it results in an error. You have to use Google Drive tab on its interface to access this feature.
How To Backup Files To Google Drive Automatically?
By following these steps, you can easily backup files to Google Drive automatically:
Step 1: Download this handy software by using the link placed at the end of this review. It is lightweight and around 4 MB in size. After downloading, install it, and launch it.
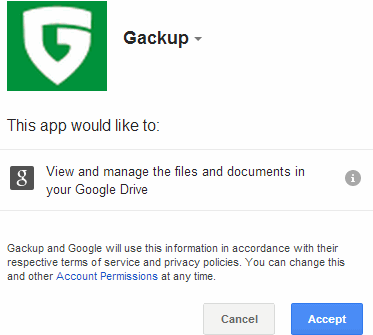
Step 2: Immediately after launch, it will start running in system tray. A webpage will also open with your default web browser prompting you to sign in with your Google account. So sign in with needed account and authorize Gackup to access that particular account.
Step 3: After this, you can right-click or double-click its tray icon to open interface of this software.
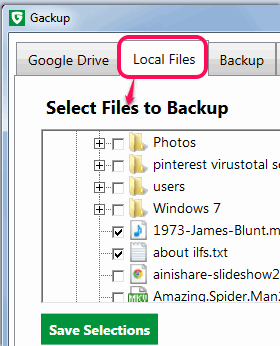
Step 4: Interface of this software is very easy to use. To set a backup process, you first need to click Local Files tab. In that tab, you can select which files/folders or both you want to backup.
Step 5: Come to the Backup tab which is the most important step. In this tab, you need to setup couple of things. Give a name to your backup job and set backup mode to Auto mode. After doing so, you have to enter backup time when your backup should start and repeat automatically.
Enter the backup time and save settings. After this, you can click on Backup Now button to start the backup process. Once backup is started, you can minimize its interface to system tray, and it will work continuously.
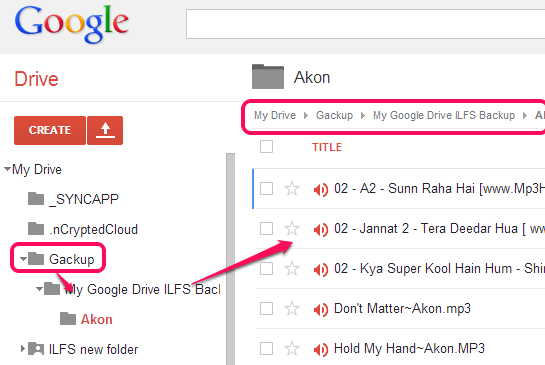
When the backup is finished, it will notify you. You can access your Google Drive with the help of its interface to view backup files. Backup is saved with source folder name under Gackup folder.
Conclusion:
Gackup plays an important task to keep secure backup of valuable items to your own Google Drive. Backup can be scheduled through automatic process, this feature has made it more useful. Even though its still in beta phase, but works very well.
