Formative is a free online application to create assessments and get live answers from students. Similar to other online applications like Nearpod and Buncee, this one also allows you to create and share interactive assessments to the students and get their answers in real-time. The application comes with two different sections, one for the teachers to create and assign assessments and another for the students where they can answer the questions assigned to them. You can create assessments by adding questions (multiple choice, show your work, short answer, and true/false), content (images, text-block, view-only canvas, and YouTube videos), and uploading documents.
After that, share the assessment code to students such that they can join and answer the assigned questions. You can view the results live and send feedback to the students. Apart from that, it also lets you create a class and invite specific students to the class for answering assessments. That means you can create an assessment and assign it publicly (using the code) or to any particular class.
How to Create Assessments and Get Live Answers from Students:
Step 1: Go to the Formative homepage and register a new account by selecting the teacher option. After that, it will redirect you to the “Teacher Dashboard” where you’ll see some demo assessments and a “New Assignment” button. To create a new assessment, click the “New Assignment” button to open up the editor where you’ll see 3 different buttons named, Add Question, Add Content, and Upload & Transform.
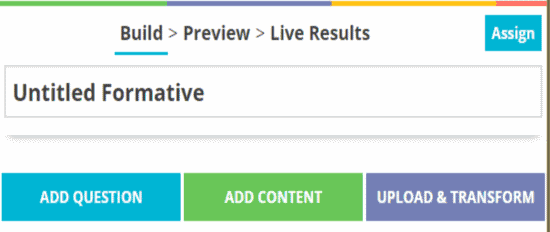
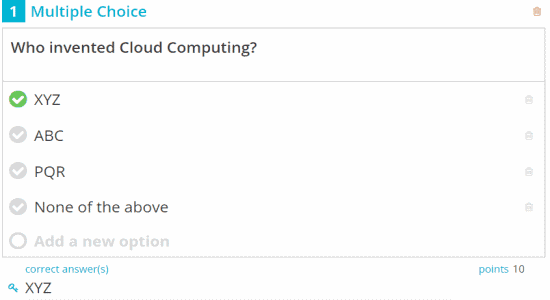
Step 2: At first, give the assessment a name and then click the “Add Question” button. It will ask you to choose a question type among Multiple Choice, Show Your Work, Short Answer, and True/False. Let’s say you’ve selected “Multiple Choice”, then it will ask you to type a question and enter different choices for the answer. After that, click on any answer to make it the correct answer for that particular question.
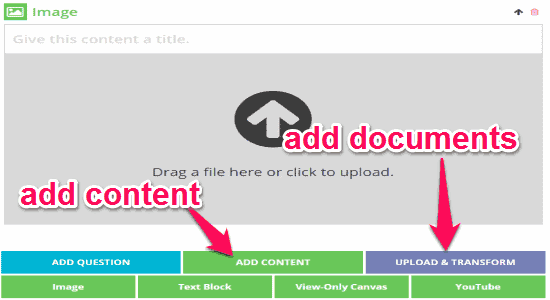
Step 3: Apart from adding questions, you can also add content (like images, YouTube videos, view-only canvas, and text blocks) and upload any document you want to the assessment. To add content to the assessment, simply click the “Add Content” button adjacent to the “Add Question” button. Then select what content you want to add and then upload them from your PC. However, if you want to attach documents with assessment, then go ahead with the “Upload & Transform” option. Remember, you can add as many questions, content, and documents to a single assessment as you want.
Step 4: Once you’re done adding a question, content, or document to an assessment, click the “Assign” button at the top. It will ask you to choose whether you want to assign the assessment to anyone who has the assessment code/URL or to a specific class. I will explain how you can create a class and invite students to the class later in this post.
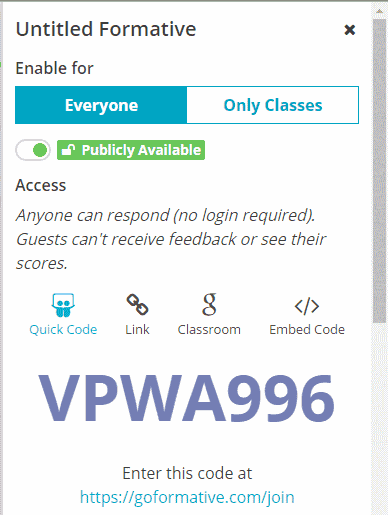
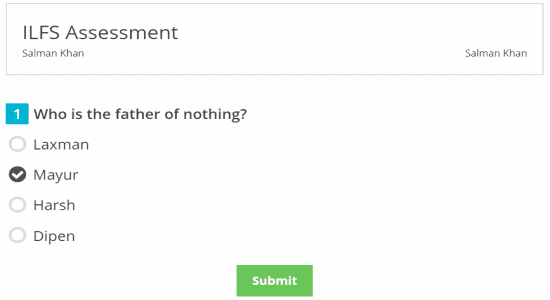
Step 5: Let’s say you’ve chosen the “Everyone” option and shared the assessment code or the URL to your students. Now, let us see how a student can use the code to join and answer the questions of the assessment. A student can simply go to the homepage and select the “Student” option to register. After that, an input field will appear where the student needs to enter the code. Then the questions within the assessment will be visible to the student and all he got to do is select any of the answers and hit the “Submit” button.
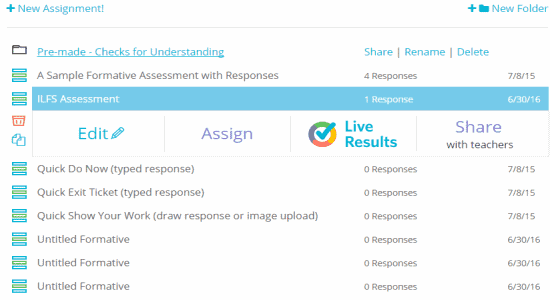
Step 6: As soon as the answer is submitted by the student, it will automatically reflect on your Teacher Dashboard as responses in real-time. When you go to the “Teacher Dashboard” and click on the assessment in which you have got responses from students, you will see 4 different options as Edit, Assign, Live Results, and Share as shown in the very first screenshot. The Share option can be used to invite other teachers to the assessment to monitor students answer in real-time.
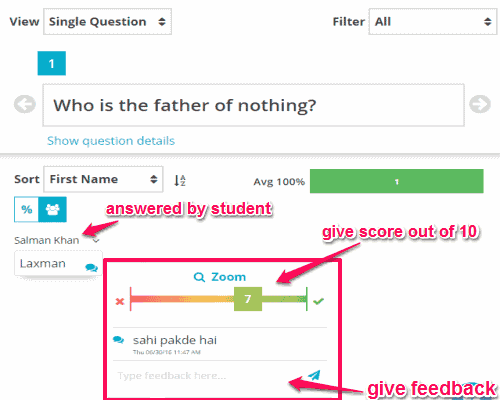
Step 7: To check all the responses by your students in real-time, simply select the option “Live Result”. After that, it will open up the assessment screen where you’ll be able to see all the answers by your students live. Apart from that, you can also give feedback and score to their answers which will be visible on Student Dashboard in real-time. To give feedback and score, click on the answer below any of the students name. A small popup will appear with score slider from range 0-10 and an input field to give feedback.
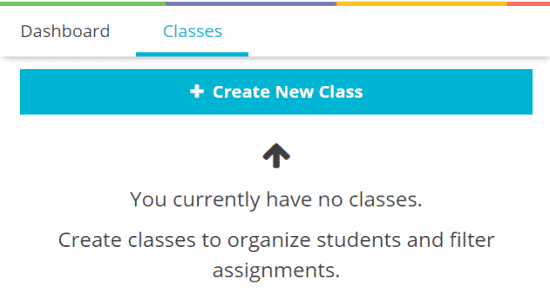
Step 8: Another great feature of Formative is that it allows you to create “Classes” in which you can invite students and assign assessments to all the students for answering them. To create a new class, click on the “Classes” tab on the Teacher Dashboard. After that, click on the “Create New Class” button at the top of the screen and enter a name for the class.
Step 9: As soon as you do that, a class will be created along with a class code on the right. The class code can be used to invite students to the class. It lets you create as many classes as you want and invite students to them. Creating a class and inviting students helps you easily create and share assessment to multiple students at once, instead of sharing the assessment code or the URL individually to all the students. Let’ say you teach English and Social Science, then you can create 2 different classes and invite students to their respective classes.

My Final Verdict:
If you’re a teacher and looking for a way to create and assign assessments to your students online, then you definitely got to try Formative. It is a very useful online application for teachers as well as students as teachers can create and assign assessments and students can answer them live. You can create unlimited assessments by adding questions, contents like images YouTube videos, etc., and also upload documents from your PC to the assessments. Simply share a code with your students to join and answer the assigned question. But, the best part is that you can monitor your student’s answers in real-time and also give them feedback and score.