Zoom is a free web conferencing website with various powerful features like video conferencing, audio meetings, screen sharing, real-time Whiteboard presentations, chat, and more. Similar to other web conferencing software, this one also lets you easily host meetings and then invite others (up to 50 participants in free version) to join. It lets you host a meeting either by enabling video (for video conferencing) or without video for audio chat. Both of these conferencing modes support various useful features like screen sharing, chat, etc.
Not only that, while you’re sharing your screen it also lets you start a Whiteboard presentation, annotate on screen, and record the entire meeting as a video (when using video conferencing feature). The annotation part also comes with powerful options using which you can draw on the screen, add text, change annotation color, use spotlight, etc.
Ultimately, it is a perfect solution for conducting business conferences with colleagues, clients, etc. However, if you’re looking for a business video conferencing service with permanent rooms, then you can check out MeetSpace.
Note: The free version of Zoom allows up to 50 participants, unlimited 1 to 1 meeting, unlimited number of meetings, 40 minutes per group meeting, video conferencing, etc. However, if you would like to use some additional features like unlimited group meeting minutes, advanced customer support, meeting dashboard, and more, then you need to upgrade to the paid version of Zoom.
How to Setup Zoom Web Conferencing Service:
First, go to the Zoom homepage and sign up for a free account. After that, it will automatically download a Zoom launcher which you need to install on your PC for hosting meetings.
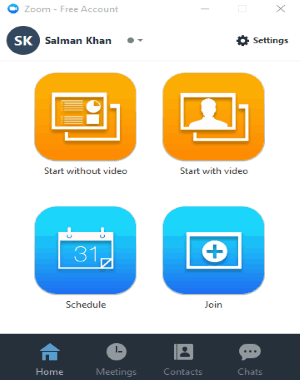
When you open up the launcher, you’ll see a simple interface with separate tabs named, Home, Meetings, Contacts, and Chats. On the Home tab, there will be 4 different options named, Start without Video, Start with Video, Schedule, and Join.
How to Host a Video Conferencing Session:
Step 1: To host a meeting, simply open up the Zoom launcher and choose “Start with Video” if you would like to have a video conferencing session, or else click on “Start without Video” to have an audio chat session.
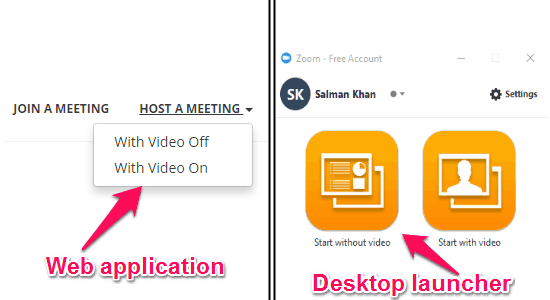
You can also browse the web application of Zoom and click on the drop down menu “Host a Meeting”. After that, simply select any option among “With Video Off” and “With Video On” to host a meeting.
Step 2: Suppose, you’ve selected the option for video conferencing, then the video chat window will open up with various options at the bottom such as Invite, Manage Participants, Share Screen, Chat, etc.

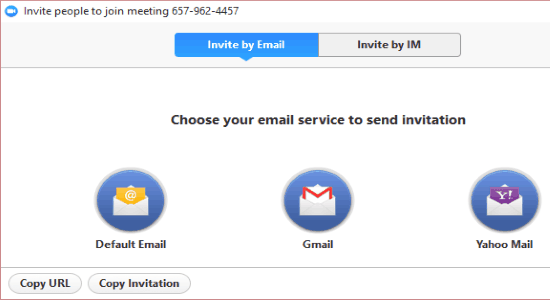
Now, to proceed with the conferencing session, you need to invite others for joining the meeting. For this, simply click on the option “Invite” and a popup window will appear. After that, you will be able to send invitations to other users via Gmail, Yahoo Mail, OutLook, direct messages, or sharing the unique URL.
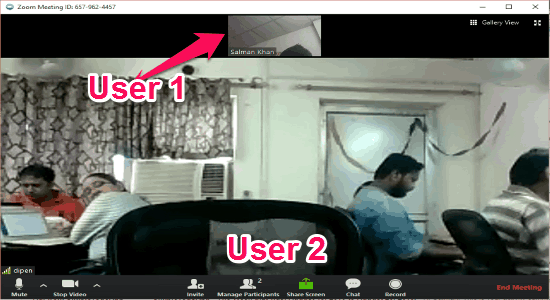
Once the meeting starts, you can have a video chat with all the other invited users on a single screen. That means the video chat window will split up into multiple sections to show all the participants. For example, let’s say there are 2 members in a meeting, then the screen will be divided into 2 sections showing both the members, as shown below.
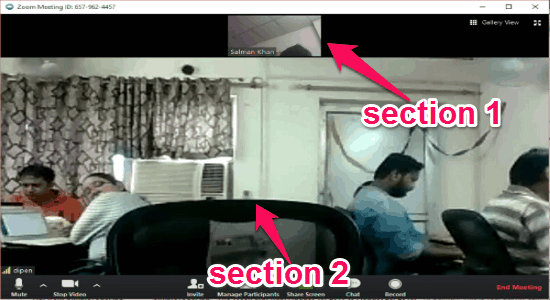
During the conference, you can also start using other features of Zoom like the screen sharing, chat, etc. So, let me briefly explain the features for you.
Screen Share:
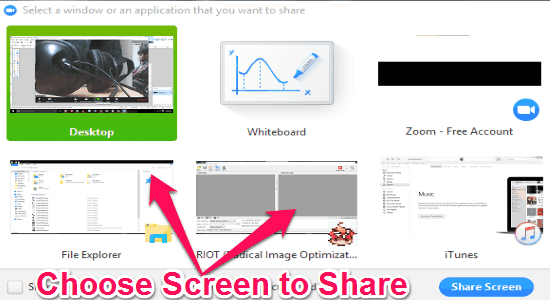
To use this feature, simply click on the option “Share Screen” at the bottom of the meeting screen. As soon as you do that, it will ask you to choose a screen which you want to share with others. You can either choose the entire desktop for sharing or select any of the specific windows that are currently opened on your PC. There you’ll also see an option to start a Whiteboard presentation.
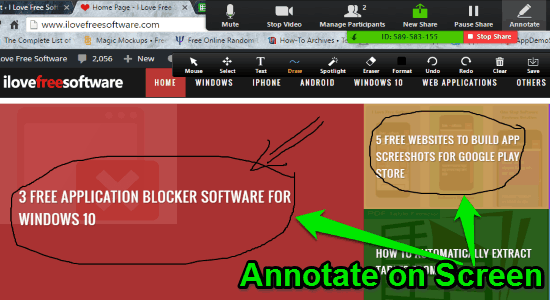
When the screen sharing starts, you’ll see a widget at the top of the screen with various options like Mute, Stop Video, New Share, Pause Share, Annotate, etc. Simply choose the option “Annotate” to start demonstrating your screen to others by annotating on it.

As soon as the “Annotate” feature gets active, an annotation toolbar will appear with different tools: Move, Select, Text, Draw, Spotlight, Eraser, Format, Undo, Redo, Clear, and Save.

You can start using these tools to draw on the screen, add text, explain any area on the screen with a (red) spotlight, change the annotation color, text formatting, and also save the screen annotation as images.
Unlike other screen sharing websites, the “Share Screen” feature of Zoom also allows you to start a Whiteboard presentation to brainstorm ideas with all the meeting participants. To use this feature, you need to select the option “Whiteboard” after clicking on the “Share Screen” option.
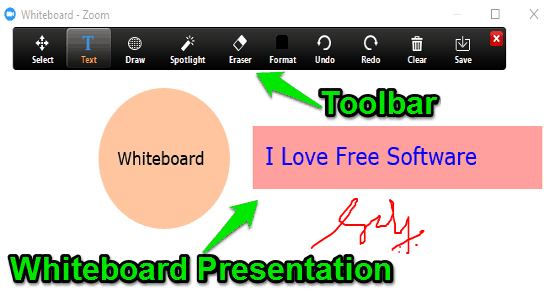
As soon as you do that, a toolbar will appear with all the tools similar to the annotation toolbar. That means you will be able to draw on the Whiteboard, add text, and use spotlight to highlight any area of the presentation. Another unique feature of Zoom is that it lets you allow “Remote Control” to other users during a Whiteboard presentation or annotation. This feature allows other users to control your mouse as well as the keyboard to share their ideas during annotation or Whiteboard presentation.
Chat:
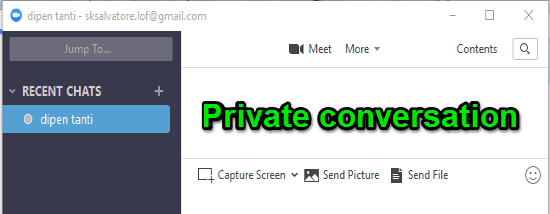
In addition to all these features, it also allows you to chat during video conferencing sessions or simple audio meetings. You can either start a common chat with all the participants or select any individual user to have a one on one private conversation. To start a chat, you need to simply click on the “Chat” option at the bottom of the conference screen.
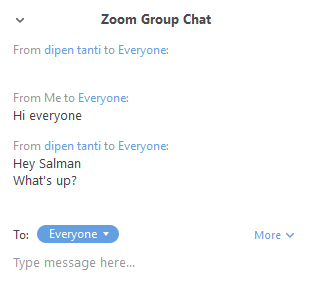
You can also use the “Contact” tab of Zoom launcher to select any specific user in order to send text messages. Apart from that, when you start the chat using the launcher, it will also offer some additional options to send files, share images, etc.
If you would like to record your entire meeting, then you can simply hit the “Record” button at the bottom of the video chat screen as soon as the meeting is started. When you end the meeting, the recording will be saved automatically as an MP4 file.
My Final Verdict:
Personally, I think Zoom is probably one of the best options for all the people who are looking for services to conduct online meetings and video conferencing for free. Apart from these features, there are many additional features which make Zoom quite interesting and unique such as screen sharing, chat, Whiteboard presentations, etc.