PicoVico is a free online video creator which allows you to create videos from photos using your web browser. It only takes 4 steps in order to create a video. There’s video style presets in which you can embed your photos so they look like a scrapbook, or have the Ken Burns effect. For more effects you can add music and personalize you video with various different additional tweaks.
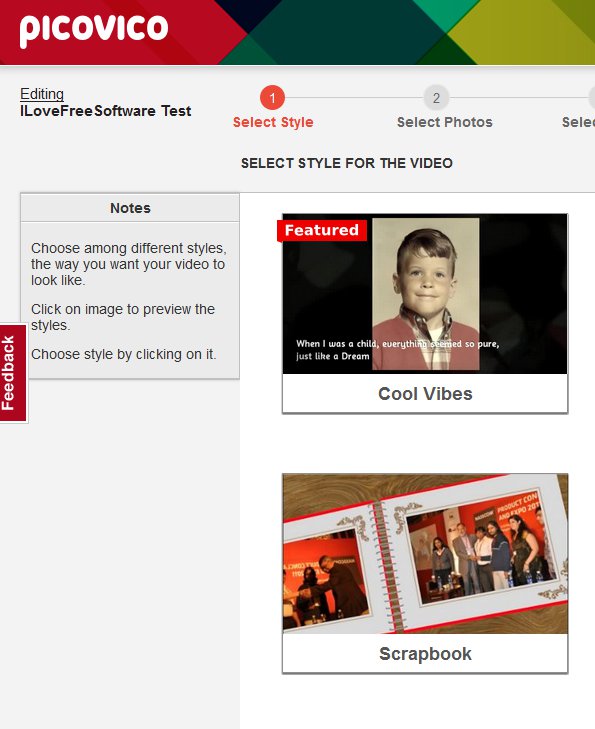
Image below shows us the first step of the four that we said are required to create videos with PicoVico. This is basically a setup wizard, where you just click “next” and on each step add a piece of something that will eventually be a video.
Here is a video that I created: http://bit.ly/19gu9zK
Before you’ll be able to start creating videos, you’re gonna have to create an account. Facebook login is available to make the registration easier.
Key features of PicoVico free online video creator are:
- Web based: create videos from photos online, using your web browser
- Offers 3 different video styles: vintage, scrapbook, and teen
- Allows you to import images from Facebook, Flickr, or upload from PC
- Image library: keep and manage images that you upload in a library
- Allows you to add text in-between the image slide changes
- Audio background: add audio from PicoVico library or upload you own
- Allows you to export videos directly to YouTube or Facebook
- Video hosting: offers its own hosting for created video clips
Creating videos from photos of your vacation, party or any other type of occasion, is a great way how you can add a bit more appeal and make your images stand out more. Everybody can setup an album, but having a video slideshow of your photos is a whole new level of cool. Here’s a few pointers to help you get started.
Similar software: AVS Video Editor, Avidemux.
How to create videos from photos with this free photo to video converter:
Once you’ve registered, you’ll be offered to create your first video and after the video is created, you should see the first step of the setup wizard.
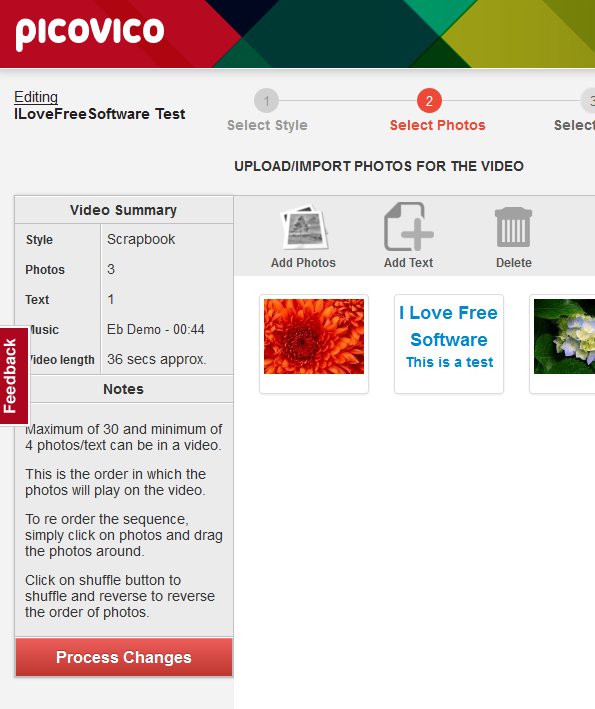
First step is pretty basic, just select one of the available video styles and click Next in the top right corner. In the second step you’ll be able to upload photos that you want to use, and also add text slides in between, that’s what the Add Text button is for. You can arrange the order in which the images will be shown, remove the ones you don’t want, import them from Flickr or Facebook and so on.
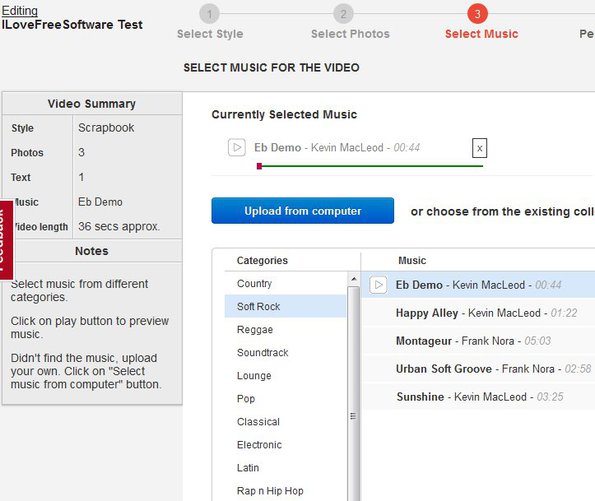
Music that you want to hear in your video can be added in the third step. Large selection of “filler” tracks are offered by PicoVico, or you can upload you own using the Upload from computer button.
This is an example of a video created with this free video creator. We used the scrapebook video style and added a text slide in-between images. Fourth and final step requires you to add name, description and several other tweaks before you can hit the Create button to have your video created.
Conclusion
If you need to create videos from photos, then make sure that you give PicoVico a try. It’s very easy to use and videos that you create are breathtaking. Free to use.


