In the course of our day to day computer usage, we have to work with numerous types of digital files. However, out of those, Microsoft Word documents can be easily considered as one of the most common. With that said, there are times when there is a need to share important (MS Word) documents and explain their contents to others, while ensuring that those contents are not tempered. And digital signatures are the easiest and most secure way to do that. Question is, how do you add them?
Sweat not, as that’s what Vole Word Reviewer is here for. It’s a powerhouse application that lets you digitally sign Word documents using PKCS #12, one of the most secure digital signature archival format. But that’s not all. Vole Word Reviewer can also add a whole bunch of information, such as comments, reviewer names, online media/web-links, and attachments to Word documents. The media can even be previewed via the built-in media player. Sounds like something you can use? Let’s find out more.

How To Digitally Sign Word Documents, Add Comments, Media Using Vole Word Reviewer?
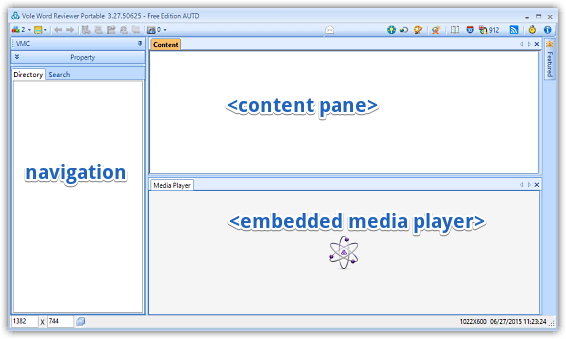
Step 1: Using Vole Word Reviewer is a fairly simple task. All you have to do is download the application from its homepage, and get working. You can either use the regular installable version, or download the portable variant. Here’s how Vole Word Reviewer looks like, when fired up for the first time:

As seen above, Vole Word Reviewer features a dual-pane UI. The left pane is primarily used for navigation, and lists all the sub-components of the loaded MS Word document, arranged in a nested directory like structure. The right pane is where all the action takes place, and can be used to view/edit the contents of the Word document, and add details such as comments, web-links, links to YouTube videos, and even local media. There’s a built-in media player that lets you preview all the media embedded into your document, and the linked resources manager can be used to manage all the media that has been linked into the document.
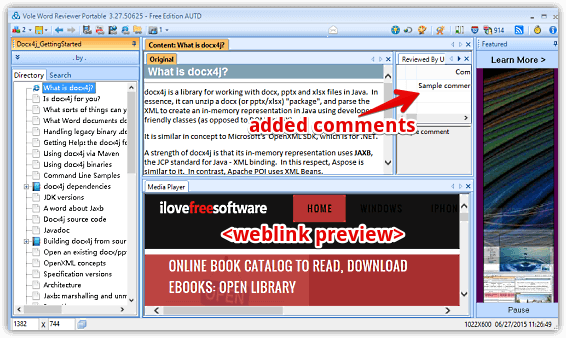
Step 2: To add information (e.g. comments, media) to a particular content of the document, simply select it, and then select Add Comment from the right click context menu. Once the comments have been added, they can be viewed via a separate pane on the right. The icon based toolbar up top can be used to add everything local media to YouTube videos to hyperlinks to webpages. When you add any of these things, the media player automatically generates a preview of the selected item in a separate preview pane. Here’s a screenshot:

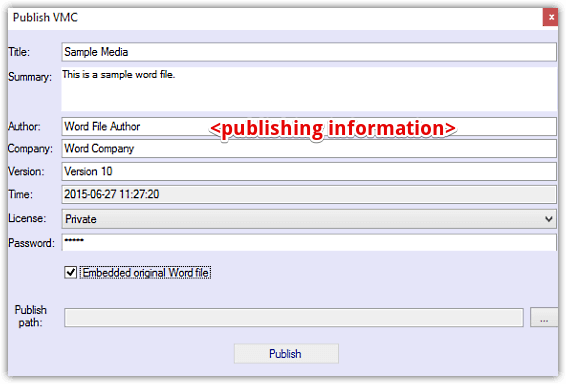
Step 3: Once you’ve added all the information that you want and are ready to digitally sign the document, use the Project Manager option to access the Publish VMC option. You can then add details such as title, author name, domain, license, and more. Heck, you even protect your document with a password before publishing it.

Also Check: Secure Documents with Digital Signatures
Conclusion
Vole Word Reviewer is a pretty solid application for adding digital signatures to Word documents. Although things like limited format compatibility (only DOCX is supported), a non-intuitive user interface etc. are some of the letdowns, but it works largely well for what it is. Give it a shot, and let me know your thoughts in the comments.