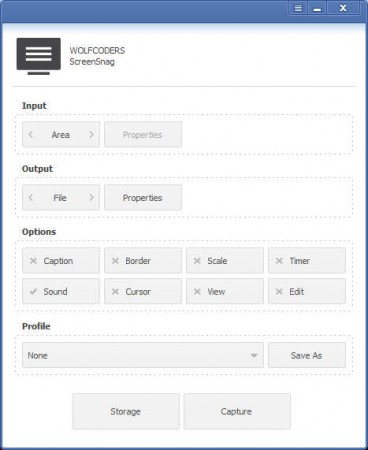
ScreenSnag is a free desktop screenshot utility which you can use to create snapshots of not only the entire desktop, but also windows and rectangular areas of varying sizes. Screenshots can be made by either clicking with your mouse, or you can create them the old-fashioned way by using keyboard shortcuts, which can be changed according to your needs in the Global Hotkeys settings window.
The interface of ScreenSnag no doubt reminds you a bit of Google Chrome, the window border at least, but also the buttons contained inside. As you can see, there are three steps that you need to go through before clicking on Capture. In these three steps, you’ll configure everything that needs to be configured for a screenshot, starting with the input area and ending with snapshot captions. Before we get into the specifics of how ScreenSnag works, here’s a quick overview of what it has to offer:
- Three different input areas – full screen, window, rectangular area
- Saving screenshots to files automatically or to the clipboard
- JPEG, BMP and PNG formats for saving supported
- Timer – for creating automatic screenshots in assigned intervals
- Image scaling, captions, border editing
These are just some of the more interesting features that ScreenSnag has to offer. When you install the application, it will start running right away in the system tray. To access the window which can be seen on the image above, you’re going to have to left-click the tray icon of the program to call it up.
Similar software: Image to Link, WinSnap, Screen Shot.
How to create screenshots with ScreenSnag
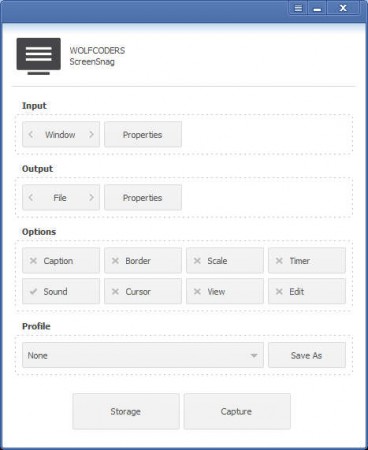
Creating screenshots with ScreenSnag isn’t a very difficult process. If you’ve started the application, start the first step by setting up what kind of screen grab exactly you’ll be making, is it going to be full screen, window or rectangular area.
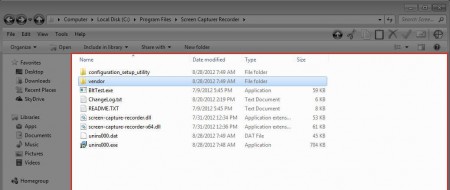
On the image above, we are creating a screen grab of a window. When the window is selected, additional options become available where you can turn on transparency, if you so wish. The next step in the snapshot setup would be the Output section, where you can choose if the screenshot is going to be saved in a file or to the clipboard. Options portion of the ScreenGrab is the most interesting because it is offering you the ability to add captions, borders, to scale the image, if for example you have a Full HD monitor and would like to create your screenshots. When you’re ready, hit capture and the window that you have opened should look like this.
Conclusion
As you can see when creating screenshots where the window is taken, you’ll have guides which can be placed on the entire window, only the work area, the file location, basically any square, even the entire desktop. With the Rectangular area, you get a useful area indicator with pixel size, so that you can create precise screenshots. ScreenSnag is very simple to use, you can use it for example when you want to create tutorials, for showing your readers how something looks like, like what we are doing here.


