Tango is a free website to create step by step tutorials and guides with screenshots automatically. Here it gives you a Chrome extension that you can activate on any website. And after you activate this extension, it will start recording your actions. Each click will be counted as a new step and in the end, when you are done, you will have a working guide. The recorded steps are converted into workflow that you can share and download.
Not only it converts your steps into workflows but i each step, it automatucally inserts the screenshot as well. In the screenshot, it highlights the part where you clicked to add it to your next step. No matter what guide or documentation you are creating, Tango makes is very easy. You can later add more text to the workflow steps to define them in details. It published your workflow that you have created and you can also save it in PDF.
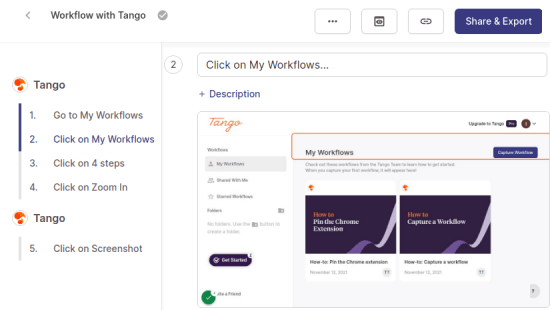
Create Step by Step Tutorials with Screenshots Automatically: Tango
You will have to register for a free Tango account in order to get started from here. After that, it will ask you to install the helper Chrome extension. So, just do that and then you can start building the tutorial.
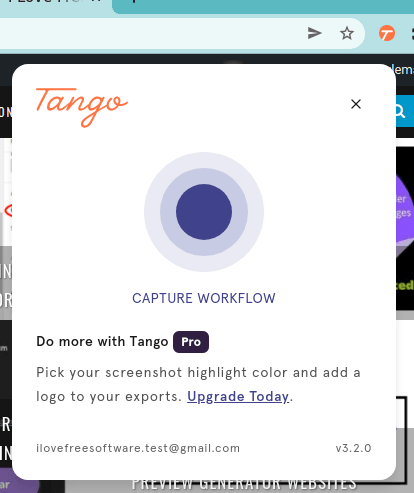
Now, go to the website to that you want to use for your tutorial. Click on the extension icon to activate it. For convenience, you will have to pin it to the Chrome toolbar. Click on the large record button in the extension popup to start recording the steps.
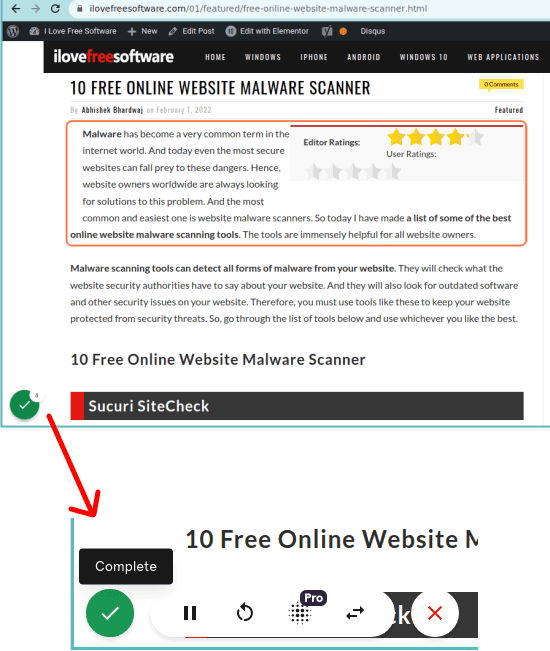
Now, it will start recording the steps. Basically, as you click on the website, it will record it as a step. You can see the count of all the steps at the bottom left side. And you wish to remove a step from the current workflow, then you can just click on the “-” icon.
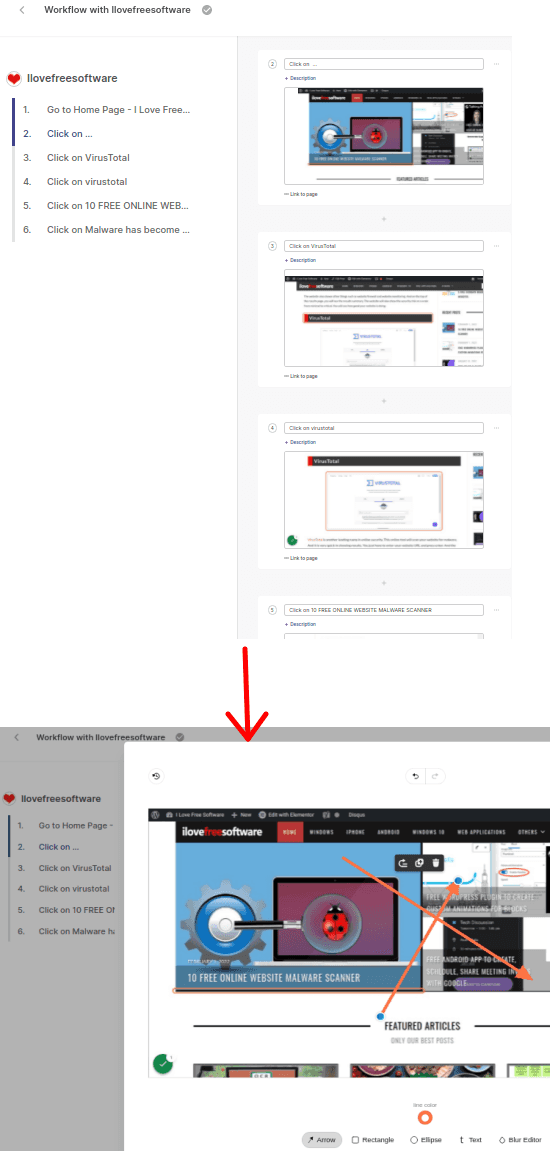
After you are done, you simply click on the done and then it will take you to the workflow builder. From here, you can remove some step if you want to. Or, if you want, then you can even add some text to the steps. It automatically adds the screenshots and again if you want to remove some step or duplicate it then you can easily do that from the workflow builder. Here you also get a screenshot editor that you can use to annotate the image it captured for you.
At last, when you are finally done, simply enter a title for the workflow and then simply generate the share URL. You can then simply save it as PDF too if you want to. Also, do note that when you create a shareable link to the tutorial or doc, then you will not be share it with edit access. End users can only see the document that you saved. If you want to enable collaboration, then you will have to subscribe to the pro version.
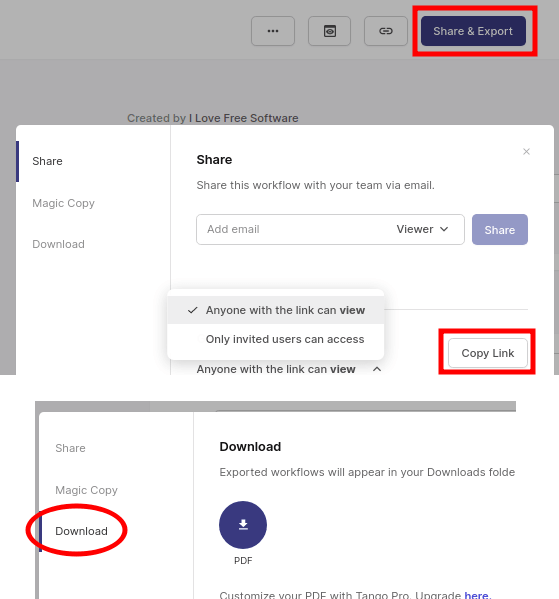
In this way, you can use this simple website to create workflows and tutorials. You can create as many documents that you want and then simple share them with anyone. The extension will always help you create the interactive documents that you can publish. And best part is that you can export them in PDF format.
Final thoughts:
Some time I ago, I wrote about a similar tool to create how and walkthroughs in the same manner as Tango does. It was called Scribe, and I am happy to see another alternative solution to that. I liked the way Tango work and no matter if you are in a tech team or writing team, it will help you create interactive documents that will solve problems for others. I liked the fact that they made the documents shareable as well exportable.