Shot Scraper is a Template to create a GitHub Repository that can be used to capture screenshots of web pages automatically and store them in the Repository.
Saving screenshots of your web pages is extremely important. They help you to document the changes to the design and look of the pages and also to maintain an archive of the past. Developers find it very useful to refer to these archives before an overhaul of the model. Taking manual screenshots can be very cumbersome and you may often forget to do so. Shot Scraper Template helps you to automate this process easily just by using a couple of clicks.
The entire system is grounded on a GitHub Actions Workflow that is defined in the shots.yml file in your repository that is created from the Shot Scraper Template. The URL (link) to the template is provided at the end of this article. It is essential for you to have a GitHub account before using this template.
How it Works:
1. Click on the Shot Scraper template link provided at the end of this article to begin the process of creating the GitHub repository.
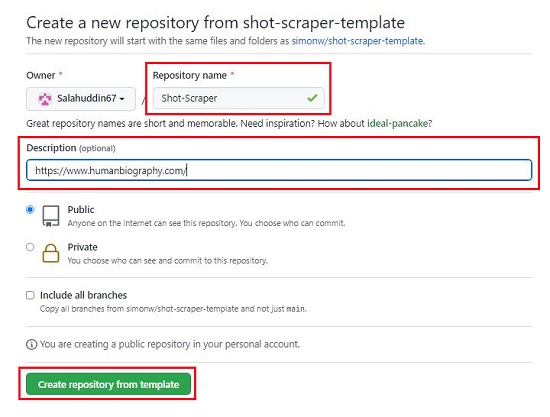
2. Provide a name to the repository and type the complete path of the webpage whose screenshot you wish to capture, in the description field. You can leave this field blank for now and later provide the webpage URL by editing the shots.yml file. Also, you can take screenshots of multiple webpages by editing the same file. Next, click on ‘Create Repository from Template’.
3. In a while, your new repository will be generated, and an automated GitHub Actions script will execute for some seconds to capture the screenshot of the webpage that you specified above (if any). The captured screenshot is saved in the repository with the file name that has been specified in the shots.yml file.
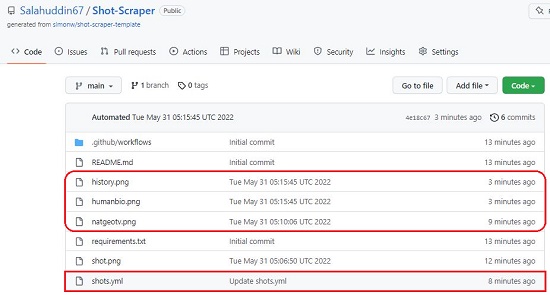
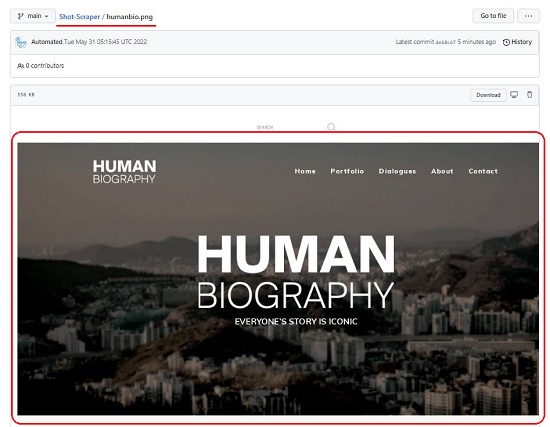
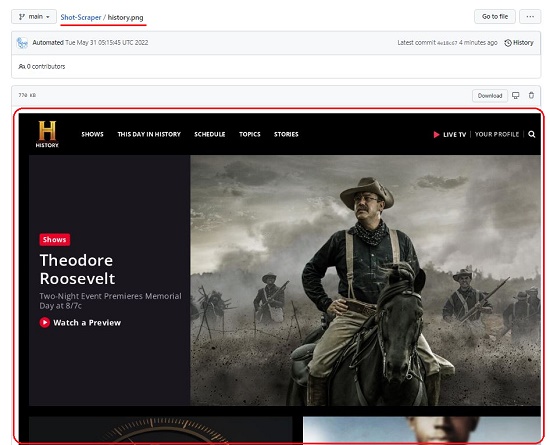
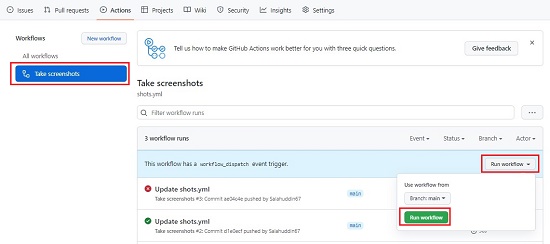
4. To re-capture the screenshot, navigate to the GitHub ‘Actions’ tab, click on ‘Take screenshots’ in the left panel, click on the ‘Run workflow’ button at the right and then click on the ‘Run workflow’ green button. The repository will automatically keep a record of every previous version of the screenshot that is beneficial for tracking the visual changes to a page and how it has evolved.
The shots.yml file can be edited using the following parameters:
URL of webpages: Add the URLs of the pages using ‘-url:’ parameter. For example, to capture the webpage at https://www.history.com/, insert the line ‘-url: https://www.history.com/’
Output file: To provide a name to the screenshot file use ‘output:’ parameter. For example, to name your file as history.png, insert the line ‘output: history.png’. If you specify the file extension as jpg, the image will be saved in the JPG format.
Height of the image: To specify the height of the screenshot image use ‘height:’ parameter. For example, ‘height: 800’ specifies that the height of the image should be 800 pixels. Similarly, you can also specify the width and quality of the image
Delay: To add a delay before taking the screenshot use ‘wait:’ parameter. For example, ‘wait: 3000’ adds a 3 second delay before the screenshot is captured.
The screenshot below defines a sample shots.yml file.
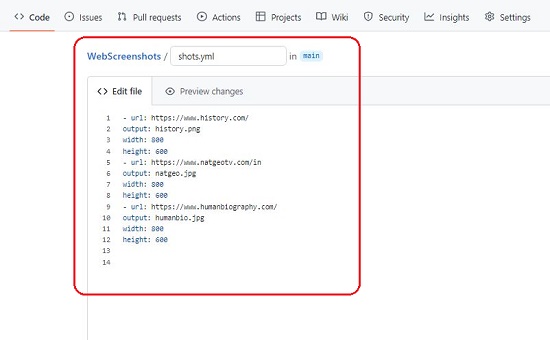
You can add as many URLs as you desire followed by the related parameters to store sreenshots of multiple webpages in your Github Repository.
Verdict:
Shot Scraper is a good tool to take automated screenshots of multiple webpages and store them in a GitHub Repository without the manual use of any screen capture utility. It is extremely valuable as it helps you in keeping a record of the changes to any webpage to understand how it has progressed and evolved
Click here to the Shot Scraper template to build your repository. Ensure that you have a GitHub Account before you begin.