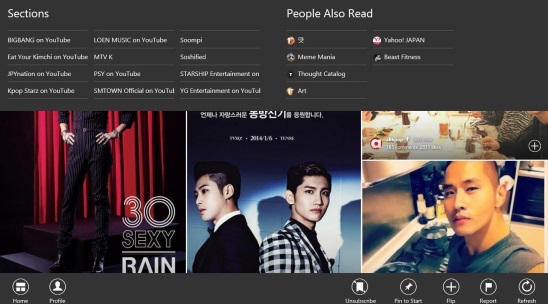
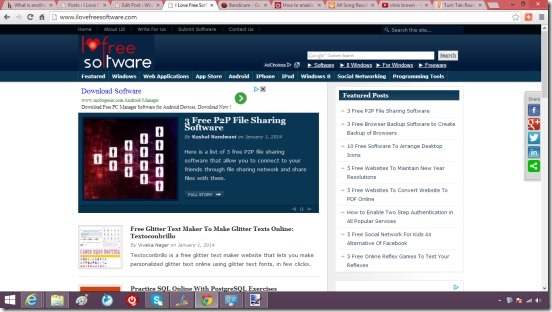
Capturing screen in Windows 8 and saving is quite a cumbersome process, especially when you are working with the Windows Store apps, and not using any other desktop app for capturing the screens. Well, the Windows 8 itself provides a very simple and easy way, with which you can capture any screen in Windows 8 and then, automatically save the screenshots, not like the conventional pressing Print Screen method. This Windows 8 tutorial, explains you how to do that. The steps are very easy, and you don’t even need to save the screenshots manually. This technique itself captures the screenshots and then, automatically saves them in the Pictures library of your Windows 8 devices.
Capture apps’ screen in Windows 8 without installing other screen capturing apps:
Capturing the desktop and the screenshots of desktop app is easy, and it is just the conventional way that is, pressing Print Screen key. The same goes for Windows 8 apps, that you download from Windows Store. But, the real challenge comes when, you want to automatically save the captured screenshots in your devices. So that, you can view them later and use them in any other desktop app. The conventional way that is pressing Print Screen key works, but just in a partial way. It only does half of the job, it actually copies the screen shot and you have to paste the screen shot, in any image editor and then save from there. It’s quite a long process, and at times this gets too cumbersome, especially when you have to take multiple screenshots.
Simply follow the steps of this Windows 8 tutorial, and start capturing and saving screenshots:
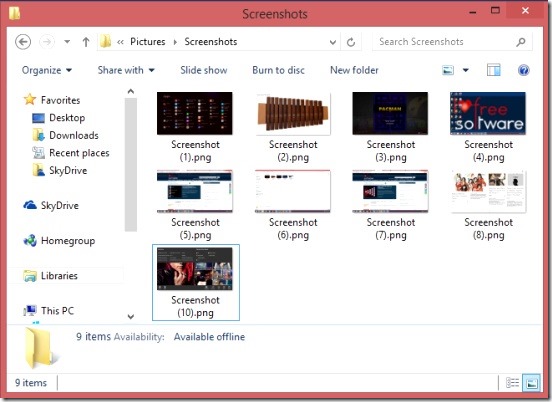
In order to capture and automatically save the screenshots of Windows 8 apps, all you have to do is press Win + Print Screen keys. Yes, that’s all. Just open the screen, that you want to capture whether it’s a Windows 8 app or just a desktop app, and press Win + Print Screen keys, you’ll see a blink on the screen. That means the screen got captured and is saved in the Screenshots folder inside the default Pictures folder of your Windows 8 devices. All the screenshots get named in series of numbers and saved in Png image file format.
Good thing in this Windows 8 screen capturing is that, the screenshots’ resolution will be the monitor’s resolution. That is if your monitor’s resolution is 1366 X 768, then the screenshot’s resolution will also be the same.
And a good thing about using this trick is, it also copies the screenshot in clipboard, which you can paste and use in other Windows 8 desktop apps.
Conclusion:
That was all about this Windows 8 tutorial. This Windows 8 tutorial can be helpful for all the bloggers, who write about Windows 8 apps, and also regular users, to take a screenshot of their highest scores in a Windows 8 game, or favorite part from a movie etc.
Here are some more good Windows 8 tutorials , that can help you in working efficiently in Windows 8:
Customize Win+X Menu To Add Favorite Applications.
Change Logon Screen Color In Windows 8.


