Here is a free online collaborative presentation maker. It is named as “Beautiful.AI“. The collaboration feature for presentation making is in real-time, which helps to see changes done to the presentation live. When you or collaborator(s) adds a new slide, changes slide background or do other changes, another collaborator is able to view those changes. You can also start the presentation or view animation for a particular slide. Your presentation also remains private to you and collaborators but you can change privacy mode to public also to share presentation with anyone.
The free plan of this real-time online presentation maker provides 50+ templates, free image library to find and add images to any slide, upload image from PC, use different icons, etc. When the presentation is ready, you can also preview it. Apart from that, it also lets you download presentation as PDF and PPTX file. The good thing is the presentation (including all its slides) doesn’t contain any watermark of this website.
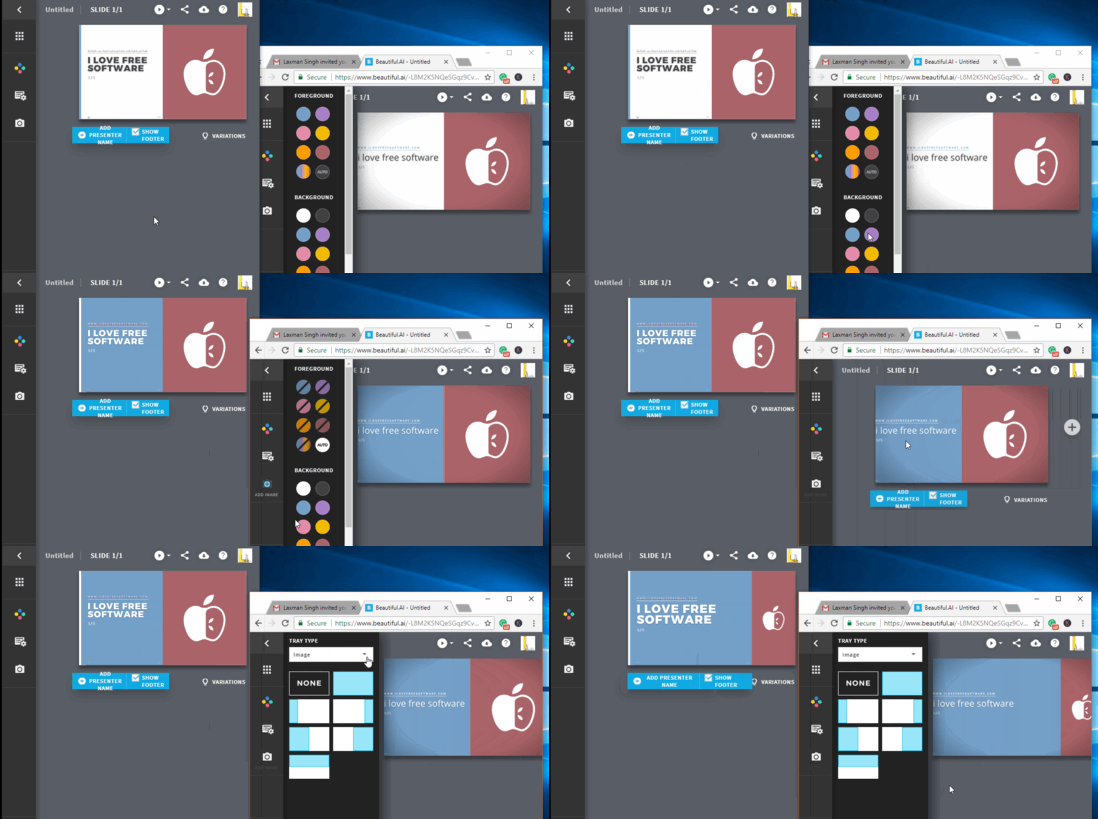
The screen recording above gives an idea about this free online and real-time collaborative presentation maker. As you can see, when a collaborator changes background and layout, the change is visible to another collaborator.
How To Use This Free Online Collaborative Presentation Maker and Export Presentation as PDF and PPTX?
Step 1: Use the homepage link that I added at the end of this review and sign up for a free account. You can also use your Google account to sign up quickly.
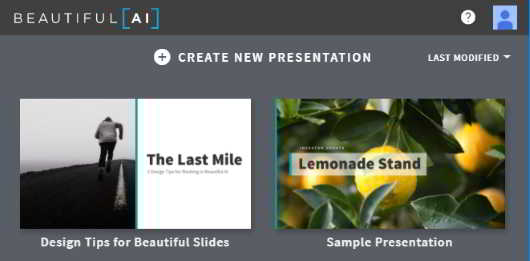
Step 2: Dashboard of your account will open using which you can create a new presentation. You can also view sample presentation and design tips for creating beautiful slides.
Step 3: Now you need to choose a theme from the available collections. Bold, Magazine, Dark, Vignette, and other options are available. For the selected theme, you can also select a custom primary color, primary text, secondary text, and background colors. For each option, a color palette will open that will help you select any of your favorite colors. You can change or edit theme, its background color later also, while creating the presentation. All the changes made to your presentation are saved automatically.
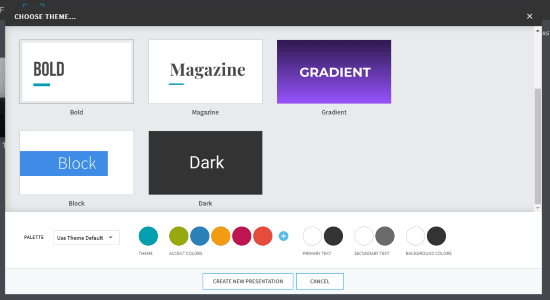
Set options and use CREATE NEW PRESENTATION button.
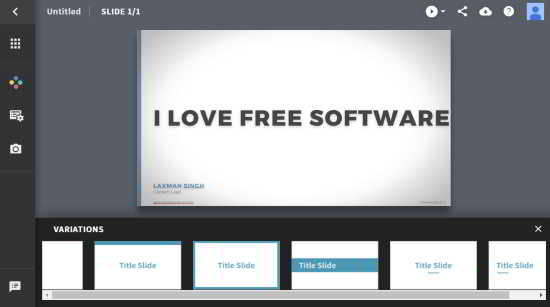
Step 4: The presentation will open with the very first slide. For the slide, you can type title, add presenter name, show footer and add custom text there. There are different variations also available for slide that you can apply and use.
You can add more slides using the available option. For adding new slides, it gives options to use popular templates, add data & charts template as slide, etc. Apart from that, it also lets you duplicate a slide and delete it.
Step 5: Based on the type of slide added by you, you can add images from library. If you don’t find some relevant image, then you can also upload image from PC or use icons provided by this website. Take the help of left sidebar of this website to use images and icons.
![]()
To make presentation more interesting, beautiful and meaningful, you can also change its background color, choose different theme, layout, etc. All such options are present on the left sidebar.
Step 6: Creating the presentation alone might not be as interesting and productive as it can be with a collaborator. Therefore, the website comes with collaboration feature. Use “Share” option available on the top right part of the presentation. After that, you can invite someone by entering his/her email address. Before sharing the presentation, you can also make it public or keep it private. Moreover, you have the feature to enable editing or viewing mode for collaboration. Since collaboration is better when other person has editing rights, so you should set “can edit” option for the person with whom you want to collaborate.
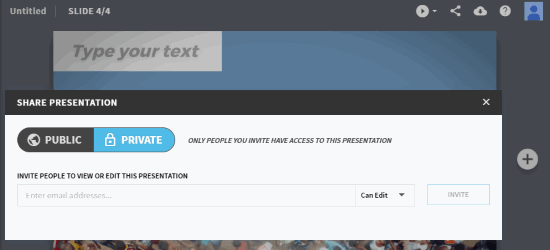
You can invite more than one person to collaboratively create the presentation. The other person will receive invitation using which he/she can sign up and then collaborate with you to make the presentation. One thing that I missed is you can’t chat with others while collaborating. This could have made the website a lot more useful.
Step 7: Create slides collaboratively and then you and others can preview it using the available option.
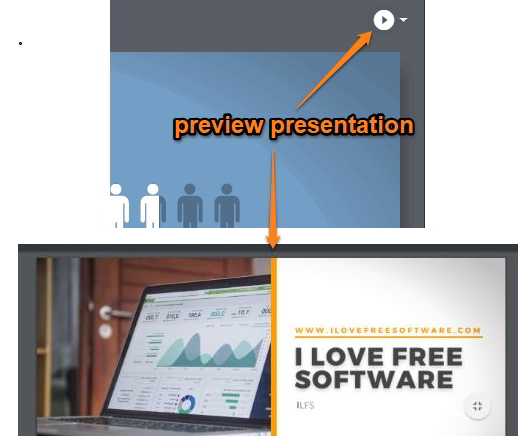
Step 8: This is the final step. When the presentation is ready, it will remain on your account. Still, it is good to have a backup of that presentation. For that, this website comes with feature to save presentation to PC. You can save your presentation as PDF document and/or PPTX file. You won’t be able to edit the downloaded presentation but it is good to save it to PC to share with others or use it later. For that, use the “download” option. It is available on the top right corner of your presentation.
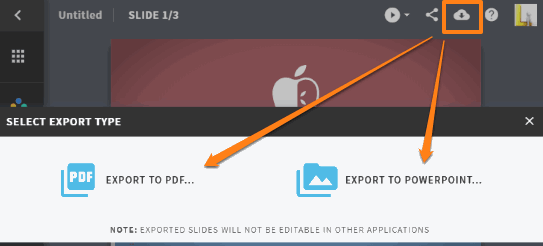
Pressing the download option will give you two options: EXPORT TO PDF and EXPORT TO PRESENTATION.
Use any option and save your presentation. Later, you can open dashboard of your account to access and edit any presentation created by you.
The Conclusion:
There are many other useful online presentation makers (like this, this, and this one) but this one is a bit special. The first important feature that catches the attention is its real-time collaboration feature. Other than that, we can export the presentation as PPTX and PDF file, plus there are many beautiful templates available to use. The feature to chat with collaborators while editing the presentation can make this website even better. Still, overall the website is fantastic. I like this online collaborative presentation maker. You can also try it.