CloudShot is a free cloud based screen capture software for Windows which you can use in order to create screenshots of your desktop and then upload them to Dropbox right away. You can create full screen screenshots, or you can create screenshots from only a certain section of the screen. Next to being able to upload screenshots into the cloud, you can also save them locally, the old fashioned way.
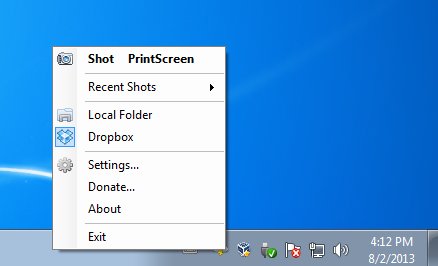
Created screenshots are uploaded to your Dropbox account by CloudShot, you don’t have to have the Dropbox client installed on your computer, but you are gonna have to connect this free cloud based screen capture software with your account where it will create a folder and of course upload files to it. Right click on the system tray icon is the menu, from where you can access settings, adjust storage type (local or the cloud) and of course create screenshots.
Screenshot is saved automatically, you cannot type in a name for it. When you’re uploading to Dropbox, you also can’t select the location where screenshots are uploaded. A folder will be created for CloudShot inside your “Apps” Dropbox folder,
Key features of CloudShot are:
- Free and simple to setup: create screenshots in just a few mouse clicks
- Offers both local image saving and cloud upload to Dropbox accounts
- Good format support: you can save images as either PNG, JPG, JPEG
- Can be used to create fullscreen or screenshots of a certain region
- Supports PrintScreen keyboard shortcut for creating screenshots
- Multi-monitor support: create screnshots of multiple monitors
- System tray icon with notifications about new screenshots and uploads
Similar software: Monosnap, SCWebCam.
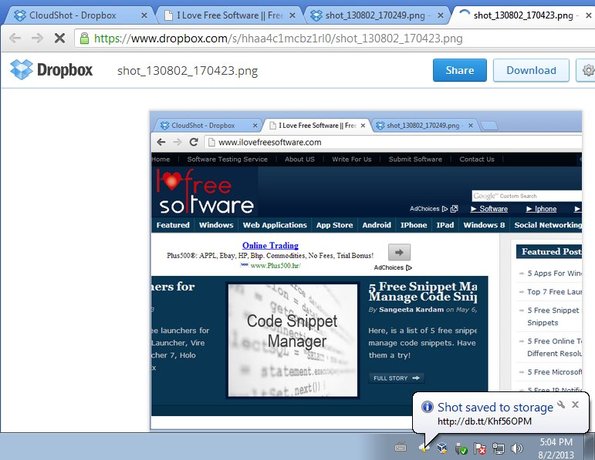
Depending on how big your resolution is and what kind of upload speed you have, it might take a while in order for the upload to Dropbox to complete. That’s the reason why you have notifications, which will pop-up from the system tray to let you know that upload is finished and give you a direct link to the uploaded screenshot.
How to create screenshots with CloudShot: free cloud based screen capture software
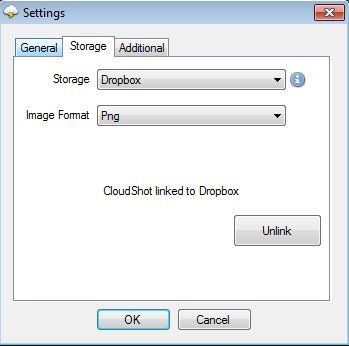
It’s probably best that you first right click on the system tray icon and select Settings >> Storage. There’s other options to tweak once that you have settings open, but the Storage tab allows you to connect your Dropbox account with this free cloud based screen capture software.
We’ve already connected to our Dropbox account, but it’s very easy. Just click on the Sign In button down below and type in your login info on the prompt that comes up.
To create a screenshot, you’re gonna have to do a left double click on the system tray icon or click PrintScreen. Double click on the system tray icon will open up the region selector so you can create a screenshot of only a section of the desktop.
Once the screenshot is created, it’s uploaded automatically and opened up inside your default web browser, see image above. You can also see the notification pop-up about the completed upload.
Conclusion
CloudShot is a great way how you can create screenshots and have them uploaded to your Dropbox account right away. Try this free could based screen capture software and see how it goes.


