This tutorial explains how to hide wireless network Connection in Windows. If you need to hide any specific wireless network connection or all the available wireless network connections excluding the wireless network you are connected to, then this tutorial is surely going to help you.
Here I will demonstrate one method each to hide any specific wireless network connection or all wireless network connections except the one you are connected to.
Both these methods are very simple as they do not require any external software. All they require you to do is run some commands at the command prompt.

Now, lets take a look at both these methods.
How To Hide A Specific Wireless Network Connection In Windows:
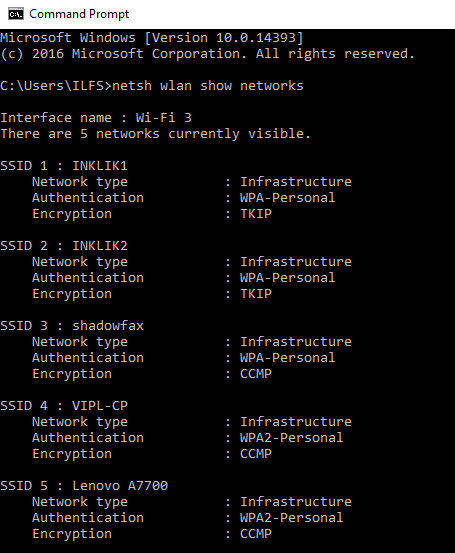
In this method you first need to open Command Prompt and then you need to run following command to list all the available networks.
netsh wlan show networks
This list of all the networks provide us with SSID and Network Type of all the networks, which are useful in running other commands.
Next you need to run this command
netsh wlan add filter permission=block ssid=network_to_hide networktype:infrastructure
In this command you need to enter the SSID of the specific wireless network you want to hide or block in place of network_to_hide. This SSID can be seen from the list of all the available networks.

On running the above command with SSID of the specific network you want to block, you will see that the network gets hidden. Its that simple. If you want to hide more networks, you can repeat the above command with SSID of those networks.
How To Hide All Wireless Network Connections Except The One You Are Using:
In this method also, you require Command Prompt and some commands and nothing else.
Here, first you need to add the network connection you are on to to allowed list. This way while hiding all the wireless network connection you won’t hide your own connection.
So for adding your network connection to the allowed list you need to run this command.
netsh wlan add filter permission=allow ssid=your_network_name networktype:infrastructure
In place of your_network_name you need to enter the SSID of your network. On running this command, you network gets added to the allowed network list. Same way you can add more wireless network to the allowed list. Basically, you should add all the networks that you connect to.

Then you need to run one more simple command to hide all the networks excepts allowed networks.
netsh wlan add filter permission=denyall networktype:infrastructure
As soon as you run the above command all the networks that are not added to the allowed list gets hidden.

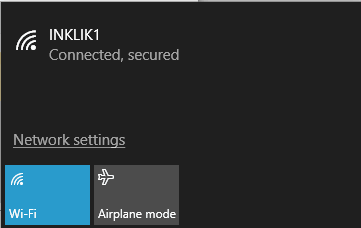
After that you can see that only the allowed networks are visible in the network panel of the windows.

You can also take a look at our similar post like How To Connect To Hidden Wireless Network In Windows 8.
Do note that this also means that in case you go to a different place and want to connect to some network there, then that network won’t be visible to you. In that scenario, you will again need to enable viewing all networks to connect to that network. You can then again choose to Whitelist that network, and then hide all other networks.
In case you mistakenly blocked some network which you wanted to keep in the allowed list, then you just need to run another command to delete the filter you applied mistakenly.
netsh wlan delete filter permission=denyall networktype=infrastructure
Once you apply the above command, you will be able to see all the blocked wireless networks again.
Verdict:
Both the methods explained here work very well. So, whether you want to hide a specific wireless network, or hide all the wireless networks except the ones you have whitelisted, you can now do that. And you can easily revert these changes anytime to again see the hidden wireless networks. (via ghacks and Winaero).