FileGPT is a very powerful AI based tool that you can use to manage and interact with your digital files such as text files, PDF, Webpages, Images, Audio, Video etc. It allows you to seamlessly chat with all the supported files in plain natural language and get precise response to your queries.
FileGPT is here to put an end to the never-ending scrolling of your files for searching and extracting information and clearly offers a more perceptive and natural way of working with multiple type of documents by chatting with them. This creates a centralized knowledge base for you that you can utilize to easily access, analyze and query various types of files to get the required information.
Features:
Supports multiple file types: FileGPT enables you to interact with several types of documents like plain text, PDF, YouTube videos, Audio, Images and more. However, the free version of FileGPT covers only plain text and PDF files.
Support for long text: FileGPT offers support for large files too containing a lot of text.
Smart Content Parsing: You can extract text through OCR from handwritten documents as well as analyze and study audio and video content.
Cross-Source Querying: FileGPT allows you to simultaneously query all files easily and quickly by selecting the sources, asking your questions, and getting the results.
The free version of FileGPT allows a maximum of 3 Files / Collections and a single file of size not more than 10 mb. To overcome this limitation, you must subscribe to the paid plans of FileGPT. Click here to learn more about them.
Working:
1. Go to FileGPT and register for a free account using your Google or Facebook credentials.
2. Click on the ‘New Chat’ button at the top left of the page. Assign a name to this collection and upload the required files for the knowledgebase using drag and drop. You can upload multiple files (maximum 3) but remember that the free version of FileGPT supports only plain text and PDF files. Click on ‘Submit’ to successfully create the collection.
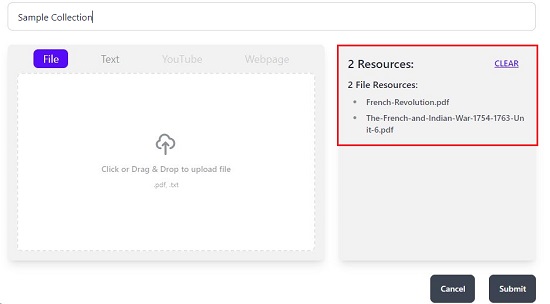
3. Once the collection has been created you can observe that it will be listed in the panel on left side. Click on the collection to open it and FileGPT will provide its short summary and a few example questions based on the topic of the document. Click on any of the ready questions to automatically generate answers for them.

4. Your collection that you just created is now ready for interaction. Click on the ‘Mode’ button above to choose the method of interaction such as Chat or Question & Answer.
5. Type your query in the text box at the bottom of the page and press Enter. Wait for some time while FileGPT processes the query and presents the results on the screen. To copy any answer to the clipboard, hover your mouse towards the right side of the text block and click on the ‘Copy’ icon.
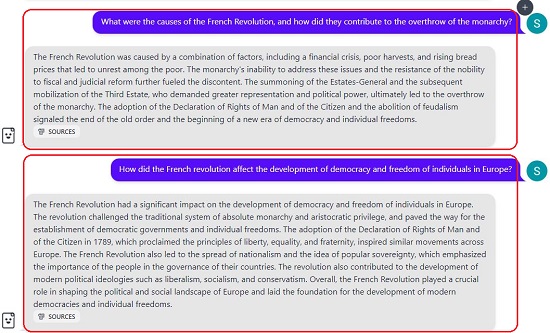
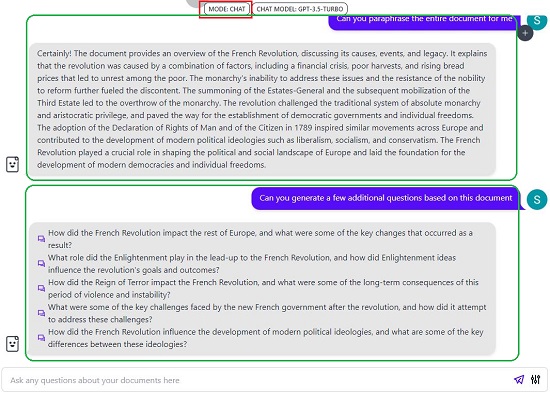
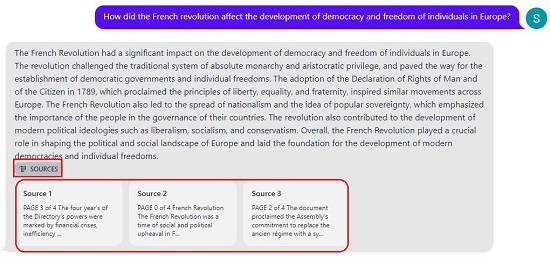
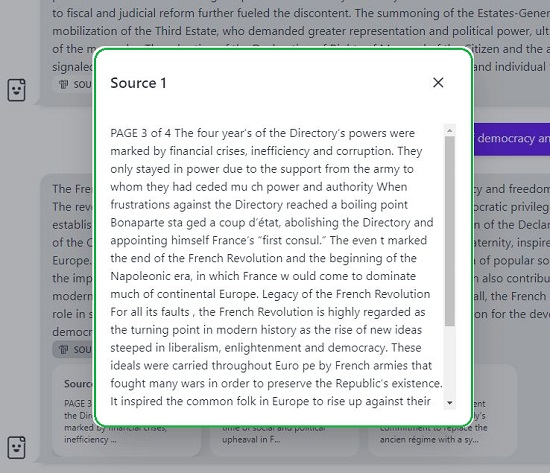
6. You can click on the ‘Sources’ button at the bottom of any answer to find out the list of sources in the text from where the answer has been precisely generated. Click on any source entry to display the relevant passage from the uploaded resource.
7. To change the style of the response, you can click on the button towards the extreme right of the prompt box and choose Default, Concise or Detailed.
Unfortunately, there is no way of adding or deleting files from your collection once you create it.
Closing Comments:
Overall, FileGPT is a very good tool to query multiple document types, interact with them and get accurate responses to any queries. It helps you to create an efficient custom knowledge base with several documents and ease your digital life.
Click here to navigate to FileGPT.
Are you interested in exploring another tool to interact with uploaded PDF documents that we have covered in an earlier article. Click here to read about AskYourPDF. This is a free PDF ChatBot that enables you to have a dynamic and interactive conversation with any uploaded PDF document based on its content.