This tutorial details how to delete and rebuild search index in Windows 10. Out of the numerous visual eye candy features and under the hood powerhouse improvements that Windows 10 comes bundled with, one very important is its ultra powerful and efficient search functionality. Whether it’s an old file/folder or a new one, you can find it instantly with Windows 10’s real-time search, thanks to its powerful file indexing.
In one of my recent articles, I explained the concept of indexing, and how you can edit indexed locations in Windows 10. But there might be times when the index can get corrupted, leading to incorrect search results or no results at all. And that’s quite a problem.
Good thing is, you can easily fix it by deleting and rebuilding the search index in Windows 10. Sounds fun enough? Let’s see how you can delete and rebuild search index in Windows 10.

How To Delete And Rebuild Search Index In Windows 10?
Note: Deleting and rebuilding the index can be quite a time-consuming process, especially if there are a lot of locations that are indexed. This also means that until the index is rebuilt, the search functionality may not work as it always does. Consequently, you should do this only when you have quite some time at your hands.
Purging the existing search index and then rebuilding it in Windows 10 is extremely simple. Here’s a little step by step tutorial, illustrating how this is done:
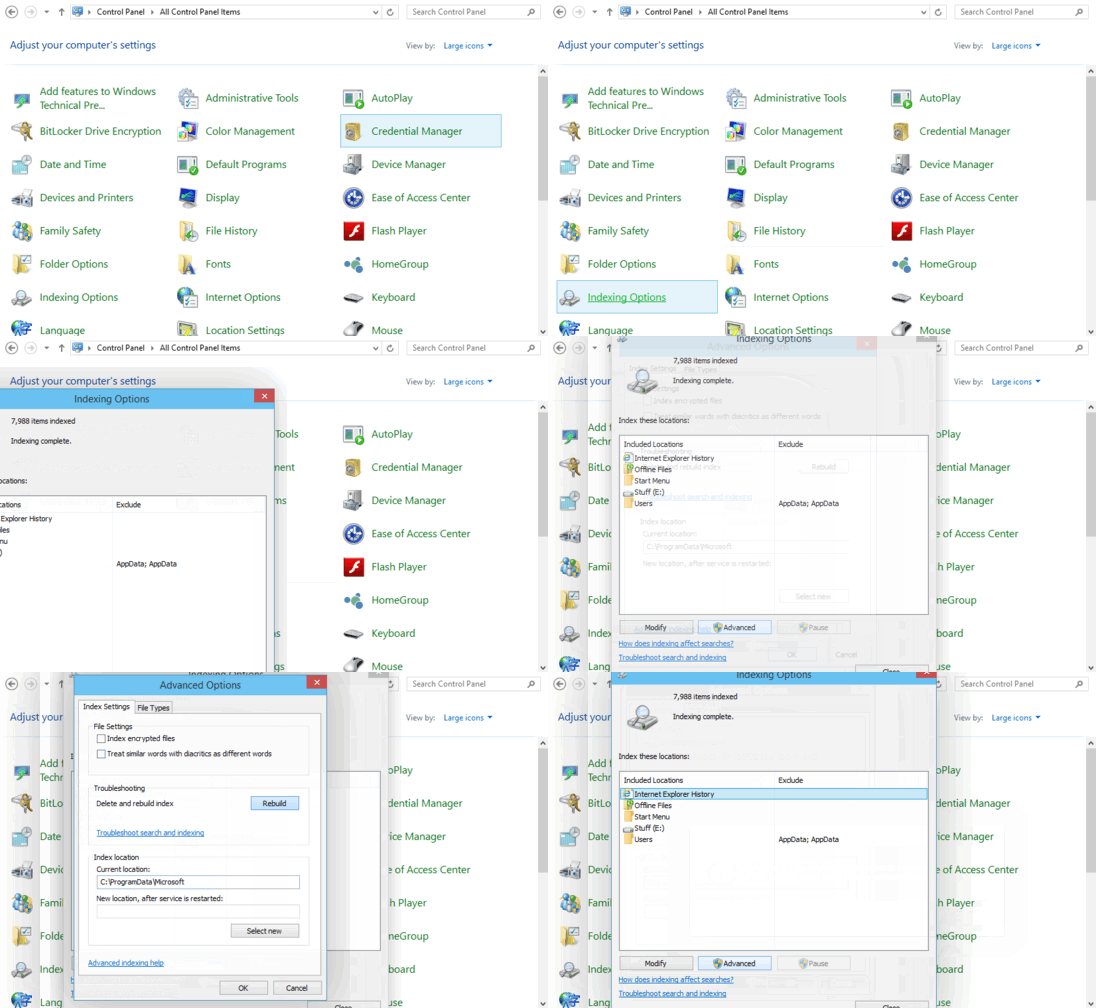
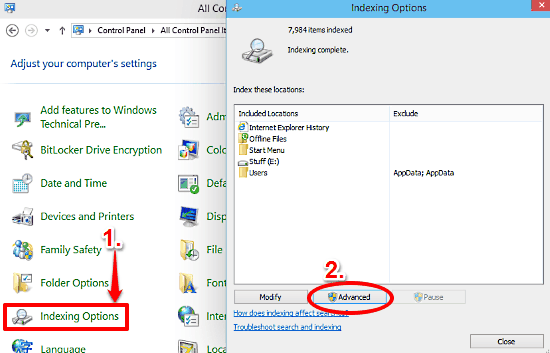
Step 1: Navigate to the classic Windows Control Panel and click on Indexing Options. Once the Indexing Options dialog box fires up, click on the Advanced button (this requires administrator privileges).

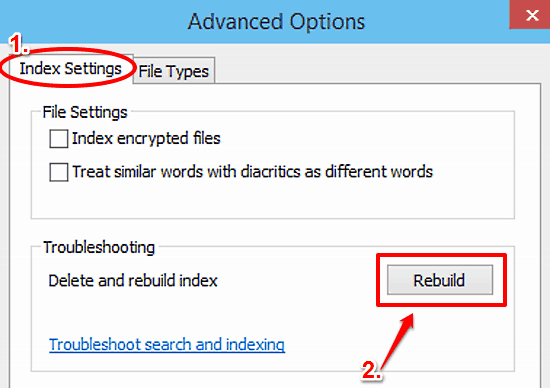
Step 2: Another dialog box, having a tabbed interface, will now pop up. On the Index Settings tab, head over to the Troubleshooting section, and simply click on the Rebuild button against the words Delete and rebuild index. That’s it. Windows will now purge the existing search index and start indexing the file locations from the start. As I’ve mentioned before, this might take a while, depending on the number of locations that need to be indexed. Here’s a screenshot:

Also See: How To Change Icon Of Any Folder In Windows 10?
Conclusion
Powerful indexing capability is one of the most important elements that power Windows 10’s native search, and make it the awesomeness that it is. However, there can be cases when a corrupted file index can lead to incorrect search results. Good thing is, this can be easily fixed as explained above. So give it a try, and let me know what you think of it.