MailerLite just launched a free website builder with free hosting, SSL, custom domain, and unlimited traffic. However, the custom domains are included in the paid plan, so to host a website on a custom domain, you need to be on the paid plan of MailerLite. After that, you can simply use the drag and drop website builder with pre-ready templates, and publish it. It gives you free SSL and you are allowed to add unlimited landing pages. The website builder is included in the free plan of MailerLite as well but custom domains are not.
MailerLite is one of the best ESP available right now and if you want then you can simply use it to host your website as well. The advantage here is that you don’t have to worry about the hosting part. You only need to have a domain name that you can assign to your website. The website builder is amazing and lets you customize every element in the template. There a lot of very nice templates available that you can use. It even supports website widgets, for example, an Instagram feed.

Creating your Website with MailerLite:
If you don’t have an account on MailerLite then just sign up for one and then start using that. After that, you can simply wait for the account verification and then start building your first website.
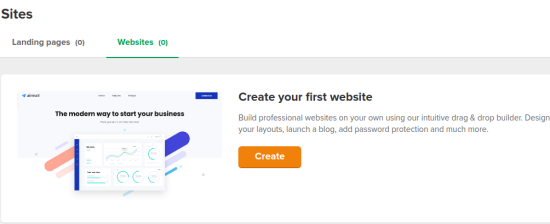
In the “Sites” section of the MailerLite website, you can just create your first website. But you need to add a domain first. To add a domain, you go to Account Settings > Domains and then add your domain. Next, you have to add a couple of DNS records in your domain provider which is Cloudflare in my case. After that, when it verifies your domain, you can simply proceed with the site creation.

Now, start by giving your site a name and then select a template for your website. There are a lot of templates available that you can choose from. No matter if you want to create a personal website or a website to showcase your books, you will find everything there.

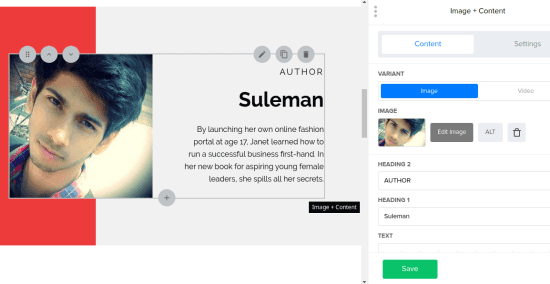
Now, it will open the website in the editor. On the left side, you see the editable preview. Just select a block and then modify it based on your needs. Change the name, images, and everything there and then save changes. The editor is very nice and even gives you the option to beautify images by applying some cool effects and color filters. You can add new elements and remove the existing ones. Just customize fonts, colors, text size, and finally, save all the changes.

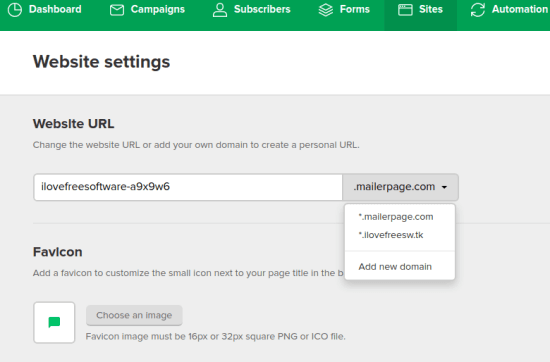
Now, next, you have to select a domain to publish the website. If you just want to host a website for testing then host it on a domain MailerLite provides by default. For a real website, you choose the domain that you have added to it. Also, if you want then you can host your website on a subdomain as well.

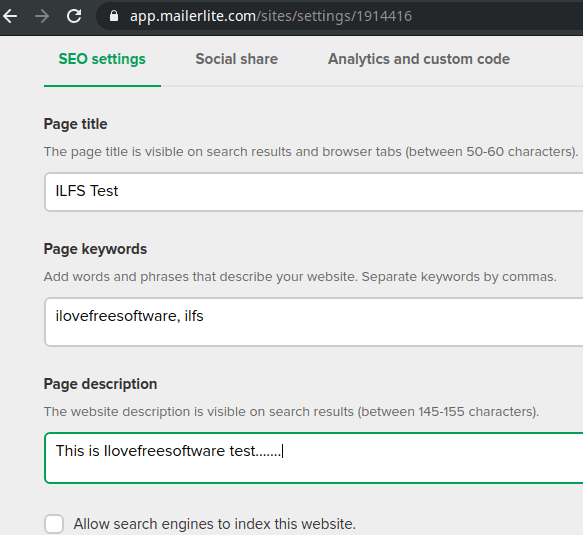
In the last step, you just need to specify the SEO information of the website such as the website name, title, keywords, and whether you want to submit it to search engines for ranking. Finally, you just access the main website on the configured URL and then you are done.


This is how you can use the new website builder of MailerLite and host your website for free. Even though, it offers you free SSL but somehow it didn’t work for me. Overall, its got a very website builder, so if you’ve got the premium plan of MailerLite then simply create your own website for free. The process is very simple and you are not required to have web development knowledge. Just create your site without code then you can simply publish it.
Bottom lines:
There are many website builders available that you can use. But if you want to use an ESP as well then don’t use another website builder as MailerLite is already offering you one. Just make sure that you have a custom domain and then just follow this post and build and publish your website in a few minutes.