Pi.pe is a free online service which you can use to transfer images, videos, and other media between various different online social networking and media sharing sites like Facebook, Flickr, Instagram, MySpace, SmugMug and dozens more.
To transfer photos with this free online photo transfer service all it takes is a simple 5 step setup where you need to select the source and target locations, adjust transfer parameters and lastly click Start.
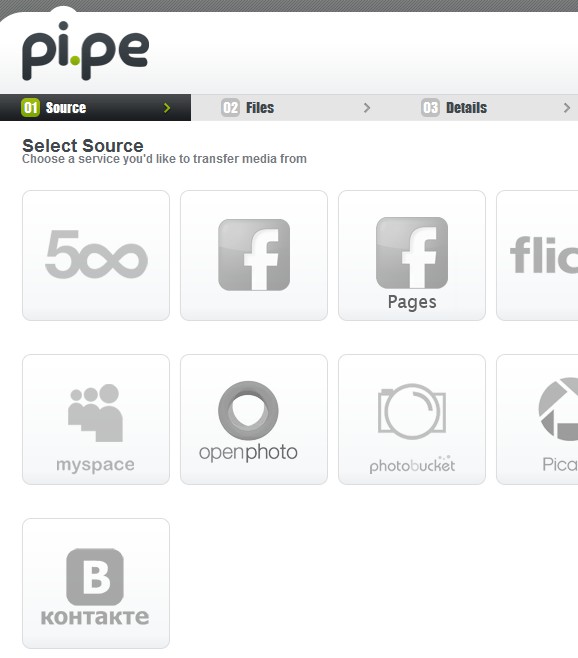
First step of the media transfer setup process can be seen on the screenshot above. This is where you need to select the source from where the images and other media is gonna be transferred. 12 different online social networks and media sharing websites are supported.
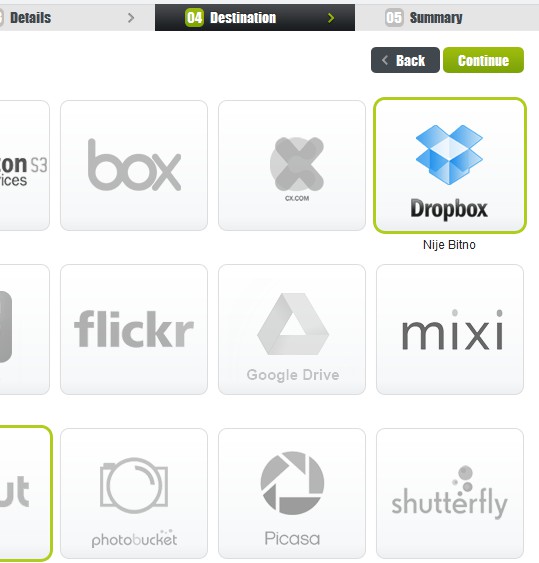
Even more websites are available and can be used as the destination file hosting services, like, Dropbox, Box, etc. Where you are when it comes to completion of the 5 steps can be seen in the status track just below the title.
Key features of Pi.pe free online photo transfer service are:
- Web based – setup everything online using your web browser
- Transfer images and phots from 500px, Facebook, Flickr, Instagram, Mixi, MySpace, OpenPhoto, PhotoBucket, Picasa, Shutterfly, SmugMug, Kontakte
- Transfer images and photos to: Amazon Glacier, Amazon Web Services, Box, Gx.com, Dropbox, Evernote, Google Drive, Orkut, SugarSync, YouSendit, YouTube, and of course all of the “transfer from” services that we mentioned in the previous line
- Simple setup – you just need to login to the transfer from and transfer to accounts, select files and click start.
Users who are interested in migrating online accounts, Picasa to Flicker for example, with Pi.pe don’t have to do it manually by downloading all the images and then re-uploading them all over again. If you’re wondering what kind of limitations are there when it comes to number of photos that can be transferred, the websites says thousands, so it’s a lot. Here’s a short “how to” to help you get started.
How to transfer photos and images online with Pi.pe – free online photo transfer software
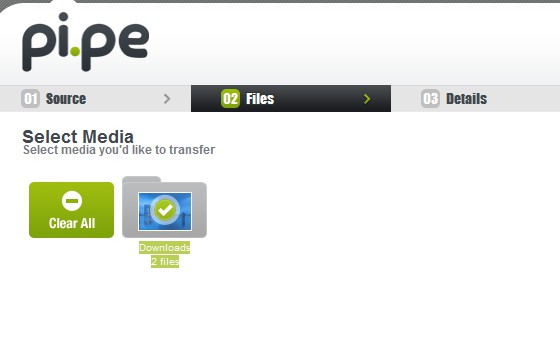
First step if the source selection, this can be seen on the first image above. The second step requires you to select which folders and images from the connected account you’d like to transfer.
Third step you can make additional adjustments, hold back some of the files from a folder so that not all the images and videos are backed up. Fourth step is the destination account setup. We used Dropbox. Click on the icon, authorize Pi.pe to access your files and click Continue.
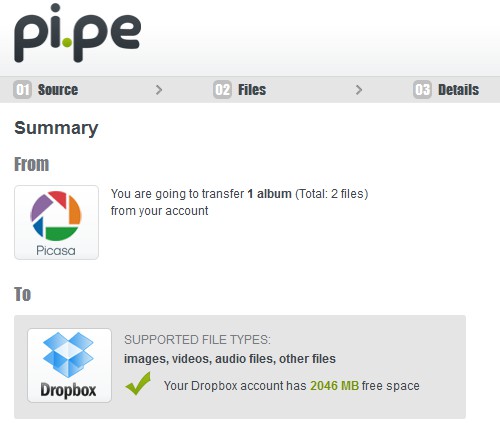
Last step is to confirm everything that you’ve setup and click Start Transfer button in the top right corner to start the transfer of images. You’ll be notified via email after everything finishes and your files are migrated.
Conclusion
Pi.pe is very easy to use and it offers a very large selection of social networks and media sharing websites. It’s very easy to setup and even though we only had a couple of photos, they were transferred very fast. Give it a try and see how it goes. Register for free.


