In this post, I will explain how to create a static website from DEV posts in one click using Stackbit. Here I will tell you more about Stackbit and some of its powerful features to create a static site in a few clicks just by connecting your Netlify, Stackbit, and DEV accounts. After connecting your DEV and Netlify accounts with the Stackbit, and it will use the DEV content for the generated static site and the best part is that no coding is required for this process. During the static site creation, you can even select a theme of your choice as well.
Stackbit helps you generate a static site on the static site hosting platforms such as Netlify, Forestry, etc. Here you just have to select your different accounts, specify your preferences and get your site up and running for free. However, if you want to create your site on a dedicated domain then you will have to buy that from any domain name provider such as NameCheap, Freenom, etc. Next, you can use a registered domain in your Netlify account and create a professional looking static website.

How to Create Static Website from DEV Posts in Few Clicks using Stackbit?
Using Stackbit is very simple to generate a static website that has your DEV.to content in it. There are a few steps involve in which you have to select the website preferences and then host the website in the end. Before staring with the static site generation process, you must have an account on GitHub, Netlify, DEV.to, and of course Stackbit. Stackbit is in beta currently and which is why only a handful of CMSs are supported to host a static website in it. So, if you have registered accounts for the aforementioned services then you can start with the static site generation process.
These are the steps involved in generating a static website from DEV posts in few clicks using Stackbit.
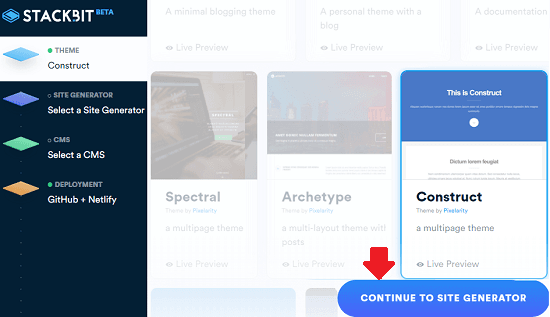
Step 1: Make sure that you are logged Netlify, DEV, and Stackbit. After that, you just follow this link that will take you to the Stackbit account where you have to create a project. In the first phase, you have to select a theme first. There are some very nice themes there on the website that you will like.

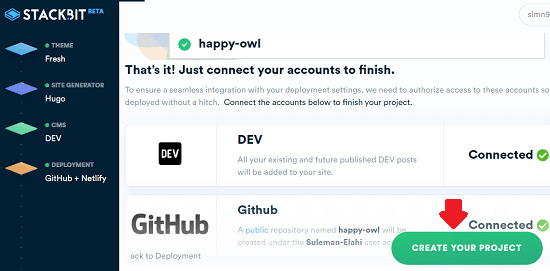
Step 2: After choosing a theme for your static websites, it will take you to next section where you have to connect your GitHub and DEV accounts in order to get your content. It uses GitHub to store the website data in a specific repository that it will create for you. You are free to choose any name for the repository.

Step 3: In the third steps, you simply choose Netlify as the CMS and then proceed further. Finally, you hit the “Create Your Project” and then you can simply wait for it to create the website for you. It will take a few seconds to finalize the Netlify step of deploying your static site.

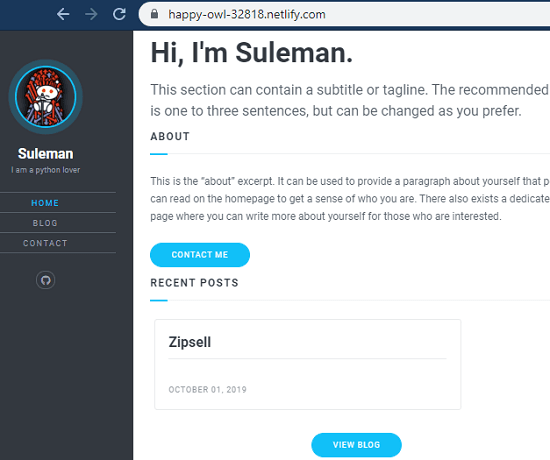
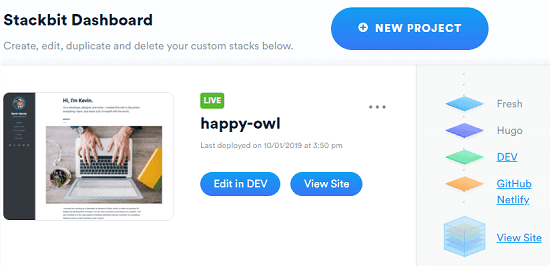
When it has finished hosting your static site, you can see that on the dashboard. Also, you can follow the link and see the final website in action. You can control some parameters of the site as well from the Stackbit dashboard. You can see the site I have generated using Stackbit in the screenshot that I have added in the beginning. If you want to create another website Stackbit then you are free to do so. You can definitely create other projects and choose custom options to generate a static website for all your needs.
Closing thoughts
If you are into static sites then you will really like the Stackbit website. If you are using DEV to publish your posts fpr a whole then now you can easily convert those posts in to a beautiful website. DEV uses a markdown for the posts and this is one of the reasons that this can be done in one the easiest way possible. Not for DEV posts only but if you just need a static site to add content in it manually then it that case this is a good option as well. What I liked most about Stackbit is that almost all the major static sites generators are supported by it such as Hugo, Gatsby, Jekyll, etc. It supports other CMS as well that you can explore on your own.