Duplicati is a pretty nifty desktop application that lets you store incremental backups of your important data to selected cloud storage services and remote servers. You can either backup standard Operating system folders (Documents, Images, Videos etc.), or specify the folders to be backed up yourself. All of the backups made by Duplicati are compressed and encrypted with AES-256 grade encryption. It works with quite a bunch of cloud services like Google Drive, OneDrive etc., and supports WebDAV, FTP as well. Apart from this, Duplicati also includes a built-in scheduler that can take care of all your backup needs with minimum user intervention. To top it all off, Duplicati includes support for a large number of tweaks like Filters, Deletion Rules that let you fully control what is backed up and how. It even lets you specify the bandwidth to be used while uploading/downloading backups. Sounds pretty exciting, right? Let’s find out more.
Duplicati: Installation and Setup
The installation of Duplicati is a pretty standard affair. All you have to do is download the application from its homepage, and install it. That’s all there’s to it. When you run the application for the first time after installation, Duplicati presents you with a standard wizard to set up your documents. So without further ado, let’s see how you can get your files securely backed up:
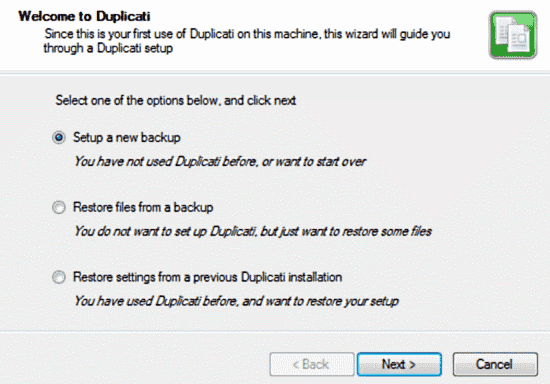
Step 1: The first screen (also illustrated above), consists of a few options. You can use these to either setup a new backup, restore a previous backup, or restore Duplicati’s settings from a previous installation (I’ll be using the new backup option).
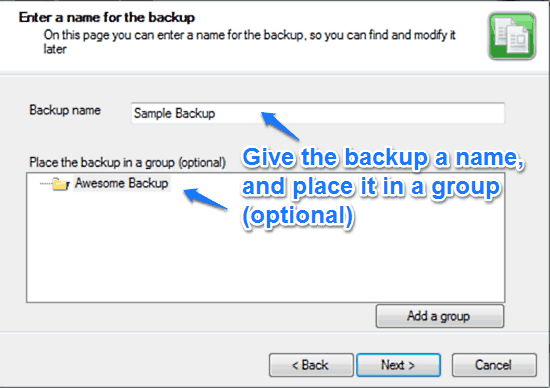
Step 2: The next screen asks you to give your backup a name. You can also create local folders to place your backups in, to manage them better.
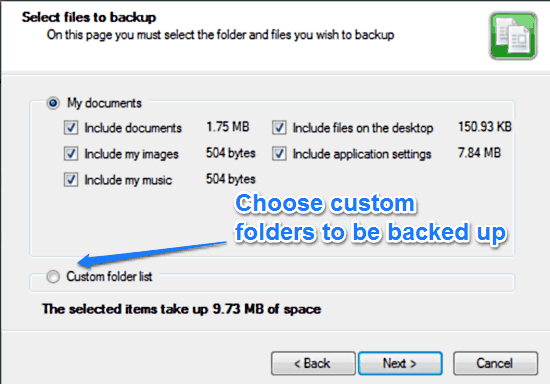
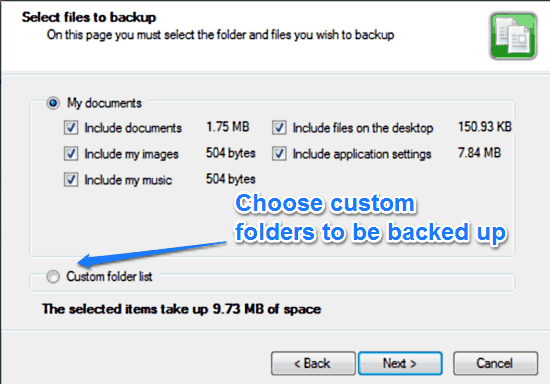
Step 3: The next step of the wizard asks you to select the system folders that you want to be backed up. By default the My Documents folder (as well as its sub-folders) are backed up. However, you can also choose the folders manually by selecting the radio button that says Custom folder list.
Step 4: Next up, you’re asked whether you want to password protect and encrypt your backup or not. Doing this is highly recommended, as it adds in an extra layer of security. You can also generate a random strong password on this screen, in addition to supplying your own password.
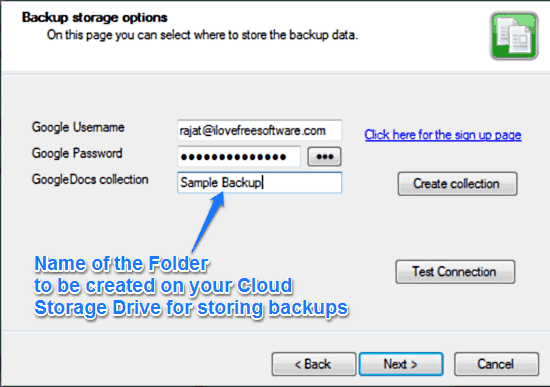
Step 5: After that, you’re required to choose where you want to store your backups. You can choose from a couple of remote file storage services, as well as cloud services (OneDrive or Google Drive). Let’s choose Google Drive. Once you do that, you’re required to enter your Google Account credentials, as well as the name of the collection where you want to store your backup (A collection is basically the folder that’s created on your Cloud Storage account for keeping the backups).
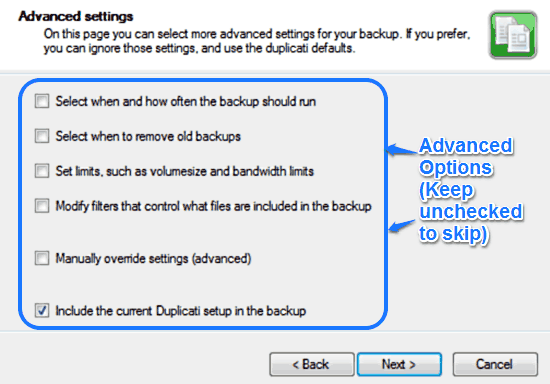
Step 6: The next screen presents you with some advanced options that let you control the way your data is backed up by Duplicati with a lot more granularity. How many extra steps you have to encountered depends upon the options that you choose at this step. However, for most of the casual users, all of these options can be skipped. In any case, they are briefly mentioned below:
- Select when and how backup should run: Lets you configure the schedule of automatic backups.
- Select when to remove old backups: Configure when old backups must be removed.
- Set limits: Configure the upload and download limit and speed.
- Modify filters: Use filters to specify what should be included in the backup and what not.
- Include current Duplicati setup: Include the existing settings and configuration of Duplicati itself in the backup.
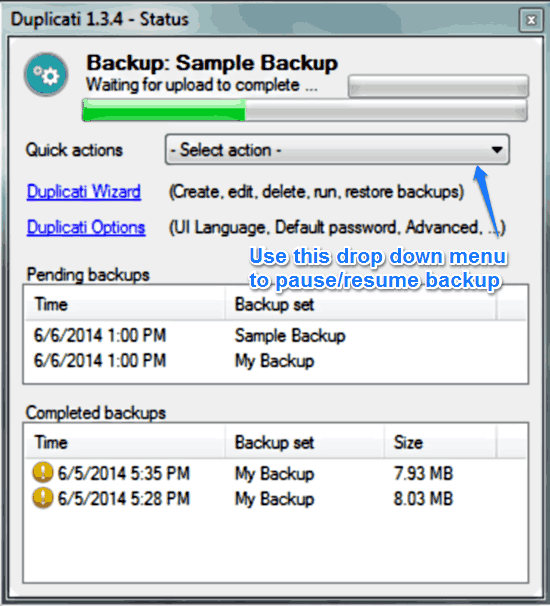
Step 7: Finally, on the next screen, click Run Backup to start backing up your data. As soon as the backup starts, Duplicati minimizes to the system tray. Clicking the system tray icon reveals a handy window that gives you the details about the backup, as well as an estimate of the time remaining via progress bars. You can even pause Duplicati’s backup process (for different durations, ranging from 5 minutes to 1 hour) and resume it again, using a handy drop down menu. Check out the following screenshot:
That’s it. Once Duplicati’s done backing up your content to the cloud, it’ll notify you of the same via a handy system tray balloon notification. Now that wasn’t so hard, right?
If you want to backup to your friend’s PC, you can try CrashPlan or BuddyBackup.
How to restore from a backup?
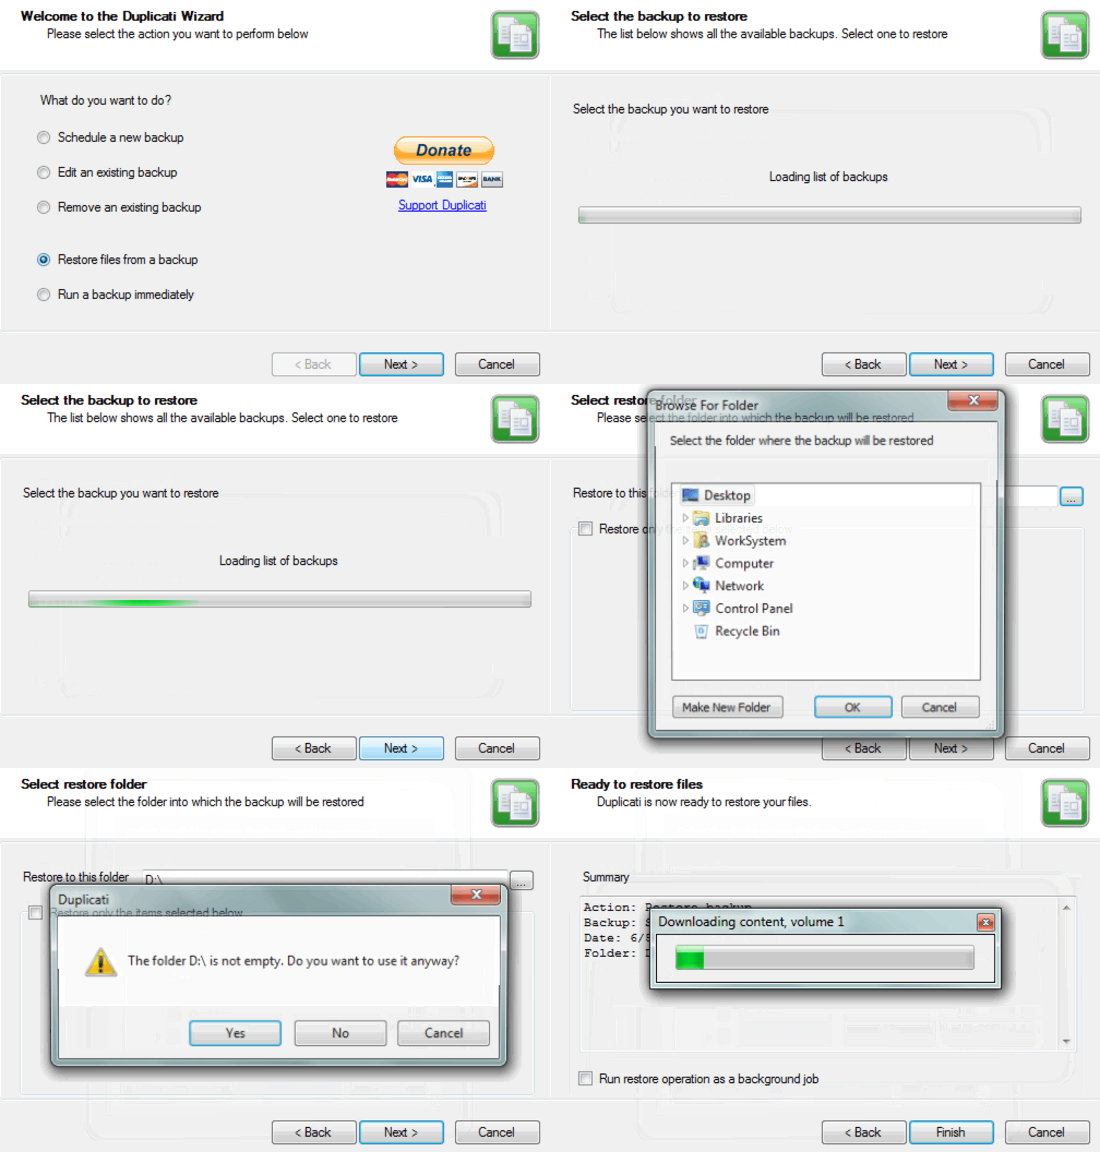
Obviously, backing up is only half of the procedure. In fact, one of the main reasons data is backed up is to restore it back in case of data loss. Restoring your encrypted Duplicati backup from any of the supported cloud services or remote file servers is really easy. All you have to do is run the Backup wizard from Duplicati’s right click menu, select the backup, enter the decrypting password (if used), and you’re good to go. Here’s a little animated graphic illustrating the action:
Conclusion
Duplicati is a pretty awesome service that takes care of backing up your important files and other data, so you don’t have to. For the low price of free, it offers a plethora of options and advanced control over what is backed up and how. This makes it especially valuable for everyone, especially system administrators. And of course, then there’s the capability to encrypt your data before backing it up, which is an added bonus. The easy to use wizard makes things really easy. If you’re looking for an easy yet powerful way of backing your important data, do give Duplicati a shot. It’s really good.