Notea is a free self hosted alternative to Notion to create pages, notes and host them. It lets you create unlimited pages with proper formatting and with multimedia files. You can have both; private and public pages and it uses Amazon S3 as data store to save all your data. You can run multiple instances of it on different servcies even locally and you will have the same data available to you on all of them.
A few days ago I covered another open source Notion alternative but Notea here is an even more accurate replica of Notion. You get full markdown support for writing notes and creating pages. It features a powerful finder to search inside nested pages and it has a dedicated trash folder from where you can recover deleted pages. There is no email sign up as you just access the main dashboard with a specific password you set in the beginning.
Notea supports 1 click deployment too on services like Netlify and Vercel. The entire website is static so you can easily deploy them directly from their GitHub form. But if you want to run it locally then you can do that with ease as well. For storage, not only Amazon S# but it supports other destinations as well such as Tencent Cloud and MinIO.
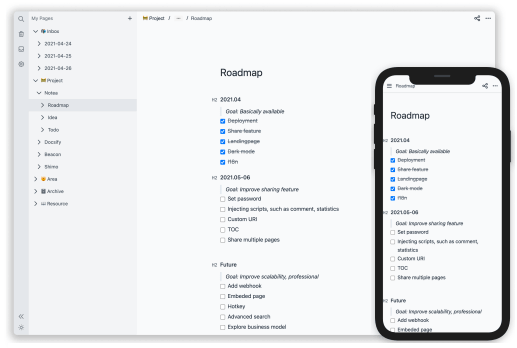
Main Features of Notea:
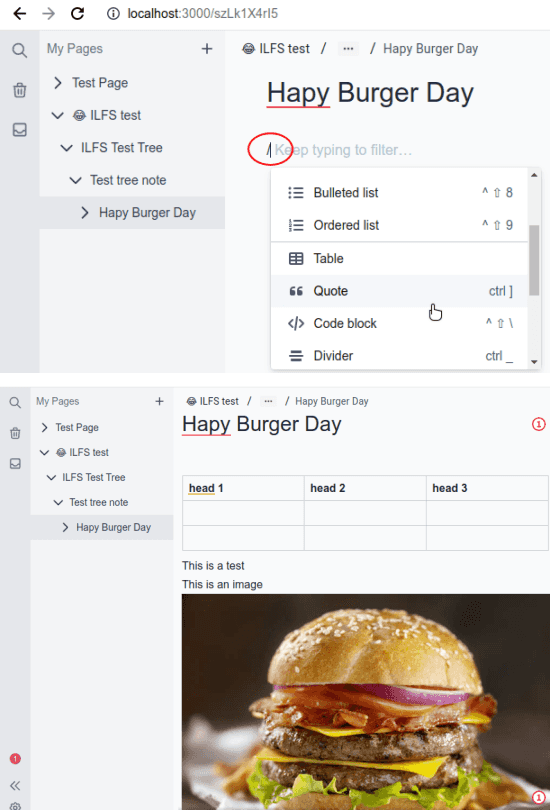
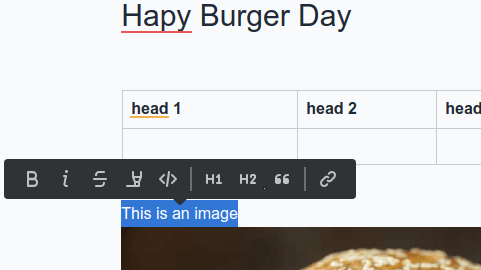
- Notea has Notion like markdown editor and formatting popup that shows when you select some text. Besides this, there is a slash command that shows you the option to quickly add components to the page. With simple shortcuts, you can add checklists, tables, images, bulleted list, code blocks and more.
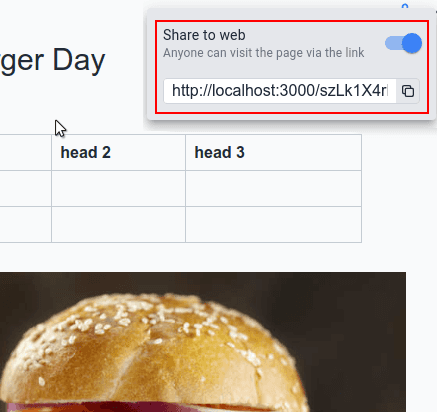
- You can create public and private pages easily and it creates a separate link for each page. With this, you can decide what pages you want to publish and what pages you want to keep as private.
- It lets you create nested pages. You can create pages under pages with a very complex tree structure. The nested pages can also be deployed separately as public and private.
- Notea always keeps your data synced. Since, you need a single configuration file for each platform where you want to host it, so your data will always remain synced. You can use Notea on Vercel, Netlify, and locally at the same time with the same data.
- Adding custom domain is very easy with Notea. Since, it supports Netlify and Vercel integration so you can add a custom domain from the deployed app settings. The Best part is that Vercel and Netlify will provide you a free HTTPS certificate as well.
- If you plan to deploy it on Vercel or Netlify then you get advantage of automatic updates. Because, those platform will trigger a new build as soon as they detect any change in the GitHub repository.
How to Install Notea?
One of the easiest deployment methods is 1 click deployment that it supports on Vercel. You just have to fork its GitHub repository and then import it in the Vercel. Just create storage configuration in the “.env” file and then deploy Notea. This is as simple as that. By default, it will be deployed on Vercel’s subdomain but you can add a custom domain to it easily.
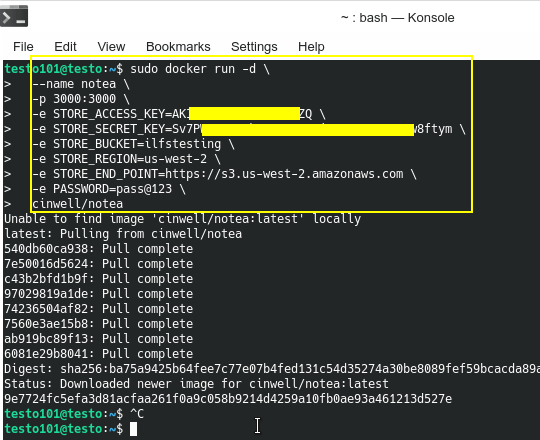
Another method is to install it locally and using Docker. To do that, you just have to run a single command. Open terminal(assuming you have Docker already installed) and then simply run the following command.
sudo docker run -d \
> --name notea \
> -p 3000:3000 \
> -e STORE_ACCESS_KEY=XXXXXXXXXXXXXXX \
> -e STORE_SECRET_KEY=XXXXXXXXXXXXXXXXXXXXXXXX \
> -e STORE_BUCKET=XXXXXX \
> -e STORE_REGION=XXXXXX \
> -e STORE_END_POINT=https://s3.us-west-2.amazonaws.com \
> -e PASSWORD=Notea@123 \
> cinwell/notea
Just replace the access keys and secret with yours and set a desired password for Notea. This command is specifically for the case when you use Amazon S3 as the storage backend. So, enter the S3 credentials here accordingly and if you want to use other destinations then see the corresponding configuration on the GitHub page of Notea.
After the above command finishes successfully, you just enter localhost:3000 in the address bar. It will show you the main Notea page that asks for a password to enter. You can see that in the screenshot below.
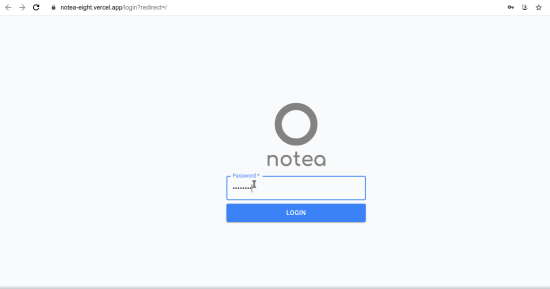
This is how you install and setup Notea locally or on Vercel. You can set whatever password you specified in the command and then enter the main UI.
Creating Notes and Pages in Notea:
Enter the password and then you will reach the main UI of Notea which is blank initially. Here you will get Notion like feeling and you can now start creating your pages. All the pages and notes you create will appear on the left sidebar.
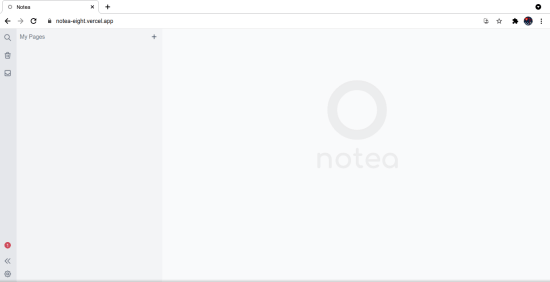
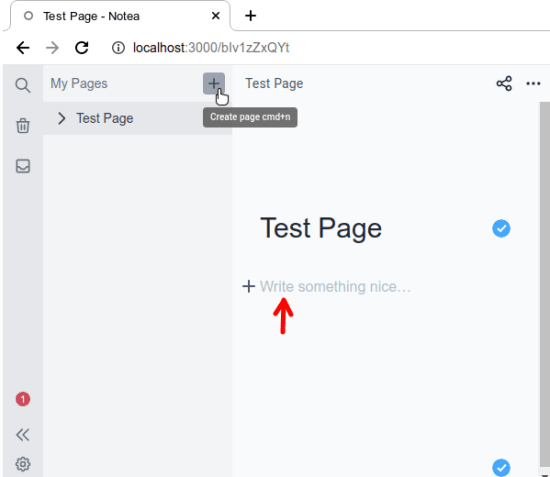
Create your first by clicking on the plus(+) icon. Give your page a title and then type the text as content.
You use the slash command(/) to quickly add some components in the page. It gives you options to add bullet lists, checklists, tables, ordered lists, images, code blocks, headings, quotes, warning messages, tips, and few more option. You can add any of these components in the page body by simply selecting it.
It offers you a text formatter as well that will appear when you select some text. It has the most common types of formatting options that you will find in Notion or any other page editor of its kind.
After you have created a page, you can get its link. By default, every page is private and only you can access it from its link. But you can make it public by simply sliding a switch from the share button at top right side.
In this way, you can make use of this simple and power Notion alternative. You can delete pages from the main UI and find them in the trash folder in case you want to have them back. It does not delete pages permanently and if you have created a lot of pages then you can always use the search tool even for the trash folder.
Wrap up…
I am really impressed with the functionality and user interface Notea has as it can completely replace Notion. If you want to have your own dedicated tool for notes and hosted pages then it is no doubt that Notea is the best option for that. So, just go through this post and official documentation and get it up and running in a few seconds. And if you have more questions related to the installation or deployment then let me know in the comments down below.