This is a list of 5 free Android apps to share panorama on Instagram. You can simply pick up a panorama and then these apps will split it into multiple square pieces. After that, you can post the square pieces using the “Carousel Album” feature of Instagram. The carousel album can take up to 10 images, so these apps can split your panoramas into 10 or less square pieces. All the pieces of the panorama will become swipeable. That means when you swipe them in the carousel view, it will feel like you’re actually viewing a panoramic image on Instagram.
If you’re an Instagram user, then you might know that it doesn’t support panoramic images. So, you can’t really post any panorama or wide view images until you crop it to the standard image size on Instagram. But you don’t have to worry about that anymore, as all these Android apps can help you easily share panorama on Instagram without shrinking or cropping it. Some of these apps even allow you to resize, crop, and rotate your panoramas before you share them on Instagram.

If you would like to know how to share panorama or 360-degree photos on Facebook, then you can read our post on How to Shoot and Share 360 Degree Photos for Facebook on Android.
Now, let us get started with these Android apps and see how to use them for sharing panorama on Instagram.
Pannify:
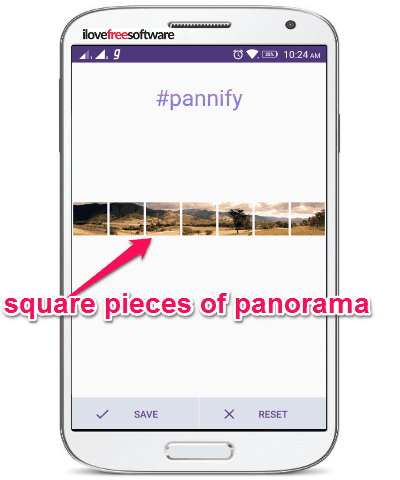
Pannify is definitely one of the best Android apps to share panorama on Instagram. Using this app, you will be able to share all your panorama or wide scene images on Instagram without cropping them. It can take your wide panorama image and then divide it into multiple square pieces (up to 10 pieces). After that, you can simply post those pieces on Instagram and view them as a swipeable panorama. Apart from that, it also allows you to rotate, resize, and crop your panoramas.
How to Share Panorama on Instagram using Pannify:
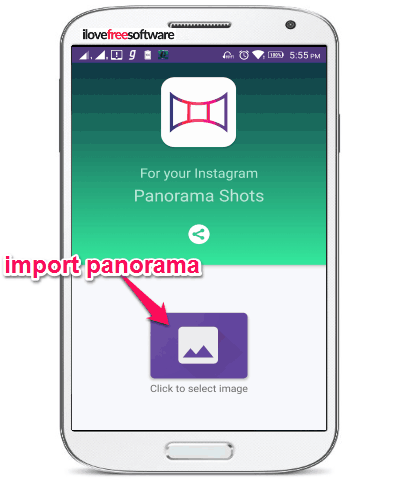
Step 1: Open up this app on your Android phone and then tap on the “Click to Select Image” button on the main screen. After that, import the panorama which you want to share on Instagram.
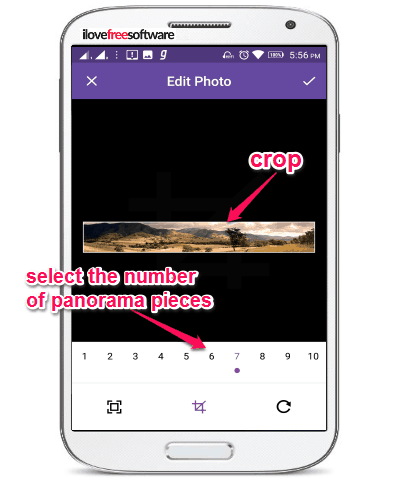
Step 2: Once you do that, it will ask you to choose the number of pieces into which you want to split the panorama. You can choose the number of pieces between 1 to 10. In addition to that, you can also crop the panorama if you want to remove unnecessary parts. It also lets you resize and rotate the panorama by clicking the “Resize” and “Rotate” icon at the bottom.
Step 3: When you’re done editing the panorama, tap on the “Tick” button at the top and then it will split the panorama into the number of pieces which you have selected. Now, you can save all the pieces to your phone storage and then post them on Instagram in proper sequence.
InstaSwipe:
InstaSwipe is another useful Android app that can help you easily share panorama on Instagram. It can take a panorama and divide it into 2, 3, 4, or 5 square pieces. You can then share these pieces using the carousel album on Instagram such that they will look like a panorama when swiped. Similar to “Pannify”, this app also lets you crop, rotate, and resize panoramas before posting them on Instagram.
How to Share Panorama on Instagram with InstaSwipe:
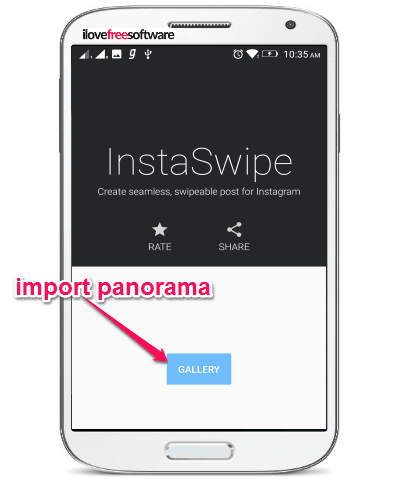
Step 1: After you open “InstaSwipe”, you would need to import a panorama to proceed. For this, tap on the “Gallery” button at the bottom of the main screen and then import the panorama.
Step 2: When you’re done importing the panorama, the editor screen will open up where you can select the number of pieces for splitting the panorama. You can either choose the option 2×1, 3×1, 4×1, or 5×1 to split panorama. Apart from that, you will also see the options to crop, rotate, and resize the panorama at the bottom of the editor screen.
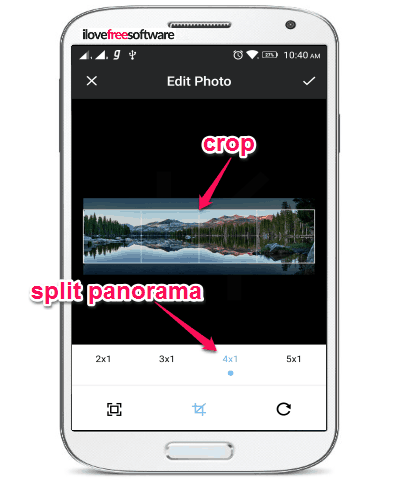
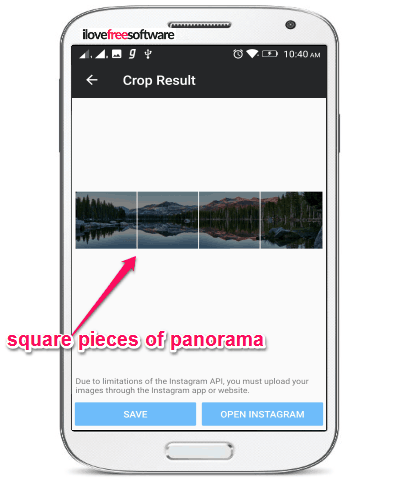
Step 3: Once you have edited the panorama, simply hit “Done” to split the panorama into multiple square pieces that you have set in the above step. After that, you can tap on the “Save” button to save all the panorama pieces on your phone gallery. Now, you can simply open Instagram and post them using carousel album.
PanoramaCrop:
PanoramaCrop is another simple Android app which you can use to share wide scene images or panoramas on Instagram. The interface of this app looks pretty similar to that of Pannify and the steps for splitting a panorama are also identical. You can import a panorama and then split it into up to 10 square pieces. These pieces will look like a complete panorama when posted on Instagram. It can also help you crop, resize, and rotate the panorama before sharing.
How to Share Panorama on Instagram using PanoramaCrop:
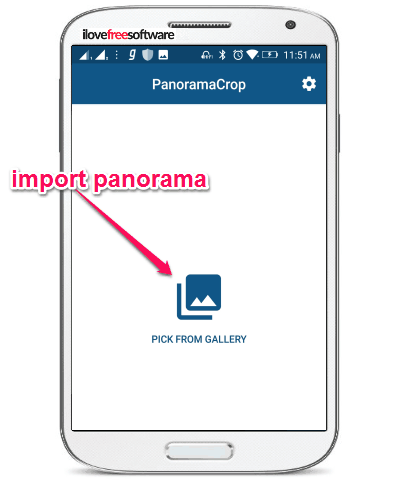
Step 1: Simply, install and open up “PanoramaCrop” on your Android phone. After that, tap on the “Pick from Gallery” button at the center of the main screen and select the panorama.
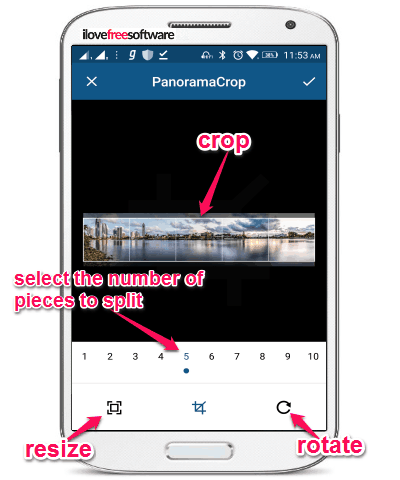
Step 2: After that, you can select the number of pieces for splitting the panorama. You can select the number between 1 to 10 for splitting the panorama into square pieces. Additionally, it will also allow you to crop, resize, and rotate the panorama to make it perfect before you share it on Instagram.
Step 3: Once you have edited the panorama, you would need to tap on the “Tick” icon at the top to proceed. As soon as you do that, this app will automatically split and save the square pieces in your phone storage. Now, open up Instagram and select these square pieces in carousel album and post them. When anyone will swipe these square pieces, it will look like a panorama.
InstaWide:
InstaWide is also one of the best apps for Android to share panorama or wide view images on Instagram. Similar to Pannify, you can also use this app to split a panorama into 10 or fewer pieces for posting them on Instagram. It doesn’t have any option to crop, resize, or rotate panorama, but you can move the grid location before you split the panoramic images. Another unique feature is that it can help you split the panorama into square or rectangular pieces.
How to Use InstaWide to Share Panorama on Instagram:
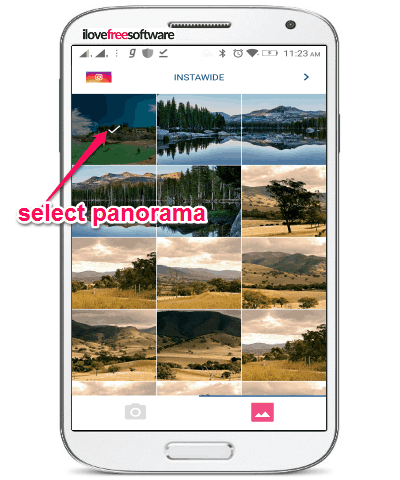
Step 1: When you open up the app, all the images from your phone gallery will be visible on the main screen. Here, you can select the panorama which you want to share on Instagram. After selecting a panorama, tap on the “Arrow” icon at the top to proceed.
Step 2: When you do that, the “Edit” screen will open up where you will be able to choose between “Rectangle” or “Square” grid. After that, you can assign the number of pieces between 1 to 10 for splitting the panorama. You can also move and adjust the grid by moving it on the panorama.
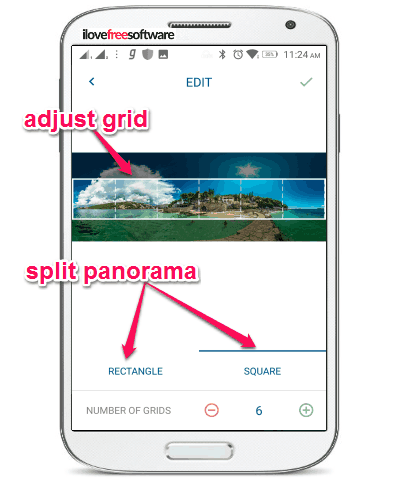
Step 3: When you’re all set, hit the “Tick” button at the top and it will automatically split the panorama and save all the pieces on your phone storage. You can now post them on Instagram in a carousel album such that anyone can swipe and see them as a panorama.
Instarama:
Instarama can also be used to share panorama on Instagram. Unlike all the other apps in this post, it doesn’t have any option to select the number of pieces for splitting the panorama manually. And when you import a panorama, it will automatically split it into 3 different square images which you can share on Instagram. This app doesn’t have any option to edit the panorama like crop, resize, etc.
Use Instarama to Share Panorama on Instagram:
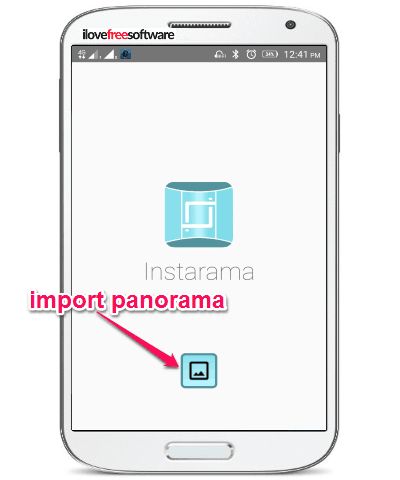
Step 1: When you install and open up this app, you will see a “Gallery” icon on the main screen. You can simply tap on it to import a panorama from your phone gallery for splitting.
Step 2: As soon as you select a panorama, it will automatically split it into 3 different square images. You can also preview them by swiping on the screen. At the bottom of the screen, you will see a “Save” button using which you can export all the 3 square pieces on your phone.
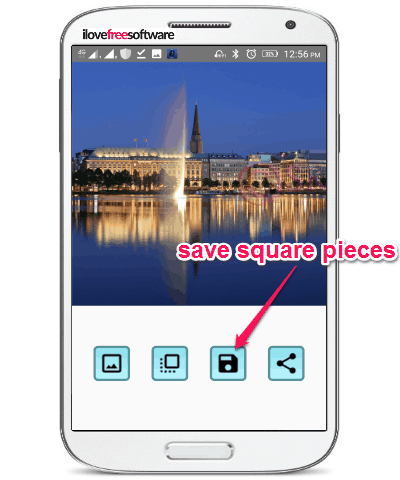
After that, you can share the square pieces on Instagram in carousel album so that when anyone swipes through them they will see the pieces as a panorama.
Closing Words:
These are some of the best free Android apps to share panorama on Instagram. Even though these apps don’t actually allow you to post an entire panorama on Instagram, but they help you split the panorama into multiple pieces. You can later post these panorama pieces using the carousel album on Instagram and when swiped they will look like a panorama.
Try them out and let me know which one you liked the most.