Formspector is a Free Online Web Tool that you can use to Test any of your Forms and automatically notify you in case it is not working, without writing any piece of code. It just takes roughly 5 minutes to set up your first Formspector and all that you require is the exact URL of the website where the form has been deployed.
The following are the some of the Types of Forms, for which you can set up automated tests using Formspector:
- Newsletter Signup Form: Verify if users can sign up and subscribe to your newsletter.
- Contact Form: Check if visitors can access the contact form and submit their details.
- Signup Form: Make sure that users can sign up to your website correctly.
- Lead Form: Check if your lead generation form is working so that you can capture contact details of potential customers.
- Support form: Confirm if your customers can send support requests.
The Basic Process of using Formspector comprises of 3 Steps as follows:
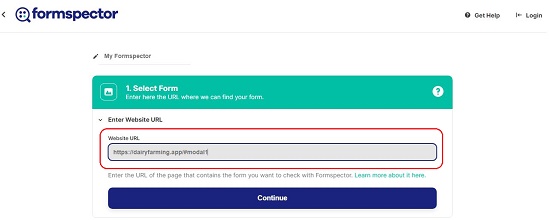
- Type the Form URL: Provide the precise link (URL) of the website where the form has been placed.
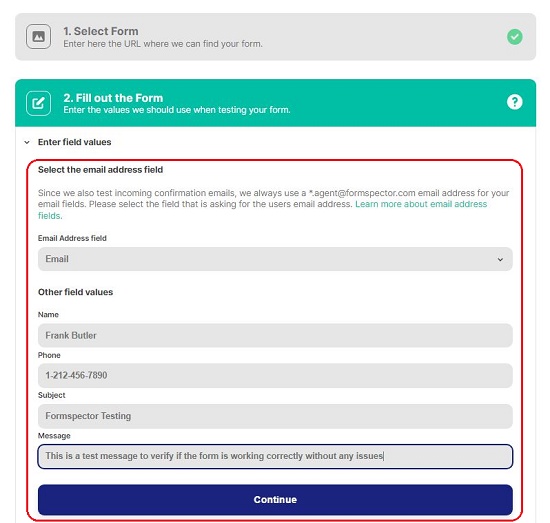
- Type the Field Values: Configure the field values of your form so that tests can be filtered out from the real submissions in case your form is already live for customers.
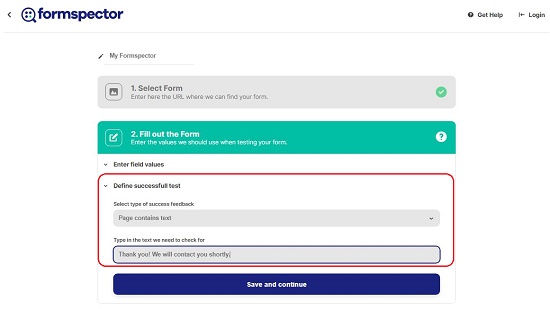
- Configure the type of success feedback: Successful submission of a form is confirmed to the user using a pre-configured message that is displayed on the website. Some websites also send a confirmation email to the user after the form has been submitted successfully. Formspector can verify if the success message is being displayed as well as emails are being sent to the user.
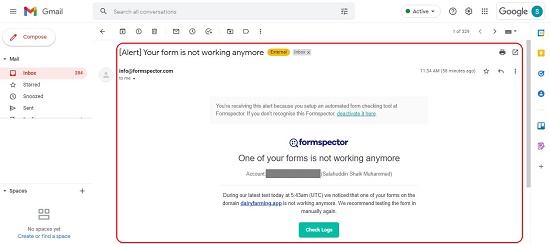
Once a Formspector has been created and activated, you will get an alert if any of your forms is facing issues. The alerts are sent to the email address that you specified while setting up the Formspector, and contain the domain name where the form is deployed, date and time when the issue was checked and a link to all the details that points to the Formspector web tool.
I tested the product by setting up a Formspector and received an email alerting me to some issues in my form. The following are the steps used to setup the Formspector:
1. Type the URL of the form, name your Formspector and click ‘Continue’
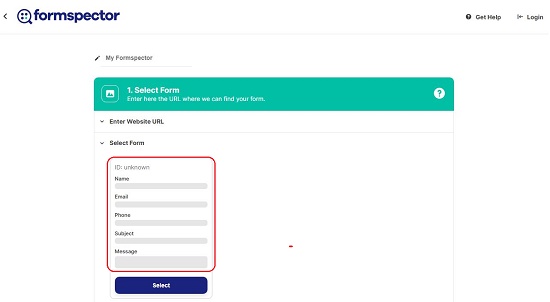
2. The Formspector will fetch your form and display it. Click on ‘Select’
3. This step sets up the field values. Select the field (on the form) that prompts for your email address to test if confirmation emails are being sent to the user. Type all the field values so that Formspector can distinguish between form tests and real submissions. Click ‘Continue’ at the end.
4. Next, we need to select the type of success feedback. Click on the drop-down and select either ‘Email received’ or ‘Page contains text’. If you select the latter, you must type the pre-configured message that is displayed on the website after the user submits the form. Click on ‘Save and Continue’ to save the Formspector.
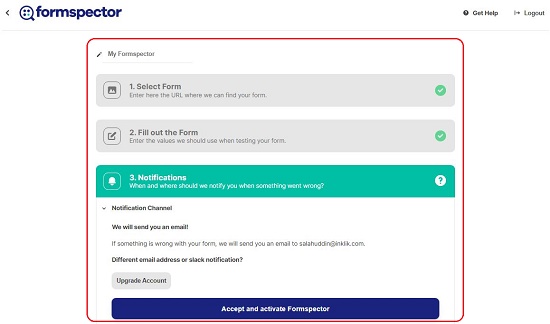
5. Sign up with your Google account on any other email id for the alerts and notifications to be sent if your form is not working correctly.
6. Finally click on ‘Accept and Activate Formspector’ to navigate to the dashboard where you can visualize all the Formspectors.
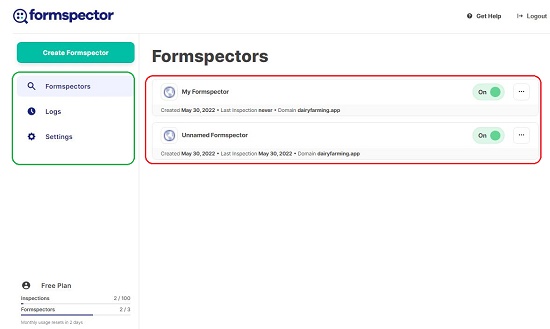
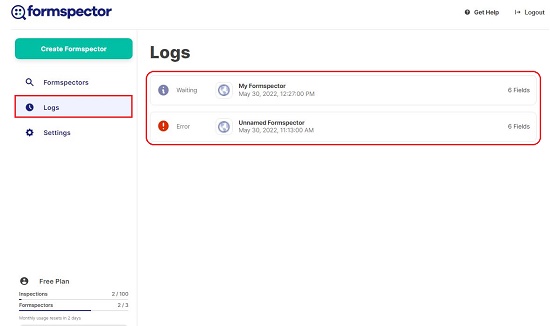
7. Click on ‘Logs’ in the left panel to view the status and results of inspection.
8. Keep checking your email frequently for any alerts in case the form is not working correctly. The screenshot below indicates an alert that I received indicating that my form wasn’t working correctly.
The Free plan allows you to configure 3 Formspectors and a maximum of 100 inspections. You must upgrade your account for more but the Paid Pro-Version has still not been released by the developers at the time of writing this article.
Verdict:
Formspector is a very good tool to check if your website forms are functioning properly so that necessary and timely actions can be taken when failure alerts are received. This saves your time and effort that would have been spent for a manual testing of all of your forms.
Click here to navigate to Formspector and start inspecting your forms.