Do you love the new start screen in Windows 8 but hate the fact that Windows automatically sets the number of rows on the start screen depending upon the resolution of your computers screen and you cannot add or remove the number of rows according to your needs. Then follow this simple tutorial to change the number of start screen rows in Windows 8.
Windows 8 displays different amount of rows on the start screen depending upon the your system’s screen resolution. Like on my computer I have a resolution of 1366×764 and my computers is able to do 4 rows horizontal and 8 rows when it is vertical. Anyway here is a list of screen resolutions and their maximum allowed row value.
- 4 rows on 1366×784
- 5 rows on 1440×900
- 6 rows on 1900×1080
- 7 rows on 1920×1200
- 10 on 2560×1920
Earlier we had to go through the complex process of editing the Windows registry to change the number of start screen row in Windows 8, but now there is a convenient tool available; using this tool you can change the default number of rows in the start screen with just a few clicks. Because we are using a tool instead of the older register method this tutorial will be over in a few steps.
Steps to change the number of start screen rows in Windows 8:
- The software that we are going to be using is called Windows 8 Start Screen Tiles; this allows us to change the number of rows of tiles that are shown in the start screen.
- First step that you are supposed do to is to download the software by clicking here, which will enable us to change the number of start screen rows in Windows 8 in a simple and straightforward manner.
- Extract the downloaded file and unpack it using the Winrar, 7zip, etc. You will get a file with the extension .ex_, just change this extension of this file to .exe.
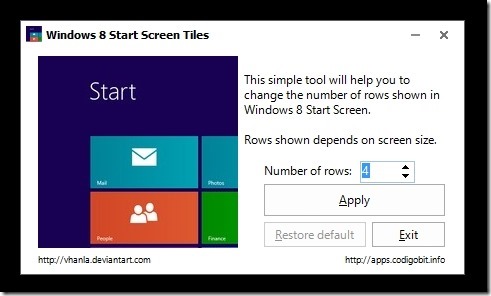
- Now that you have extracted application, click on it to run; the best part about the application that no installation is required. To run the application just click on the standalone executable file. When the application is run you will be able to see the interface as shown in the screenshot below.

- To change the number of start screen rows in Windows 8, just click on the button which says Number of rows as seen in the screenshot above. Change its value and click on the Apply button. The screen will twitch and change to the all apps page, now when you navigate back to the start screen you will have the required amount of rows.
- The best part of this application is that you do not need to run this application as an admin and also you have the ability to restore the tiles to default with one click of the button which says Restore defaults as seen again in the screenshot above.
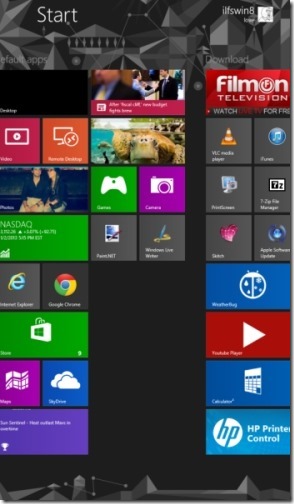
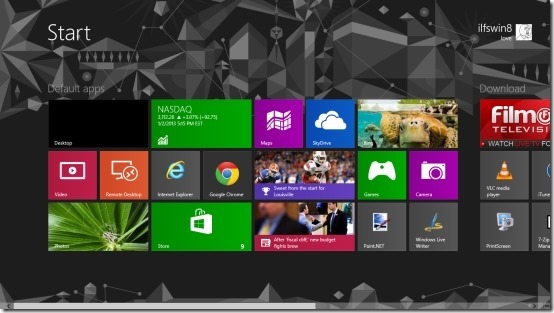
- Imagine you are have setup your computers screen in a portrait manner, but the start screen feels empty with only four rows, so use this free application to increase the number of start screen rows in Windows 8. So I tried it out and felt that adding more rows made the screen feel better as seen in the screenshot below.

So go head and download this free application and change the number of rows on the start screen according to you need.
Here are some other interesting Windows 8 tutorials worth checking:
How To Turn Off Location In Windows 8.
How To See Disk Usage Of Apps In Window 8.
Disk Cleanup In Windows 8.
How To Mount ISO files In Windows 8.
