TiffanyScreens is a free screen sharing software to share you desktop screen with others on a local network. You can also set password protection for others. So, only the peers who have installed this software on their PC, and have the correct password, can see your screen. This software comes in handy when you want to share presentations and stuff without using a projector, or want to demonstrate any activity happening on your PC.
With just a few easy steps, you can set up the configuration, and share your screen with your friends/colleagues. Apart from just sharing your desktop screen, your friend(s) can also switch from watch mode to broadcast mode to share their screens.
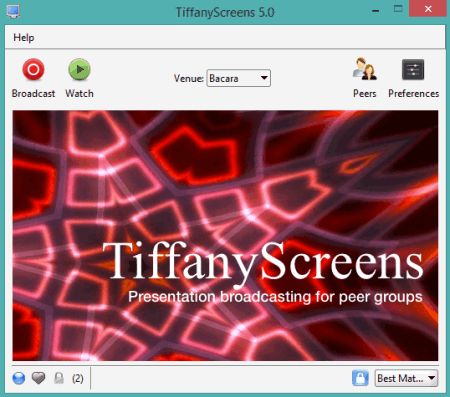
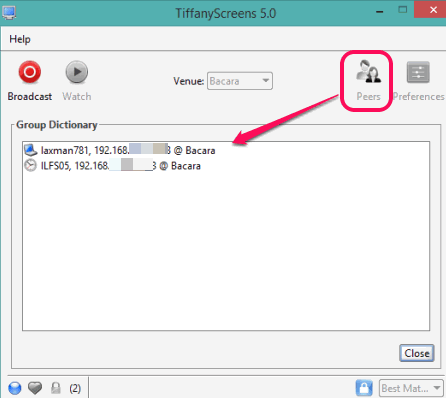
Above screenshot shows the main interface of TiffanyScreens.
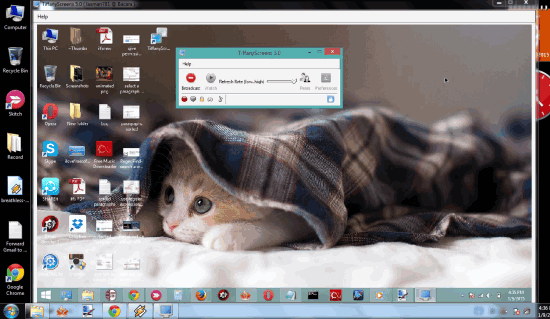
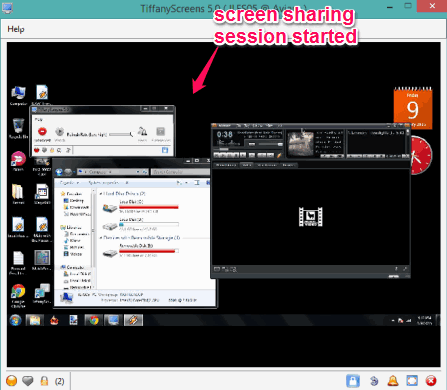
And in screenshot below, you can see the desktop screen shared by me, using this handy screen sharing software.
We have also covered 5 free screen sharing tools for you. You might want to check them!
How to Use This Free Screen Sharing Software?
First of all, go to the homepage using the link I have added at the end of this review. From its homepage, download its zip file which is around 29 MB in size. Extract that file and run its setup. Complete the installation process and open it. After this, follow these steps:
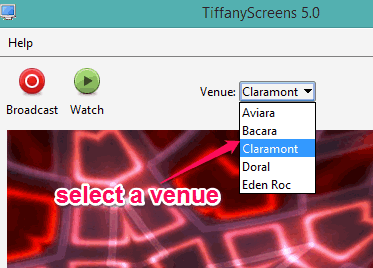
Step 1: Select the venue mode using the drop down menu available on its interface. It provides 5 different venues: Barcara, Aviara, Doral, Eden Roc, and Claramont. These venues are used to broadcast your screen or watch other user’s screen. Your friends’ need to select the same venue in order to watch your computer screen when the screen sharing session is started.
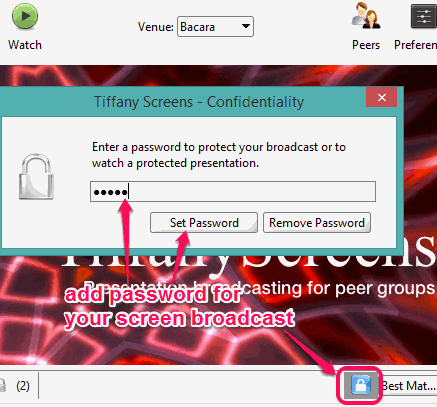
Step 2: You can set password protection for your screen during sharing session. When there are a lot of users available in a particular room and you want to share the session with only some particular users, this password protection feature can be really useful.
Step 3: Click on the Broadcast button available on top left of its interface. After this, your screen sharing session will become live.
Step 4: All other users’ who have installed this software on their PCs and want to view your computer screen need to open it. After this, they have to select the same venue, and enter the correct password. Now, they can tap on Watch button, and the app will let them see your desktop screen and the activities happening on your screen, live.
When some other user wants to become the presenter to share his/her desktop screen, he/she needs to close your session first. After this, using the same interface that user can select a venue, set password (if needed), and click on the Broadcast button. After this, you and other people can repeat step 4 to view the desktop screen of that particular user.
Other Features:
- Clicking on Peers button available on its interface will let you see the number of users who have currently accessed this software.
- You and other users will be able to set the size for viewing the screen of the broadcaster. Available options to set screen size are: best match, 640*480, full screen, and 800*600.
- Bottom left side of the interface will help you see the number of connected users, password protection status for current session etc.
Conclusion:
TiffanyScreens is indeed a good software to share desktop screen on a local network. It can be used for different purposes, like to give presentations, share what is happening on your screen, give demonstration about an application, etc.
