In this tutorial, you will learn about a simple method on how to see any text in multiple Google fonts to find the best font for your projects. There is actually a free website which can help you easily check your custom text with various Google fonts in one single page. It lets you manually add text sections and then write whatever you want in the heading and paragraph of each section. After that, you can choose a different font for each text section. It also lets you change the text size, color, make text bold, italic, etc.
When you’re done with seeing your text in multiple Google fonts, you can get the CSS code of the editing you have done and use it anywhere you want. You can easily try more than 800 Google fonts for text on a single page and without much hassle. This can come in handy in case you want to find the best text font by comparing multiple Google fonts and font pairing. It also lets you see text in multiple system fonts if you want.
How to See Any Text in Multiple Google Fonts to Find Best Font:
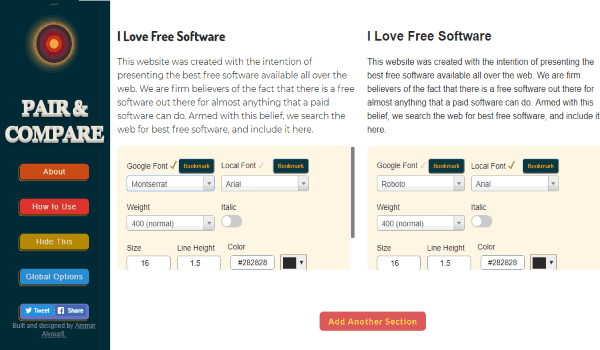
To get started, you would need to open “Pair & Compare” and then you will see 2 predefined text sections with some demo text (a heading and a paragraph). You can now replace the demo text with your own text which you want to see in multiple Google fonts. You can add custom text to both the heading and paragraph.

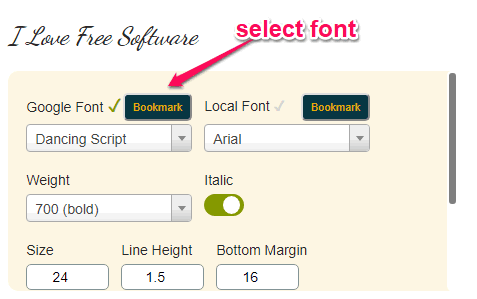
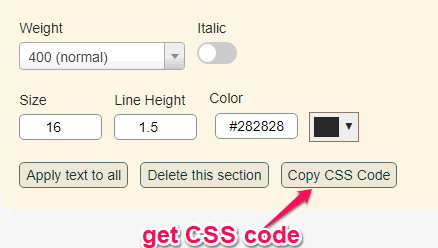
After you’re done entering the text, you can proceed to select different Google fonts and see your text written in it. To do that, simply select or click on the heading or paragraph text on either section and then a popup will appear. On the popup, you can see the option to select any Google font you want, weight to make text bold, italic text, size, line height, color, and bottom margin (for heading).
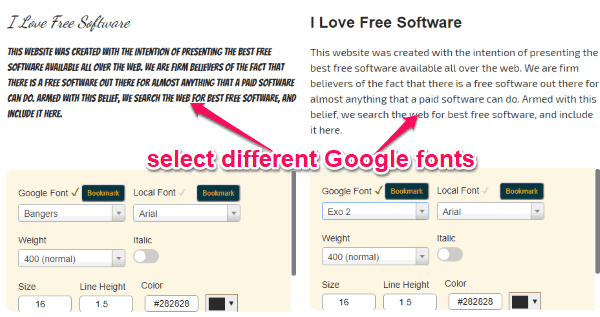
Similarly, you can select the text on both the sections and change their font. You can choose separate fonts for each section. This way you can check how your text will look like in two different Google fonts.
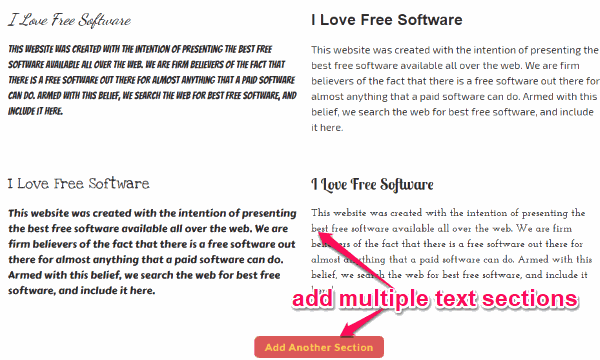
Now, if you want to see your text in more than two Google fonts, then all you gotta do is add new sections. For that, click on the “Add Another Section” button visible at the bottom. When you click it, a new text section will be added. This way you can add as many text sections as you want and then select a different Google font in each section.
Once you’re done with seeing your text in multiple Google fonts, you can also get the CSS code for the fonts which you like. You can use the code on your project like website development, typography, etc. You will find the code at the bottom of the same popup from which you choose the fonts.
There are some other useful features of this website such as:
- Similar to seeing your text in multiple Google fonts, you can also compare your text font in multiple system fonts installed on your PC. For that, you would need to select the font from the “Local Font” menu on the popup.
- Bookmark Google fonts which you like and later install them on your PC for free.
- Change global settings like background color, title color, paragraph color, section width, text alignment, and more.
Closing Words:
If you have been looking for a simple way to see your custom text in multiple Google fonts, then “Pair & Compare” can help you with that. You can now easily compare your text in dozens of Google fonts in one single page. This website can definitely help you find and choose the best font for your project. So, go ahead and try it out.