This tutorial explains how to change default photo viewer in Windows 10.
We know that new Photos app is the default viewer in Windows 10 to view photos, which is pretty good of course. However, it is also possible to set any of your favorite image viewers or editors, like Paint.NET as the default photo viewer in Windows 10.
Windows 10 has a built-in option to set or change the default photo viewer. Once you have done that, all the images, which are supported by your favorite image editor will always open with it.
How To Change The Default Photo Viewer In Windows 10?
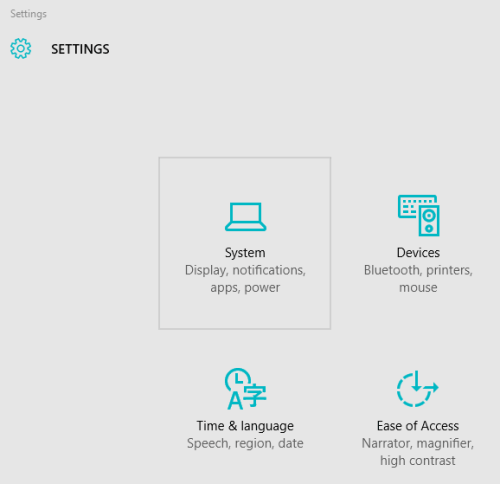
Step 1: You need to access Start menu → and click on Settings option.
Step 2: When the Settings window is opened, click on System menu.
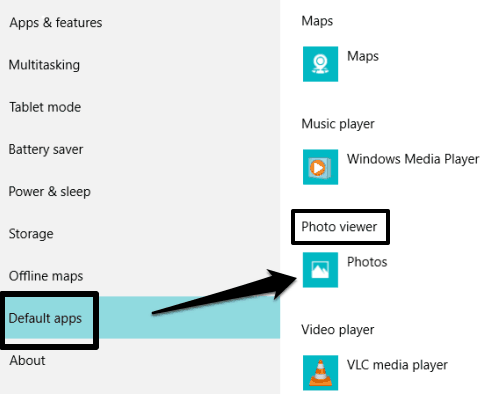
Step 3: System menu has multiple options, including the Default apps. Click that option and you will be able to see the default Photo viewer, which would be Photos app currently.
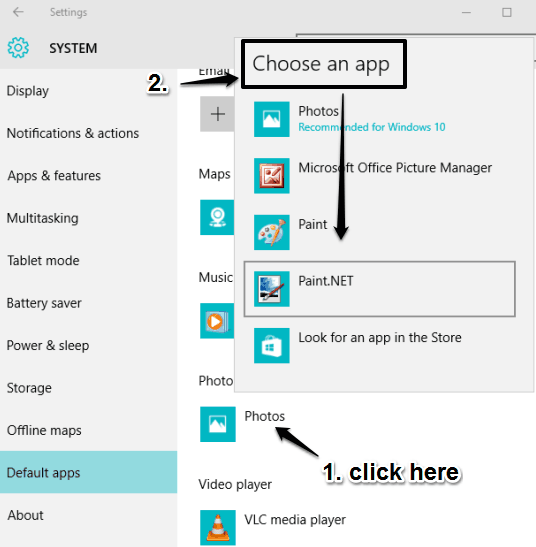
Step 4: Click on Photos option and a pop-up will be in front of you. In that pop-up, you will be able to see your favorite photo editor installed on your PC.
Select that photo editor to make it the default photo viewer. After this, all the images supported by your photo editor will open with it.
Repeat the above steps to set any application as your default photo viewer in Windows 10.
Other Windows 10 tutorials covered by us include:


