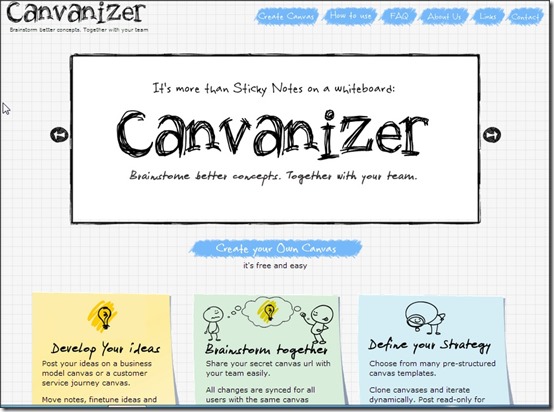
Canvanizer is a free online Canvas that lets you collaborate on ideas using notes. It lets you create a free online canvas and invite anyone you want to collaborate on that canvas. All the participants collaborate by writing notes on the canvas. Changes made by one are visible to everyone in real-time. There is no limit on how many members can collaborate on a canvas and no limit on how many canvasses you can make.
Unlike other such tools, Canvanizer won’t give you a plain white sheet, rather it offers you some stylish pre-structured canvases to work on.
Canvanizer does not requires you to create any account (if fact, it does not have an option to create account). Just go to Canvanizer website and start creating your canvas. You will need to provide your email address, where the link for your canvas will be sent. Next time you want to open that canvas, just open the link for that canvas from your email.
For every canvas you work on, there will be two versions: Editable and ReadOnly. You can choose to share link for Editable version with those whom you want to make edits to the canvas, and can share Readonly link with those whom you want to just see the ideas.
Even though Canvas has some pretty interesting features and is easy to use, it has some serious limitations:
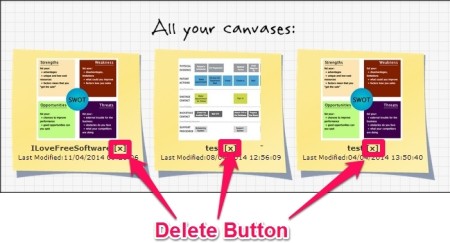
- Deletion of Canvas is pretty tricky. When you create any canvas, a link (mentioned as Homepage of your canvas) is delivered to you. Follow the link to see all the canvasses that have been created by you. With each canvas, there will be a small Cross icon. Click on that button for the canvas that you wish to delete. There is no other option for deleting it.
- There is no way to see who is accessing your canvas at any point in time. So, if you shared link with someone and he accidentally sends to someone else, then that person could also be viewing your canvas in real-time and you would not know.
- There is no chat option to chat with people who are brainstorming.
- Canvases come in form of pre-defined templates. You have to use one of those templates to brainstorm. You cannot create your own template or start a blank template.
- Only collaboration option is via notes. You can’t have images, videos, or even drawing.
- No option to password protect canvas.
Now, some of above are pretty big limitations, so I wanted to make sure you are aware of these, before you start using this tool for important business meetings.
If above limitations are not that important for you, then read on to see how to use this tool.
There are many brainstorming tools out there, but Canvanizer has the advantage of having no limitations on the number of members working in an active session. Also canvas templates add more features than a simple sheet. You can save the canvas in TXT and CSV format. Canvanizer can also create slideshow of your canvas.
How to Create a Canvas on Canvanizer
Follow the link given at the end of this review to reach the homepage of Canvanizer website. Click on the “Create you Own Canvas” link, and you’ll get four choices: Business, Service Design, Project Management, and General.
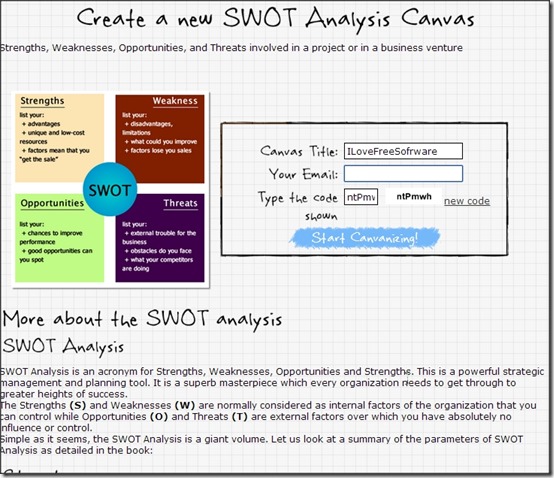
They will further have some categories which offer pre-structured canvas styles. You can choose the one you want to work on. For this tutorial, I am using the one called SWOT (Strength, Weaknesses, Opportunities, and Threats) analysis from General category to explain the steps to create a Canvas.
- Choose General Category, and then SWOT Analysis Canvas. On the next page you’ll have to enter the Canvas Title and your email address to proceed. Make sure you provide the email address correctly, because if you forget the link of canvas, you can recover it only with this email address.
- Now, you’ll get two links: Editable and Readonly. As their names suggest, you can edit on the canvas Editable, while Readonly only lets you be a spectator and you can’t even brainstorm. You can just share the desired link with the your collaborators.
- Follow the link to open the Canvas.
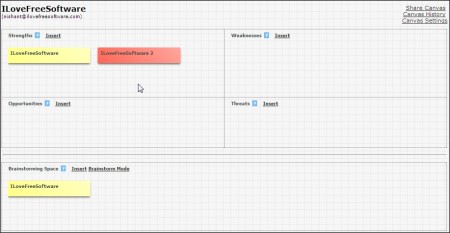
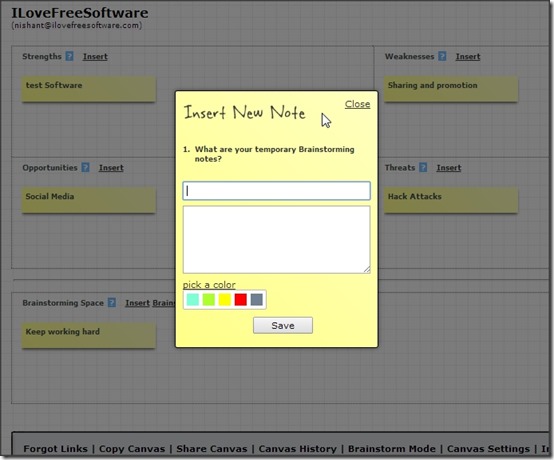
- You can click on “Insert” to add new notes on each topic column: Strengths, Weaknesses, Opportunities, Threats, etc. “Insert New Note” window will popup. You can add a title and subtitle to it. You can also pick a color for your note. When done, click “Save”.
- You can add as many notes to each category as you want.
- To Brainstorm on the the canvas, you need to follow “Brainstorm Mode” link given at the bottom of canvas. The link will open in a new tab, where you can post your suggestions. They will appear on the Brainstorming Space on the Canvas. Editing and Brainstorm are executed in real time.
- To cancel any change(s) on the canvas, you can use the Canvas History option.
- When you have finished working on the canvas, you can share it directly on Twitter, or copy the link to share it on other social networking platforms or via Email. You can also export the canvas data in TXT and CSV format.
- You can generate a slideshow (see screenshot below) of the canvas, but you can’t edit it. To view the slideshow generated for your canvas, follow the Slideshow link available at the bottom of Canvas. You can run the slideshow using the button given at the right-bottom corner.
- You can share the slideshow links and embed the canvas in websites and blogs as well.
Final Review
This web application is easy to use and features like read-only capabilities come in very handy while sharing the canvas with some not-so-close colleagues.
However, limited templates make Canvanizer a little low on the customization front and there are many other limitations as mentioned above, which weaken it even more. Still, Canvanizer can be a pretty good tool for those who are not much concerned about sharing issues.
Are you using Canvanizer? Do let me know your experience in the comments below.
