In this post, I will discuss some free GitHub traffic analytics tools that you can use. With the help of these tools, you will be able to see how many times your repository has been loaded. Or these tools can tell how many people have visited your GitHub repository so far. I have added different tools in this post that show you the traffic stats about your GitHub repositories a bit differently. But they are all very easy to use and configure.
If you ever wanted to know about the traffic stats of your repositories or GitHub profile, then here I have mentioned 4 tools below that you can use. With these tools, you can generate a tracking label and that label will keep displaying the visitor statistics to you. These stats will give you an idea about how popular your repositories are and how many people have been showing interest in them.
4 Free GitHub Traffic Analytics Tool for Developers
Trackgit
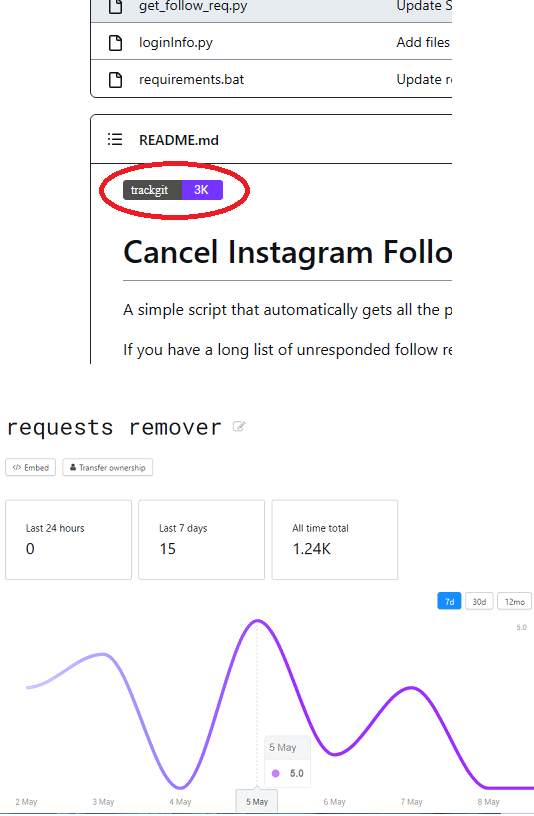
Trackgit is a dedicated GitHub analytics tool that you can use. It is an online web app where you can add your GitHub repo that you’d like to monitor and then it will give you a tracking code that you can add in your repositories. It can show you the number of visitors that have visited your repo in last 7 days, 30 days, and all time. Here it can even show you the visitor count in graphical format as well.
Using this tool for GitHub analytics is very simple. You just go to the main website from the above link and then sign up for a free account. After that, you just need to generate the embed code. Click create new token and then give it a name. After that, you just copy the embed code.
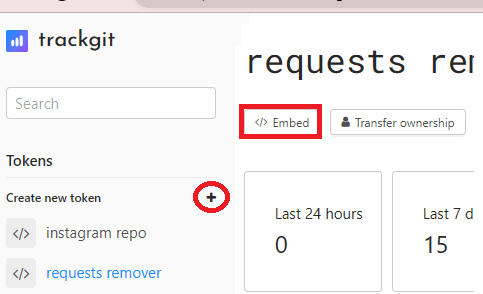
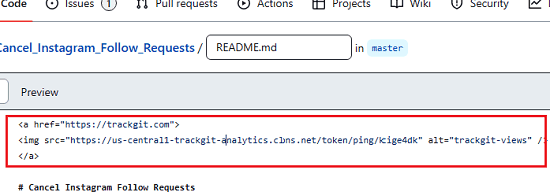
Paste the embed code that it generated for you in the GitHub README of the repository you want to monitor. Commit the changes afterwards and then you are done.
Whenever someone visits your GitHub repository, the badge that it adds on the homepage of your repo will start showing count. And that count will increment every time someone open your repo. You can integrate Trackgit with all your repositories. And analyze the insights from the dashboard.
GitHub Profile Views Counter
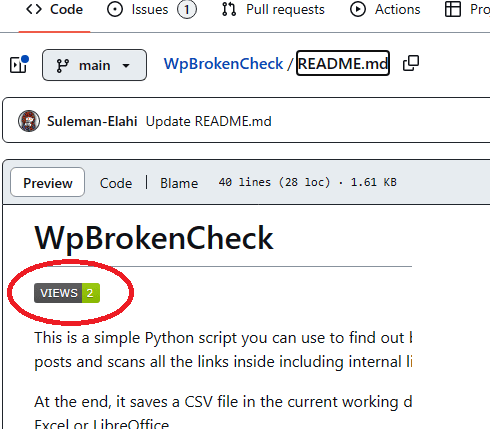
GitHub Profile Views Counter is a free and open-source project that helps you generate a counter badge for your GitHub repository. You can put that badge on the main repo page or on your profile. Whenever someone opens your repository or visits your profile then that badge will get activated and will show you the visitor count. Depending on how many times people have visited your profile, it will show you the stats accordingly.
This is a very simple tool to keep track of the views your GitHub profile or repo has received. There are various customization options available to choose different color of the badge/label. Also, there is a working version of this tool already available. So, you do not have to host anything in order to use it.
Generate the badge URL in the following format. Replace the value of username variable with yours. And then copy the code that it generates for you.

Now, you need to paste the markdown code in the README of your GitHub repo. Next, commit the changes and then sit back relax.
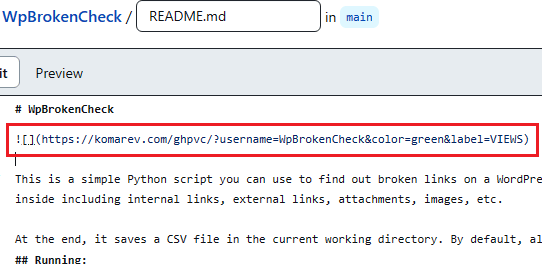
From now, when someone visits your repo or the profile, the counter will increment by one every time. And thus, by looking at the number, you will be able to see how many people have visited so far. This is as simple as that.
Hits
As the name suggests, Hits is a free and open source to track all the hits that your GitHub repository receives, It is hosted and you can try its hosted version to create visitor tracking labels and then add to your repository. It keeps tracking the number of hit counts and will keep displaying that. With this, you will be able to quickly tell how many people so far have visited your GitHub repository.
Using this tool is very simple. Although, you can host it on your own, but there is hosted version of this tool available already that you can give a try. So, just go here and then generate the visitor label for your GitHub repo. Enter the username and GitHub repo name there and then a URL will be generated for you along with the Markdown code. Copy this code and then paste it in the README file of your repo.
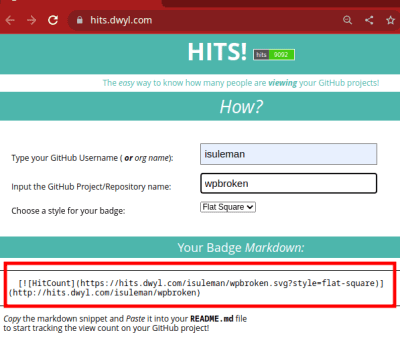
From now, you will start seeing the visitor counts label on the GitHub repo page, as shown in the screenshot above. You can remove the Markdown code that you just added if you do not wish to display the visitor count to the public.
GitHub Insights
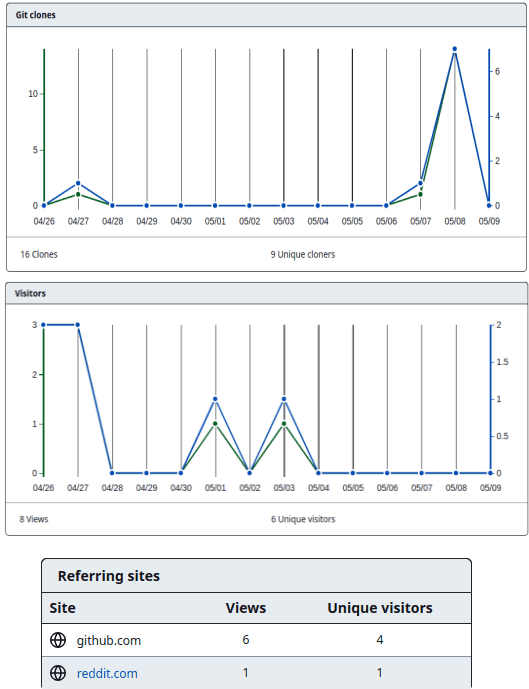
Many people still don’t know this, but GitHub offers basic analytics for all your GitHub repositories that you can analyze to track the traffic and cloning stats. However, the problem is that the data it shows is very recent and kind of limited. It can only show you the traffic and other insights about your repository from 1-month max.
Using GitHub Insights, you can see how many unique visitors have visited your repository now. Also, you can see how many times your repository has been cloned recently. It shows you these insights with the help of beautiful graphs.
One good thing about GitHub insights is that you will see the referring sites and the popular file in your repository that people are opening.
Using GitHub Insights is very easy. All you need is to make sure that you are the owner of the repository whose analytics, you want to see. Next, from the main repository page, simply click on Insights.
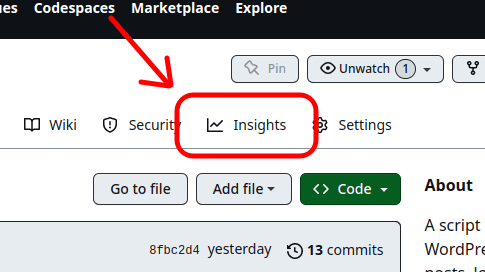
It will take you to the GitHub repository settings and from here, you just need to go to the “Traffic” section.
Now, here on the traffic page, you will see the clone statistics, visitor count and referring domains. You can see these graphs in the screenshot I have added above. You can do this for all your GitHub repositories with ease.
Closing thoughts:
These are some of the best free tools that you can use to track number of visits on your GitHub repositories. With these, you will get an idea on how many people have visited your GitHub repository so far. Using all these tools is very simple as you just have to generate a badge URL for the GitHub README file and then you are all good to go. Apart from adding the visitor count badge on repository page, you can add one on your profile page as well.