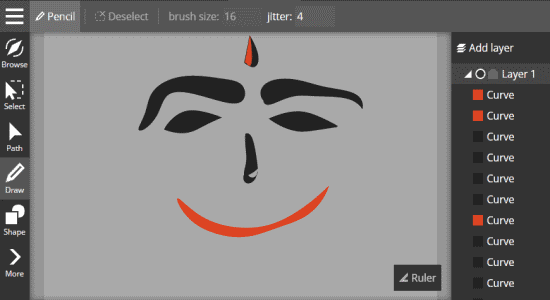
Inker is a free online vector graphics editor to create stunning sketches, digital drawing, logos, and more scalable vector designs with ease. Unlike other complicated vector graphics editors, this one comes with a very few and simple editing tools such as selector, path, draw, shape, text, and a ruler. You can simply use the “Draw” tool for free-hand drawing or sketch anything on the canvas. The best part of this tool is that when you start drawing from a point and end at the same point, it will automatically smoothen the edges and fill up the inner area with Black color. But, if you want you can change the color and opacity of the filled area with the “Edit Colors” option at the bottom of the editor.
Another useful feature of Inker is the “Path” tool which can be used to create curves with points and segments. You can also add shapes, text, and use the ruler to draw lines. Apart from that, it lets you import images from your PC to the vector canvas and annotate them as required. Once you’re done creating a design, you can only export it as a PNG file in the free version.

Note: In order to use some additional features like SVG & EPS export, SVG import, color gradients, etc. you need to upgrade to the paid version.
How to Create Stunning Scalable Vector Designs Online:
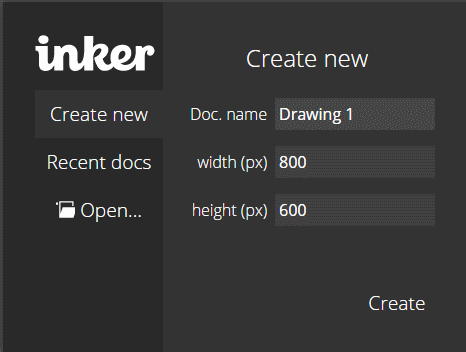
Step 1: Visit the Inker homepage and then select the option “Launch Online App”. After that, it will ask you to give a name to your design, and choose the width and height pixels. When you’re done, click the “Create” button to open up the vector graphics editor.

Step 2: As soon as you do that, the editor will open up and you’ll see a blank canvas of the chosen pixel with all the available tools on the left of the screen. On the right panel of the editor, there will be an “Add Layer” option and also all your added layers will be visible below that option. Apart from that, whatever you draw or add on the canvas will be added to the right panel as individual sublayers.

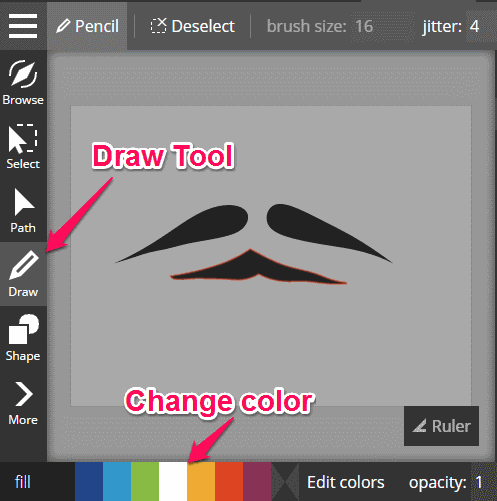
Step 3: To start creating your design, simply pick the “Draw” tool on the left and draw anything on the canvas. You can use it as a pencil to draw lines and sketches or use it to create objects by connecting the start and end points. For example, let’s say you want to draw a circle filled with any color, then start drawing the circle from a point and then end the drawing on the same point. As soon as you do that, the inner area will be filed automatically with the black color. You can change the color and its opacity from the “Edit Colors” option at the bottom.

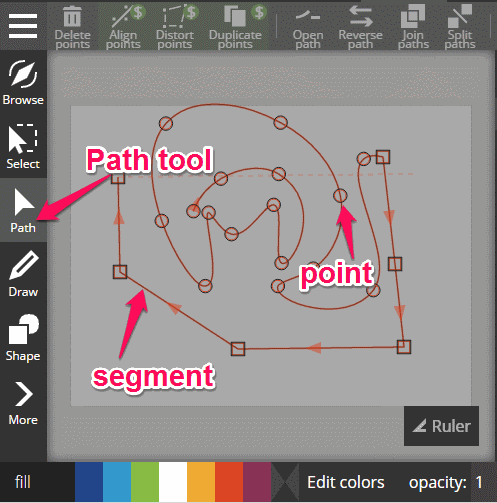
Step 4: If you want to create curves or any object in a better way, then I would suggest you to use the “Path” tool. This tool lets you create objects with customizable points and segments such that you can simply drag all the points & segments on a path until you get the perfect shape of the object. To use this tool, simply select “Path” on the left and start adding points by clicking on the canvas. If you want to add curves with points, then use the left mouse button and to draw segments use the right mouse button.

Step 5: There are other options using which you can join, split, and align paths as required. Apart from the free-hand drawing tool and Path tool, you can also add text, shapes, import images, and use the ruler to draw straight lines. When you’re done with designing, simply click the hamburger option to export the design as a PNG file.
My Final Verdict:
Inker is a very useful online application that comes with an intuitive interface and simple editing tools to create stunning vector graphics. You can either use the Path tool or the free-hand drawing tool to draw impressive vector design objects. If you’re looking for a way to create simple vector designs with ease, then you can start using Inker.
Inker is also available as an Android app and Chrome extension, but I have only reviewed the web application in this post.