Memos is a free light weight and a self-hosted note taking platform that you can use. You can use it with your team and it offers a Twitter-like interface where you can store your notes, to-do lists, and some other things. It has support for rich text format via Markdown so you can code snippets as well as text-based quotes.
All the notes that you create and save get their own link so that you can easily share them with others as well. Also, the Memos feed offers a corresponding RSS feed as well that you can subscribe to in any RSS feed reader software of your choice. It is an open and multi-user note taking platform and you can use it with your team if you want to.
Think of Memos as a combination of Twitter and Google Keep. It stores your notes and other stuff in a twitter like timeline. You can use hashtags and then sort the notes with them accordingly. The notes can be public, private, and members only. Not only this but it offers an API as well to create and update the notes by making simple HTTP calls.

Installing Memo locally to Create and Save Notes:
Installing Memos is very simple as it supports installation via Docker. There is just one command that you have to execute in order to have it up and running on your machine. You can run it locally or you can also set it up on a remote server or VPS.
So, on whatever platform you want to install it, make sure that Docker is installed. Run the command below to run its Docker container and then you are done with the installation.
docker run -d --name memos -p 5230:5230 -v ~/.memos/:/var/opt/memos ghcr.io/usememos/memos: latest

Go to localhost:5230 in the browser and then you will land on the main registration page of the app. So, create the first user which will be admin by default as well. Enter a user name and password and it will redirect to the home page.

The main UI of Memos looks like this. It is blank at first and you can now start filling it in.
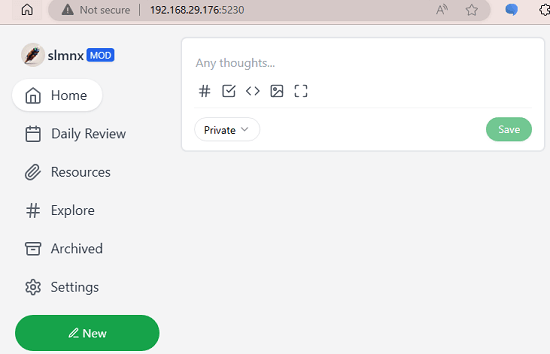
This is how you can install and run Memos on any PC. Here I have run it on my Ubuntu PC, but you can run it in exactly the same way on some other platform.
Using Memos to Create, Save, and Shate Notes:
It is now time to create your first note here. So, do it and then post it. Before posting your note, you can set it to public, private, or members only.
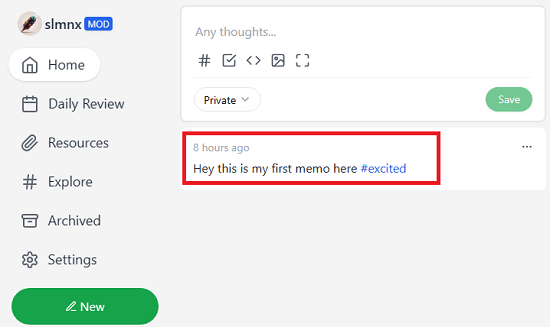
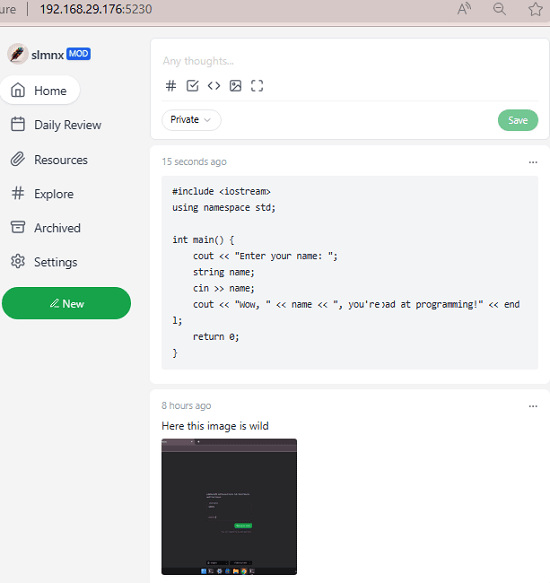
Post other notes in the same way with images and code snippets. It comes with full markdown support so; you are free to format your notes in the way you want.
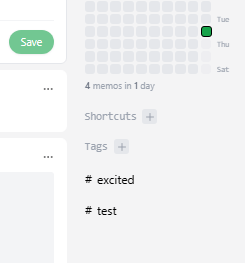
You can add shortcuts and tags to search and navigate through the notes that you have created on the platform so far.
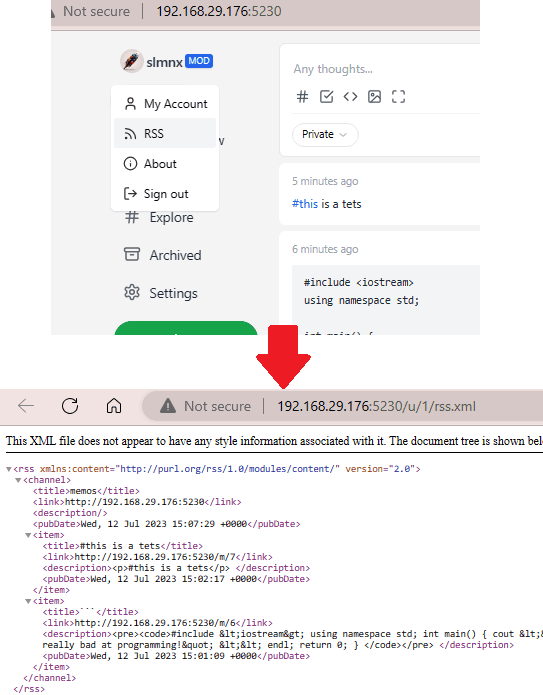
Next thing you can do here is access the RSS feed. From the home page, click on your profile icon and use the RSS link to get the feed. You can configure this URL in any of the RSS reader apps and then get updates for newly created notes.
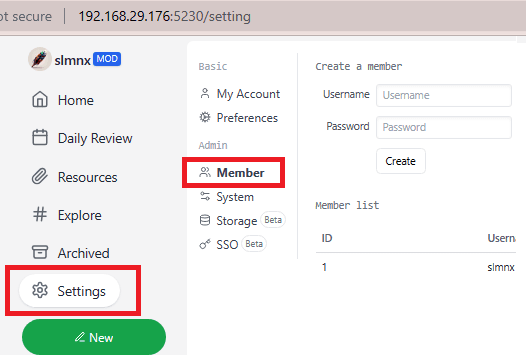
You can manage users by creating their accounts on the polyform. In the settings, there is a Member section where you can add new users by specifying a username and a password.
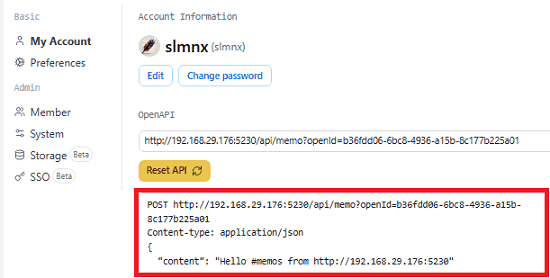
Lastly. as I mentioned in the beginning that Memos allows API access so, on the API page, you can see the end point details and a short documentation for it.
In this way, you can use this simple and powerful notes and memo platform for yourself, with your team, with your friends, and in your office. You can run it locally or deploy it on a server under a custom domain. The process for installation is the same as mentioned above.
Closing thoughts:
If you are looking for a self-hosted notes and memo platform for you or your team then Memos is one of the best options. It supports all kinds of notes and the management part is good as well. An advantage of using this over the third-party platforms is that you will own your own data and it doesn’t matter if you run it locally or on an online server.