Private Tunnel is a free VPN software for Windows, Mac, Android and iOS, which allows you to protect your identity online and to bypass filters which block access to popular websites like Facebook, YouTube, Twitter, etc. Free accounts are limited to 100MB of data transfer, but you can get more by referring friends. VPN locations include United States, United Kingdom, Switzerland, Canada and Netherlands. You can select between a total of 6 different servers, 2 from the US and 1 in each of the remaining 4 countries.
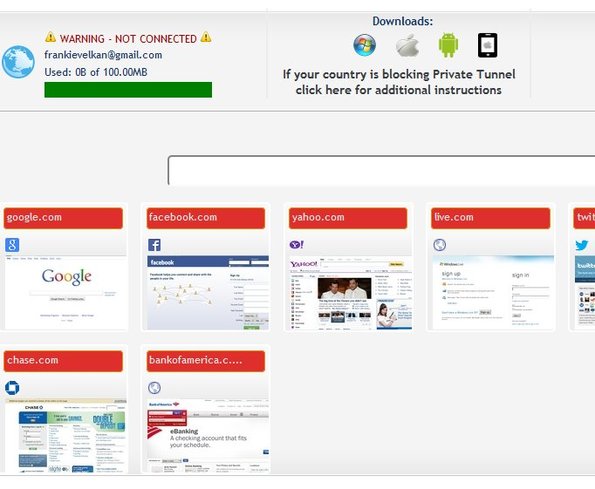
To use Private Tunnel you’ll first have to create an account on the website. Down below a screenshot of the dashboard can be seen where you can keep track of how much data traffic you’ve spent, connection status and of course download clients for the 4 supported platforms. Bookmarking tool is available down below, where by default there’s shortcuts to all the popular websites. You can add your own manually.
You can get additional traffic by referring friends to Private Tunnel (200MB for every referral who uses the service, 10GB if they make a purchase). Paid upgrade is of course also possible.
Key features of Private Tunnel are:
- Free and simple: you just need to create an account and setup the client
- Free accounts are limited to only 100MB of data transfer
- Cross platform: works with Windows, Mac, Android and iOS devices
- Offers VPN servers from the USA, UK, Netherlands, Switzerland, Canada
- Cities: San Jose, Chicago, London, Zurich, Montreal, Amsterdam
- System tray icon: minimizes to system tray so it’s not in the way
Similar software: proXPN, Loki VPN, JustFree VPN.
100MB data transfer limitation will probably turn you off from Private Tunnel if you planned massive downloads while using this free VPN software. Those who are not very demanding, who only require a VPN to check email, messages on Facebook or something like that, will find Private Tunnel very useful.
How to browse the internet safely and hide your identity with Private Tunnel:
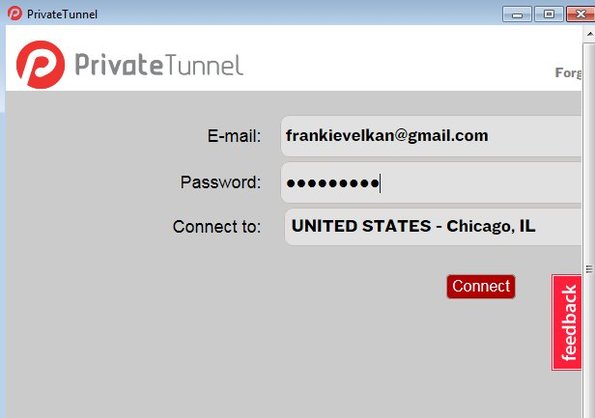
First you need to create an account on the website after which you’ll be able to download the Private Tunnel client for whichever platform it is that you’re using. Windows, Mac, Android and iOS are supported. When you run the Windows client you’ll see a login window with a drop down where you’re able to select one of the 6 available VPN locations.
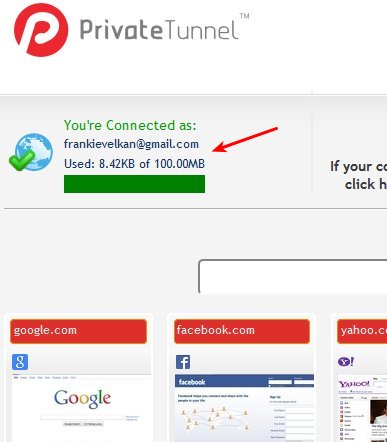
Once you’ve typed in login credentials (the ones created during registration) and selected VPN location, click Connect and wait for the connection to be created. System tray icon should turn green. Open up Virtual Tunnel account and check connection status. Where before was red now it should be green.
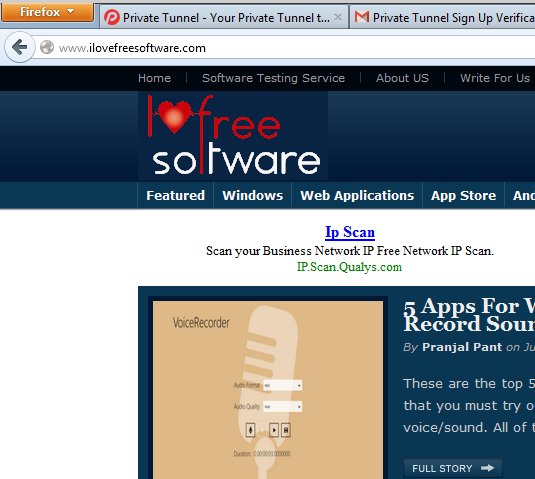
All that’s left at this point is to start browsing all the websites that you couldn’t before. We checked our IP address after connecting to Private Tunnel and it was changed to the selected location.
Conclusion
This free cross platform VPN software might be a bit too limiting when it comes to data transfer, but everything else works just fine. It’s very fast, very easy to setup and it’s supported on multiple platforms. If you’re in need of a free VPN software, make sure that you have a look at Private Tunnel. Register for free.


