This tutorial explains how you can backup Windows Live Writer posts, blog settings, and plugins.
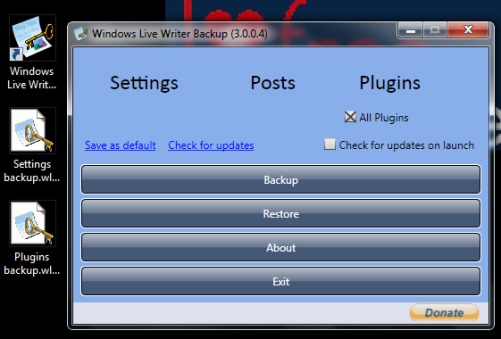
WLWBackup (or Windows Live Writer Backup) is a useful program that helps to automatically backup all your Windows Live Writer posts, important plugins, as well as blog settings (templates, blog accounts, etc.). You will be able to create multiple backups based on your requirement and can restore created backups with few mouse clicks.
As Windows Live Writer is one of the popular blogging client to write blog entry, so it is used by many users. Therefore, to create backup for important items is quite necessary to prevent any data loss.
Even if you have to uninstall Live Writer for some reason or need to format Windows, then WLWBackup will be helpful for you. In screenshot above, you can see its interface, and created backups.
To restore backups, you have to run it as administrator. I tested it on Windows 7 and it worked fine, except few exceptions. Sometimes, it failed to create and restore backups. But while I tried to run it as administrator (both for creating and restoring backups), most of the times, it worked successfully.
How To Backup Windows Live Writer Posts, Blog Settings, and Plugins With WLWBackup?
Install WLWBackup on your PC and open its interface. To download it, use the link available at the end of this review. Now follow below mentioned steps to create backup of Windows Live Writer posts, plugins, and settings.
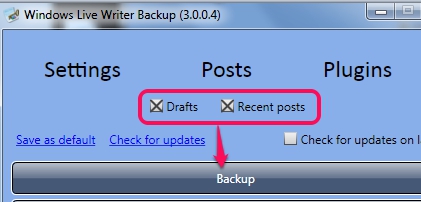
Step 1: In this step, you need to select items that you want to backup. Settings, Posts, Plugins options are available, and each option contains associated items. Just place your mouse cursor on any option and items in that option will be visible to you. For example, plugins option lets you select item to start backup for Windows Live Writer Plugins, that you have installed on your product. In the similar way, you can use Posts option to select all draft posts and recent posts for backup.
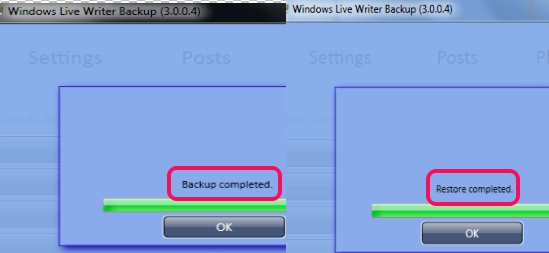
Step 2: Once you have selected items for backup, just tap on Backup button. A ‘save as’ window will open up that will help you to choose destination directory for backup file.
Step 3: After selecting the destination directory, give backup file a name, and save it. Backup file will be saved as filename.wlwbackup.
Similarly, you can create multiple, and different backups.
Restore The Backup:
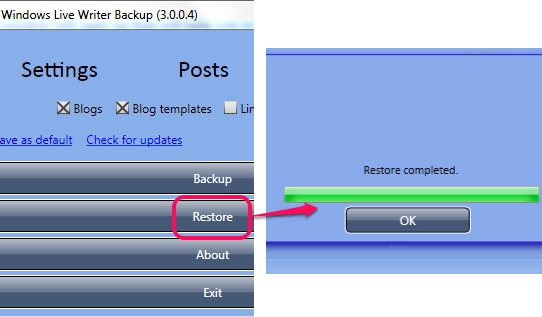
Whenever you need to restore all settings of Live Writer installed on your PC, just run this software as administrator, and click on Restore button. Now select any backup file available on your PC, created by you, and perform the restore process. But perform this operation only if you are sure enough, because restore process will delete all current posts, blog settings, and plugins.
Conclusion:
WLWBackup is a handy backup utility and it could be useful many times. Depending on your need, you can create all options backups or just for selected ones.
Check some other useful Windows Live Writer related reviews:
How To setup Windows Live Writer


