This article covers how to change default printer in Windows 10 from system tray. By default, the current printer set as default in Windows 10 is the one you used most recently at your current location. In my case, it is mostly Microsoft Print to PDF. If you are looking for a quick way to change the default printer in your Windows 10 PC, then this article is gonna help you.
To change default printer from system tray in your Windows 10 PC, I have covered a free software called “CurrentPrinter“. It silently runs in Windows 10 system tray and you can change the default printer in just two mouse clicks. Apart from changing the default printer, it also lets you see the current printer currently set as the default printer. So, there are two benefits of using this software.

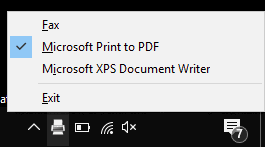
In the screenshot above, you can see that the list of printers is visible in the system tray of Windows 10.
How to Change Default Printer in Windows 10 from System Tray?
Step 1: First of all, get the zip file of this software and extract it. It is a portable software which doesn’t need the installation.
Step 2: Double-click on the CurrentPrinter exe file. It will start running in Windows 10 system tray.
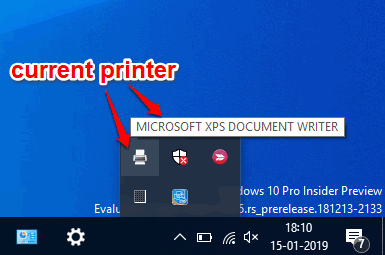
Step 3: When you will hover mouse cursor on the software icon, it will show the default printer name. To change the default printer, right-click the tray icon, and you will see the list of available printers (as visible in the first image above). Just click on a particular printer.

That’s it! Now the default printer is changed, you can use the new default printer set by you.
Tip: If you don’t use Microsoft Print to PDF feature, then you can also disable it without any third party tool. You can use this link to know how you can do that.
The Conclusion:
This is not the fastest way to change the default printer, but it is surely a faster and easier way. You just need to launch this software and then you can change default printer in Windows 10 from system tray with only two mouse clicks.