SHARE.it app for Windows 10 is now available. It is a free wireless file transfer app for Windows 10 which works great in seamless wireless transmission of files. The app has made a great name for itself for platforms like iOS and Android, and now it’s starting to make a mark for itself on the Windows 10 OS as well. Share.it for Windows 10 works by means of sending files over the same WiFi network, which is great if you quickly want to transfer files from your smartphone or tab over to your PC at a fast speed without the hassle of plugging in your device to your PC. The app lets you achieve transfer speeds of up to 100Mb/s which is the next best thing to a wired USB connection.
SHARE.it is available for free from the Windows App Store.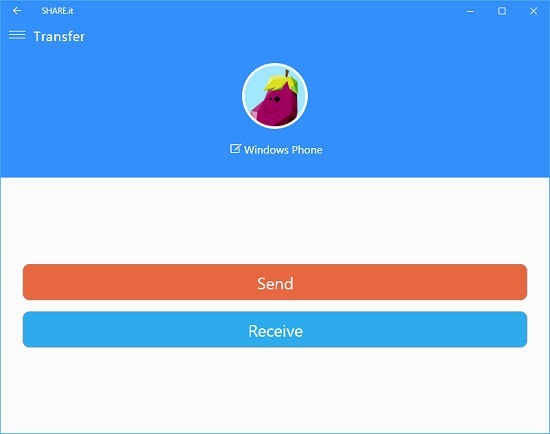
Main features of SHARE.it for Windows 10
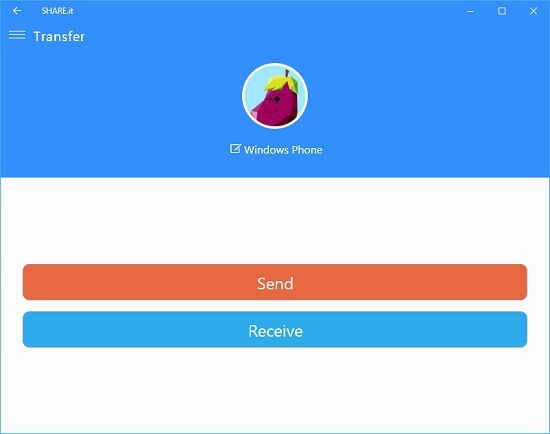
When the app itself is installed and launched, a short and straightforward license agreement appears on the screen. Simply accept the terms by clicking on the check box, and selecting the Confirm button.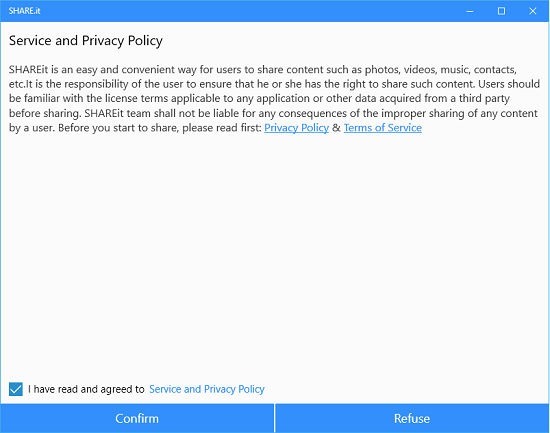 Next, you will be taken to the main interface itself. Herein lie the methods that you can employ to send and receive files on your Windows 10 device.
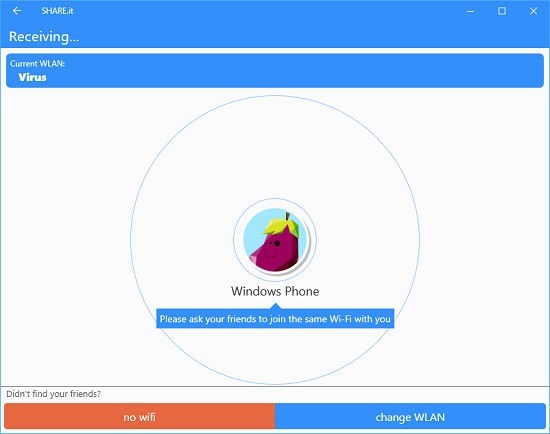 On the receiving device, click on the name of your Windows 10 device.
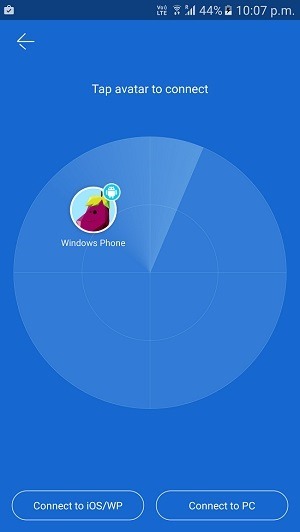 In the above screen, you can see the name of my Windows 10 device as Windows Phone in my smartphone. Once that is connected by being clicked on, you can send files over. Upon connecting the phone to your device, you will see an interface where you can choose the file that you wish to send. When you have successfully sent the file over, you will see a message like the one shown in the screenshot below where you can also see the average speed of file transfer.
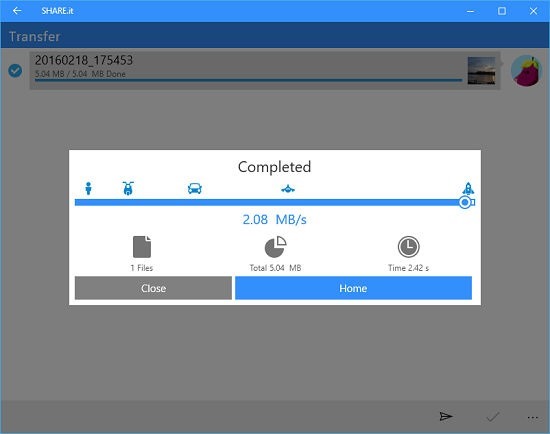 You can then choose to return to the main screen by clicking on the Home button shown in the screenshot above. The app also has a menu that can be slid out by clicking on the triple lined button at the top left of the app interface.
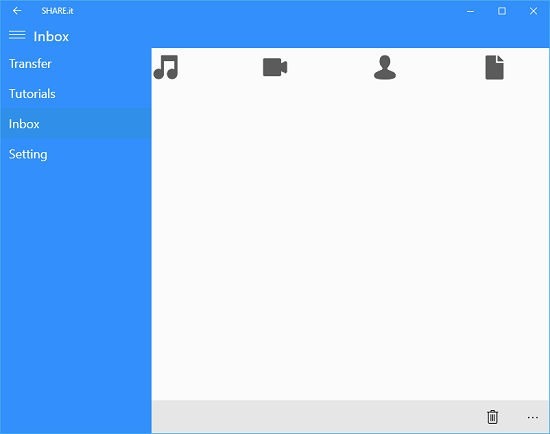 You may choose to access the Transfer tab (open by default when you run the app), the Tutorials tab where you can learn about using the app, the Inbox tab where you can see the files that you have received on your device or you may choose to access the Setting tab where you can configure the app. The Transfer tab has already been discussed above; let’s take a look at the Tutorials tab.
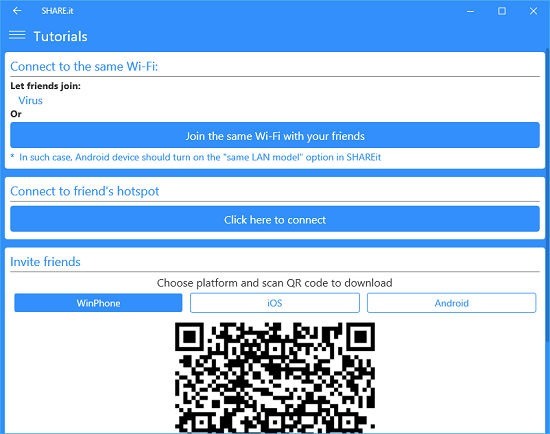 As can be seen above, the tutorials are brief but concise and to the point. Here you can learn about using the app. Moving on to the Inbox tab.
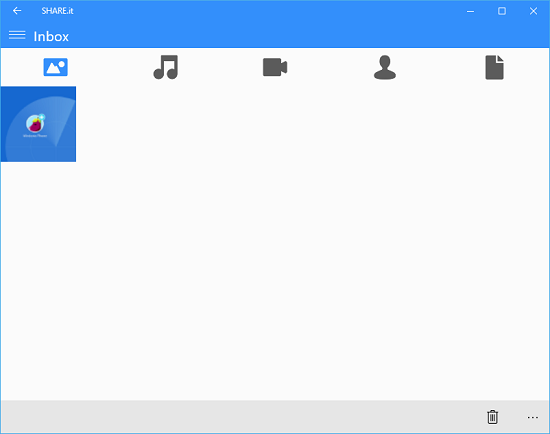 The Inbox tab is categorized into 5 sub tabs – images, music, videos, contacts and documents. Each tab is accessible by clicking on the corresponding tab icon in the header. You can see the received image file in the above screenshot. This Inbox tab basically gives you easy access to the files that you have received. Moving on to the Settings tab, you can see it in the screenshot attached below.
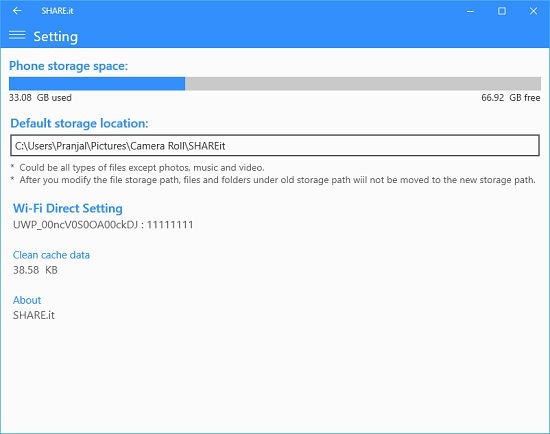 In the above screenshot, you can see that you can configure various settings of the SHARE.it app, including storage location, cleaning cache etc. You can also have a look at the available storage space, etc.
This is a wrap of the main features of SHARE.it for Windows 10.
Other apps that you may like
The verdict
SHARE.it app for Windows 10 is hands down a great tool for Windows 10 devices to transfer files seamlessly and wirelessly. The app is packed with features, and at the same time, it’s extremely compact in size. You may grab it for free from the link below.
Get SHARE.it