Flowboard is a free presentation app for iPad which lets you make interactive presentations by adding images, templates, videos, texts, links, and photos, etc.. It is a really cool and easy to use iPad presentation app.
The complete functionality of app is based on different type of touches like Swipes, Gestures, Pinch to Zoom, Flick, etc.. The app lets you create cool and interactive presentations either from scratch or simply by using different cool templates available for free. You can use unlimited Undo and Redo for creating the best possible presentation. Each of the presentation made by using this app is known as Flowboard.
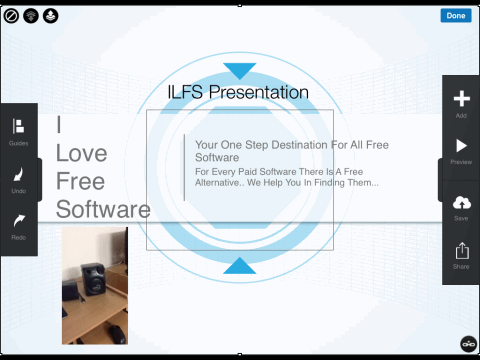
Apart from adding media and images from your iPad, you can also import them from Google Drive, Facebook, Box, SkyDrive, Instagram, Google Search, and Dropbox. After creating Flowboard, you can share it with others via mail, Twitter, or Facebook. The app also provides you with an unique URL which you can share with anyone for sharing your Flowboard. The app has Catalog option from where you can check the Flowbaords created by other users to get inspiration for your own Flowboard. You can also Heart them and comment on them.
Note: In free version, the app provides you with 500 MB of free space per month for creating Flowboards.
How to Create Flowboard Using Flowboard Presentation App for iPad:
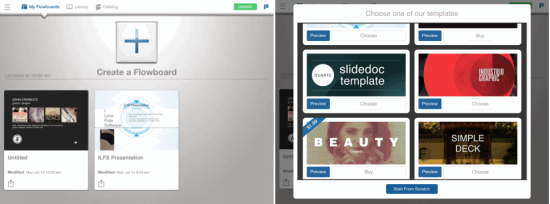
Before you start creating your first Flowboard, you need to register with the app. You can complete registration using either Facebook or your email address. On successful registration, you will be taken to your dashboard known as My Flowboards. Here, you can see that there is an option called Create a Flowboard. Tap on it to start creating your first Flowboard. On next screen, you will see different templates (some free and some paid) along with an option called Start from Scratch. You can choose to use any of them.
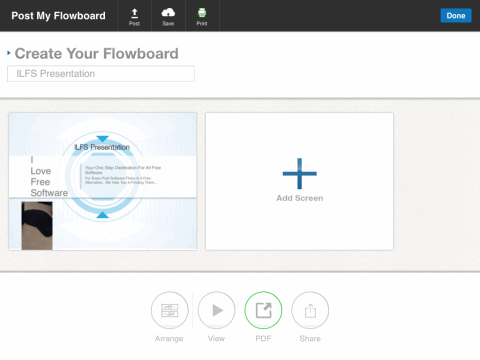
On selecting any of the option, you will get the screen as shown in screenshot below. Here, you can give it any name of your choice and add additional screens. When it comes to adding screens, you can choose from either blank sheets or choose from different slides of the templates selected by you. In screenshot, you can also see that there are a few more options: Arrange, View, PDF (paid feature), and Share. You can use all these options after making your Flowboard. The Arrange options lets you arrange screens in any order of your choice while View option is for viewing the slideshow your presentation or you can say Flowboard.
Now, lets start making Flowboard by editing screens. On editing screen, you can see that all options are present on two sides: Left and Right. Lets check them one by one.
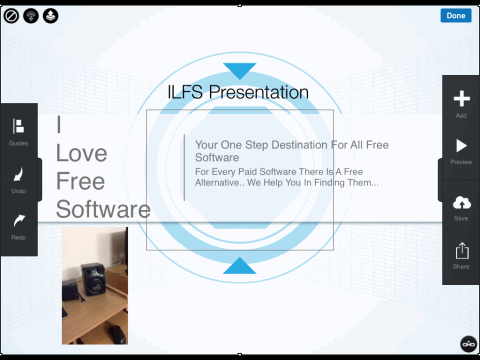
Options on Left:
- Guides: This options lets you enable/disable Snap Guides for your Flowboard.
- Undo/Redo: As the name suggests, you can Undo and Redo any of the action performed by you on Flowboard.
Options on Right:
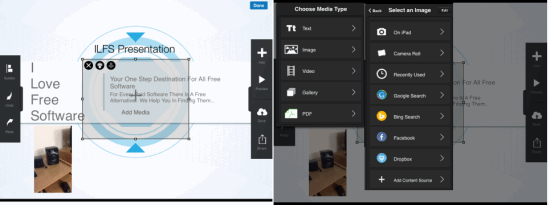
- Add: This option makes a rectangular box visible on the screen with option Add Media. You can move this box anywhere on the screen and even resize it according to your requirement or preference. To add any media file, tap on Add Media option. This option lets you add Text, Image, Video, Gallery, and PDF (paid feature). While adding text, you can choose the font style, font size, alignment, text color, and background color. For adding images or videos, you can add Template Graphics, Camera Roll, Images, Recently Used, Dropbox, Bing Search, Google Search, Facebook, etc..
- Preview: Use this option to see the preview of your Flowboard to get an idea about how it will look when it gets completed.
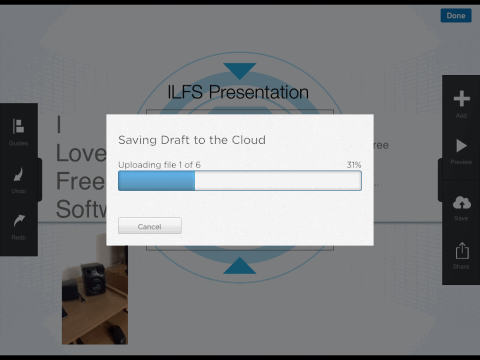
- Save: Upload your Flowboard to cloud using this option. This option helps you saving your work on one device and then resume from the same point on any other device.
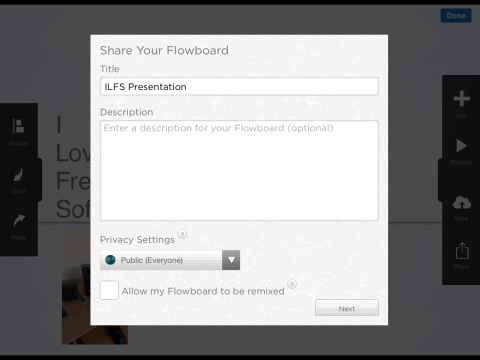
- Share: When you have completed your Flowboard, then its time to show it to world. Use this option to share it with your friends, colleagues, clients, your boss, or anyone else. You can also post it to Flowboard gallery for others to see it, comment on it, and Heart it.
Using all these options, you can make as many presentations as you want with ease.
Other Options of Flowboard iPad Presentation App:
- Library: This is the place from where you can view Flowboards downloaded by you. After downloading any Flowboard, you can see it anytime except for the videos added in it. If the added videos are from online source like YouTube, then you can’t watch them if you are offline.

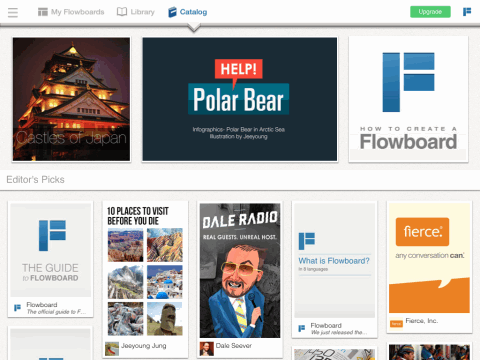
- Catalog: This is your catalog of different Flowboard created by various users. You can view them, download them, heart them, and comment on them. This option also has a section called Editor’s Picks where you can check the Flowboads picked by app’s Editor.
You may also like: 5 free presentations for iPad reviewed by us.
Final Verdict:
Flowboard is a great presentation app for iPad to make cool and interactive presentations. The best thing is that this is super easy to use and works so smoothly. The app is so awesome that you will love making presentations, Flowboards, on it even if you are not a professional. You should try this app. Its definitely worth a try.