This tutorial explains how to clear thumbnails cache in Windows 10.
We all know thumbnails cache help us to quickly preview images, documents, etc., in small size (called thumbnails). However, there are chances that some of those cache files get corrupted. As a result, thumbnails associated with those images or documents are not visible and look like broken images. If you face this problem, then you can simply clean and reset thumbnails cache in Windows 10.
You can use Windows 10 Disk Cleanup to clear thumbnails cache. Let’s see how we can do it.
Here are some other important tutorials for Windows 10:
- Show Applications of All Virtual Desktops in Alt+Tab in Windows 10
- Enable Caret Browsing In Windows 10
- Generate Battery Report In Windows 10
Clean Thumbnails Cache In Windows 10 Using Disk Cleanup Tool:
Windows 10 Disk Cleanup tool is very useful to remove Windows.old folder, temporary files, and clean thumbnails cache. Steps are as follows:
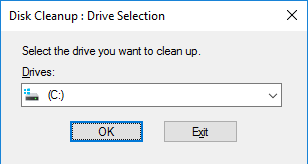
Step 1: Open Disk Cleanup tool using Search box and select Windows installation directory (which is C Drive most commonly).
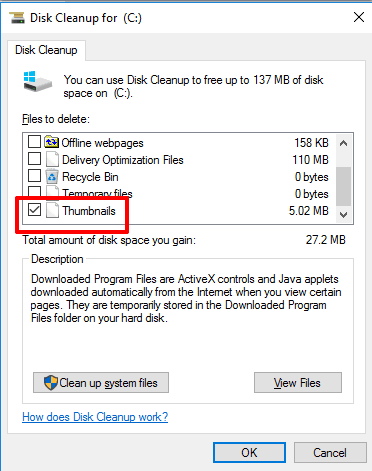
Step 2: Now the main window of Disk Cleanup tool will open. That window contains options related to files that you want to delete. Select Thumbnails option and click OK button.
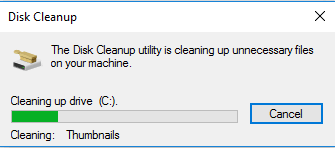
Step 3: Thumbnails cleaning process will start which won’t take much of your precious time.
After this, you can access folder where your images and documents are stored. You will notice that now all thumbnails of images and other files are visible clearly.
Conclusion:
The problem of thumbnails are not displaying properly is rare, but yes it can happen. If you also face this problem, this tutorial will help you for sure.


