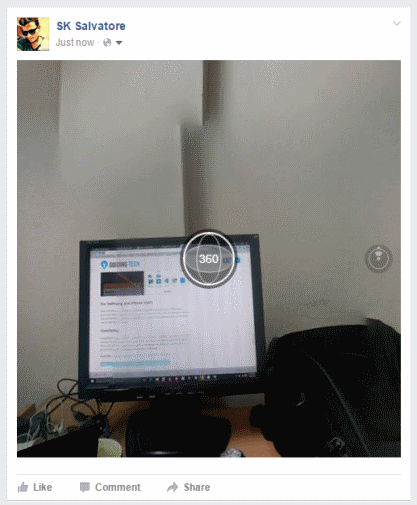
This tutorial is all about how to shoot 360 degree photos for Facebook on Android.
Recently, Facebook has introduced 360 degree photo sharing feature on its web as well as mobile applications. This feature of Facebook has taken sharing photos to a next level as you can let your friends see all your photos in 360 degree view. But, when it comes to shooting 360 degree photos you might need to purchase expensive cameras to do the same. However, if you’re an iPhone user then the photos which you capture in panorama mode will be converted into 360 degree photos once you upload them to Facebook.
Now, what if you own an Android phone? Well, do not worry as in this tutorial I will explain how to shoot 360 degree photos for Facebook on Android. I will use “Google Street View” app which lets you capture 360 degree photos, similar to Cardboard Camera.

How to Shoot 360 Degree Photos for Facebook on Android:
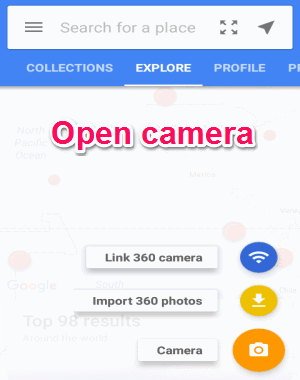
Step 1: First, you need to install Google Street View on your Android phone. After that, simply launch it and you’ll see the Google map and a “+” button at the bottom-right corner. To get started, tap on the “+” button and 3 different options will pop up named, Link 360 Camera, Import 360 Degree Photos, and Camera, as shown below.

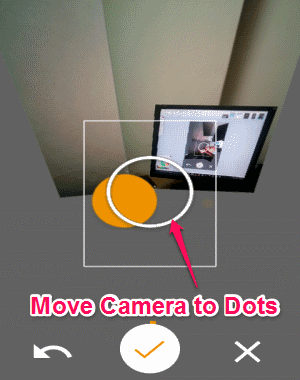
Step 2: After that, you need to select the “Camera” option in order to start shooting 360 degree photos. When the camera opens up, you’ll see a big yellow dot on the camera screen along with a bit larger camera circle. You can simply point the camera circle at the yellow dot and the app will automatically capture a photo of that particular area. However, to shoot a 360 degree photo using Google Street View, you’ve to capture a set of images of your surrounding which will be later stitched together automatically as 360 degree photo.

Step 3: To start capturing a set of images, you’ve to point the circle at the yellow dot and then keep moving your camera circle from one dot to another until all the dots on your surrounding are captured. Each time you point the camera circle at any Yellow dot, the app will auto capture a photo of that specific area. Remember, to move from one dot to another you need to slowly move your camera without disturbing the axis much, to get the better result.

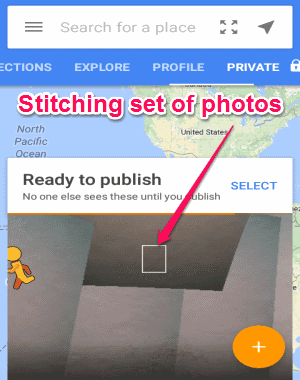
Step 4: When you’re done covering all the yellow dots, simply hit the “Tick” button at the bottom of the screen. As soon as you do that, the app will start automatically stitching the set of images and then finally prepare the result as a 360 degree photo. After that, you can either view it on Google Street View or publish the 360 degree photo on Google Maps. Apart from that, you can also post it directly on Facebook using the “Share” button.

My Final Verdict:
If you’re looking for a way to shoot 360 degree photos for Facebook without using expensive cameras, then you can go through the simple steps mentioned in this tutorial. You can simply use the free app Google Street View to capture 360 degree photos on your Android phone and then post them on Facebook.