This tutorial explains how to install Windows 10 on a virtual machine. As the successor to Windows 8 and the latest entrant in Microsoft’s family of desktop and enterprise grade operating systems, Windows 10 is packed with a whole lot of interesting features and overall refinements. However, despite the fact that it includes a lot of goodies, a lot of users might feel apprehensive about replacing their current stable operating system installation with Windows 10.
If you’re one of those users, it’s time to rejoice, as you can easily install Windows 10 on a virtual machine. Installing Windows 10 on a virtual machine provides you a safe sand-boxed environment to try out the latest Windows version, without requiring you to tinker with the current OS installation. And it’s easy, super easy. Stoked? Head past the break to find out how you can install Windows 10 on a virtual machine.
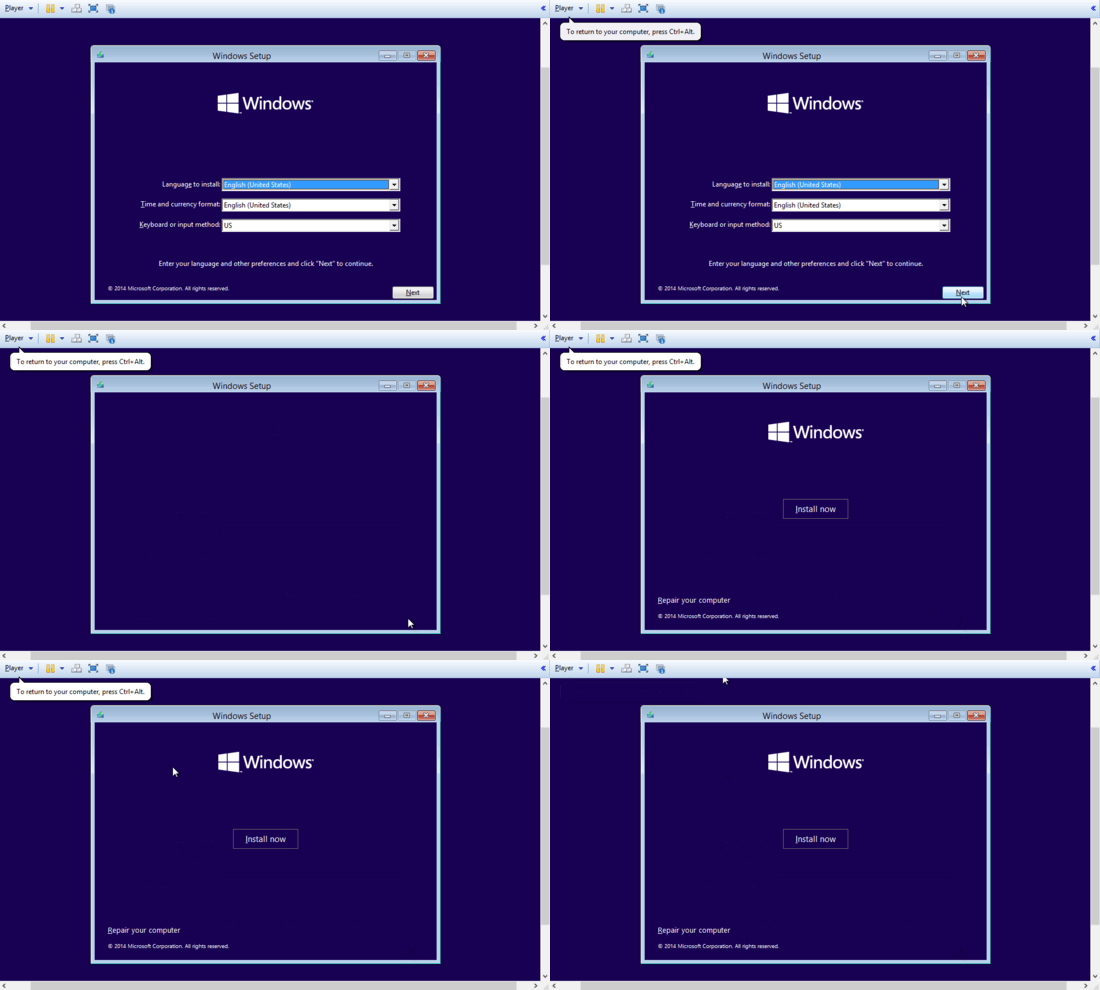
How To Install Windows 10 On A Virtual Machine?
Before getting started with the actual installation, you’ll need to download two things, as mentioned below:
- The official Windows 10 ISO file. Make sure you download the correct ISO, according to your computer’s architecture.
- VMware player, an excellent free virtualization software (although you can use any other virtualization software of your choice as well).
Once these two are ready, we can proceed with the installation. The installation process is pretty simple and straightforward. Essentially, it constitutes creating the Virtual Machine, and then installing Windows 10 on this virtual machine. Let’s see how it’s done:
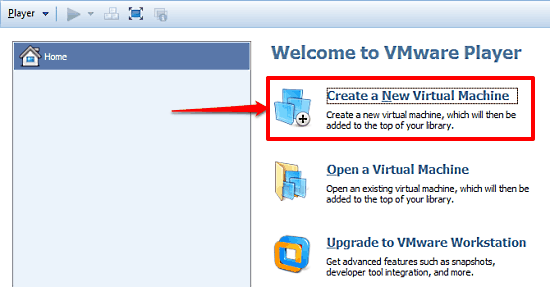
Step 1: Install the downloaded VMware player and launch the program. The first screen provides a couple of options on the right. Choose Create a New Virtual Machine.
Step 2: The New Virtual Machine Wizard should now start up. On the first step of the wizard, you can choose the disc image that’ll be used for installing Windows 10. Select the downloaded Windows 10 ISO image file, and hit Next to move on to the next step.
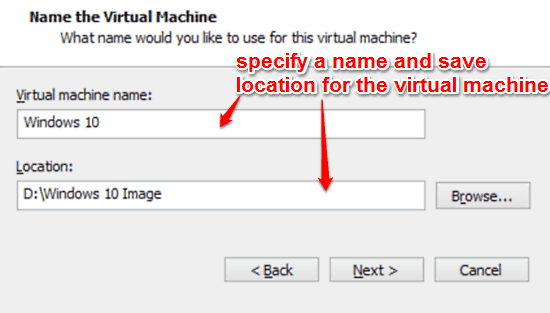
Step 3: The next step of the wizard will ask you to select the OS (called the Guest Operating System) for the image. Since Windows 10 (most probably) won’t be on the list, you can select Windows 8 from the dropdown down list, after selecting Microsoft Windows on the top. Once that’s done, select a location for storing the created virtual machine, and give it a name.
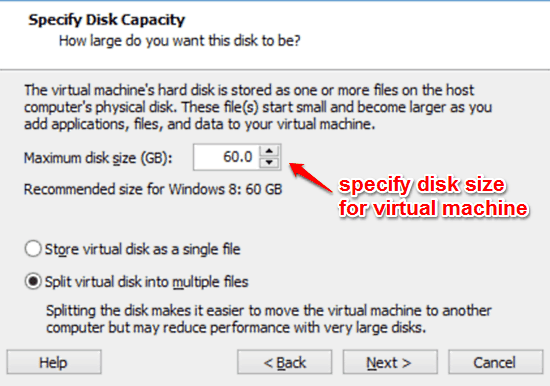
Step 4: Next up, the wizard asks you to specify a disk size for saving the virtual image. Though you can specify the disk size to be used for creating the virtual machine, it’s best to go with the size recommended by the wizard. Also, choose to store the virtual disk as a single file, instead of splitting it into multiple files.
Step 5: Once you’ve reviewed the virtual machine settings at the final step of the wizard and hit Finish, your Windows 10 virtual machine will be created. To start the installation of Windows 10 to this virtual machine, simply select it from the OS selection screen of VMware player, and click Play virtual machine.
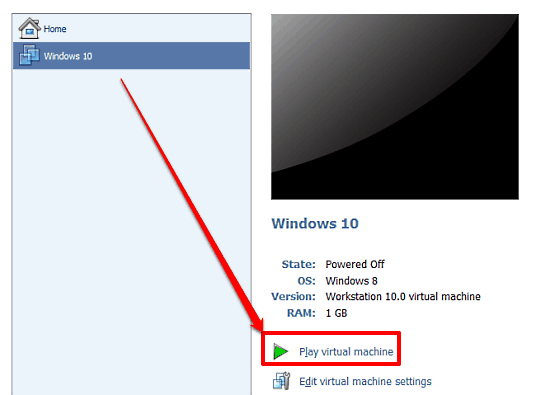
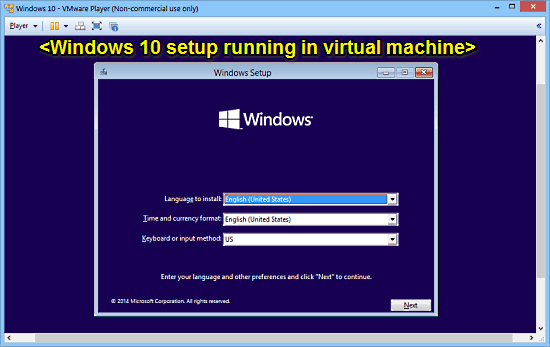
Step 6: That’s all it takes, folks! VMware player will now boot up the virtual machine in its own window. It’ll also start the Windows 10 setup. From here on, you can simply proceed with the Windows 10 installation, as you normally would. Simple, right?
Also See: Install Windows 10 From ISO Without DVD or Flash Drive
Conclusion
The ability to install and use Windows 10 as a virtual machine is a really neat feature. It provides you with a simple and hassle free way of testing out the latest and greatest Windows version, without having to risk losing your existing stable OS installation. Do give it a try, and let me know your thoughts in the comments below.