Journey is a free Google Chrome journal app which lets you keep the record of all your day-to-day activities, no matter where you are. The best part of this Chrome app is that it automatically syncs all your entries to Android app via Google Drive in-app data. As for adding entries, you can add them easily via the minimalist editor interface. You can choose to use the geo-tagging and weather feature of the Chrome app to add location and temperature to your entry automatically. There is also an option to add photos to the entry.
The Chrome app makes searching of the entries easier with support for adding tags and a powerful search feature. For the security purpose, the Journey app provides you with the option for setting up a passcode. There are many more options for you to explore. So let’s get started.

Note: The Journey Chrome app works both online and offline. Apart from this, as I mentioned that the data is saved to Google Drive as the in-app data. It means you won’t be able to see the data by logging into your Google Drive. It is done only for syncing the data on Android app.
Using the Journey Chrome Journal App:
You don’t have to register with the Journey app manually. The Google account used by you to install the Journey Chrome app is used as your Journey app account automatically. It means if you want to use the app on Android as well, then you will need to login with same Google account in the app. Do remember that it is a Chrome app and not the extension, so it will be launched via the Chrome App Launcher.
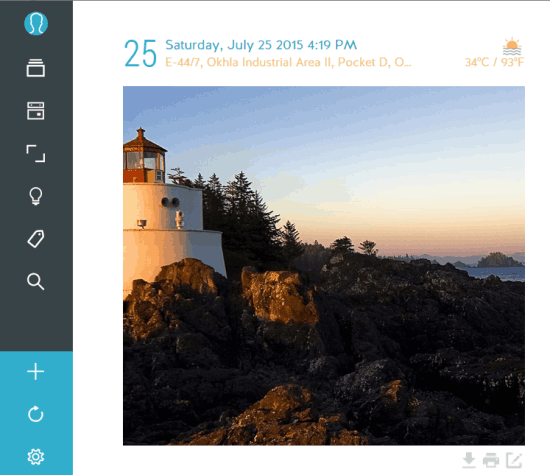
On launching the app, you will see the interface of the Journal app as shown in the screenshot below.

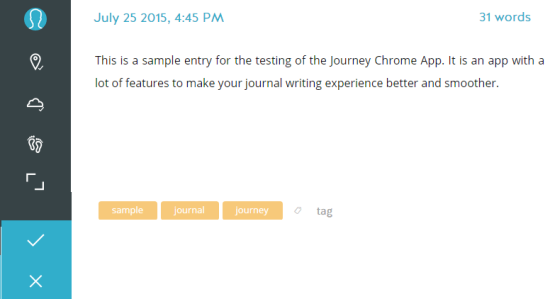
To add your first entry to the journal, click on the + icon at the bottom left corner. It will show you the editor where you have to add the entry. The app adds the date and time automatically and there’s also a word counter. The options for adding location, weather, activity and media are on the left sidebar. The Activity option lets you choose from Stationary, Eating, Walking, Running, etc..

You can also add tags to the entry. To do so, type your custom tags at the bottom and separate them by using the comma. When you are done with the entry, click on the tick mark option to save it. This way, you can add unlimited entries to your journal.
After adding entries to the journal, you can edit, print, and download (in JSON format) them whenever you want. You can do so by going to the main interface of the Journey app.

Options of the Journey Chrome Journal App:
Besides the options related to adding entries to the journal, the app also provides you with various options to manage your journal. These options are: Journey, Calendar, Photos & Videos, Inspiration, Tags, Search, Sync, and Settings.
- Journey: It shows all the entries added by you with most recent entry at the top.
- Calendar: Browse your entries in the calendar view.

- Photos & Videos: Check all the photos and videos added to the app from a single place.
- Inspiration: Get inspirational quotes to add to your entries and make them even more expressive.

- Tags: Get the list of all the tags and click on any of them to see the posts tagged to it.
- Search: Use any term used in any entry as the keyword to search for entries.
- Sync: Initiate the syncing feature between the Chrome and Android app via the Google Drive in-app data.
- Settings: Set passcode to make the app secure and also change the typography if you want.
You may also like: 5 Online Diary Extension for Chrome.
Final Verdict:
Journey is a really awesome Google Chrome journal app. I really loved the app because of three main reasons: Minimalist design, Android app, and offline usage. The app definitely makes journal writing a smooth and amazing experience. It’s a must try app for all those who love to maintain a journal.