Here’s a tutorial in which I will explain how to compress images on iPad. It is a very easy to follow tutorial following which you will be able to compress all your large iPad images within a few seconds. Yes you read it right, you will get all of them in a compressed form within a few seconds.
Before proceeding with this tutorial, you will need two things to get started. The first is an iPad app called PhotoShrinker (get it from the link at the end of this review) and other is iPad (or any iOS device) with iOS 8 or higher. The restriction is because the app required in this tutorial is compatible only iOS 8 or higher powered devices.
If you have these two things, then you are all set for following the tutorial.
Steps to Compress Images on iPad:
Step 1: Launch the PhotoShrinker app on your iPad. The app will show you all the images which are big in size and are taking up unnecessary space on your iPad. You can also see the size of each of the displayed image.
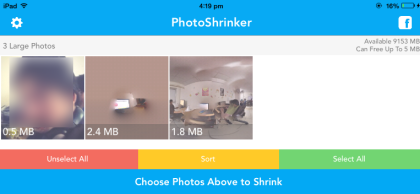
Step 2: Tap on the image(s) which you want to compress. All selected images will be highlighted along with a tick mark on them.
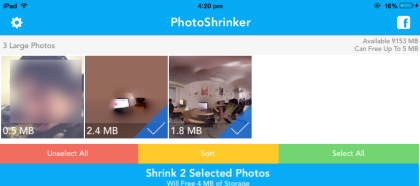
Step 3: Tap on the Blue colored option at bottom of the screen labeled as Shrink xxx Selected Photos. Here, xxx refers to the number of images selected by you.
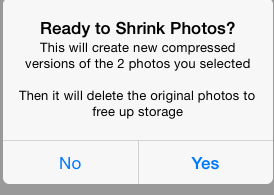
Step 4: You will see pop-up asking for the confirmation to delete images. Tap on Yes and there’s nothing to worry about as all the deleted images are moved to Recently Deleted album of your iPad. You can restore your deleted photos from this within 30 days of deletion.
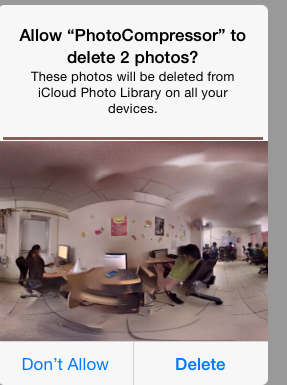
Step 5: The app will compress the photos and ask for the confirmation to delete original pics once again. Grant permission (as I mentioned, you can restore photos within 30 days of deletion).
After this, all the images will be saved to your iPad’s photo album in compressed form. You can see the screenshot below to confirm the change in the size of images selected by me in Step 2. The image on the Left was earlier taking 1.8 MB, and has now been reduced to just 68.1 KB. And the image on the right was earlier taking 2.4MB and is now reduced to 15.1KB only! That is quite amazing.
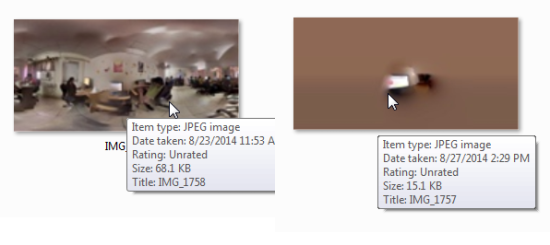
This way, you can see that its very easy to compress images on iPad.
Conclusion:
One of the complaints people regularly have with their iOS devices is that they run out of space, as iOS devices do not support extra storage capacity by using microSD cards. And most the times the space is being used by lots of photos. Now thanks to this app, you can still keep all the photos, but get tons of free space just by compressing the photos. Definitely a must have app for all the iOS users out there.
You may also like: How to Create Animated GIFs from Photos on iPhone.