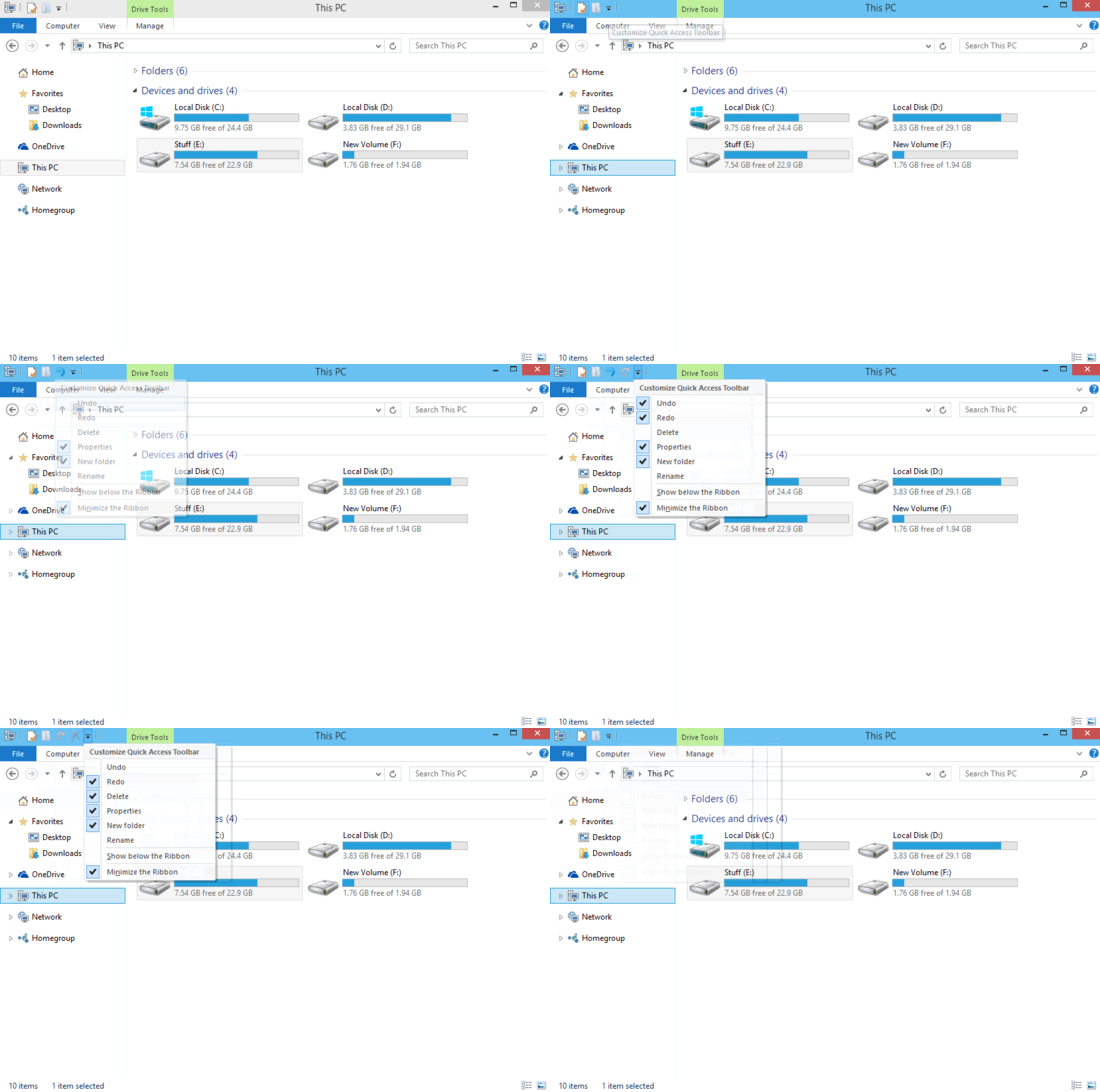
This tutorial explains how to customize quick access toolbar in Windows 10. The quick access toolbar is an incredibly useful feature that gives you one-click access to the most common functions of an application. The quick access toolbar is essentially the supercharged version of your regular Windows title bar. It consists of direct icon based shortcuts (hence the name, quick access) to the most commonly used functions of the application that you’re using and as such, the shortcuts it contains change with the application you’re using. Thus, if you’re using Windows Explorer, the shortcut icons would be different to what they would be if you were to use, say, WordPad. All of these options appear on the left of the title bar of the active application window. Although the quick access toolbar consists of some default icon based shortcuts (undo, redo etc.), it can be easily customized.

Note: As mentioned in the beginning of the article, the icon based direct access shortcuts that you can add to Quick Access Toolbar change dynamically, in accordance with the application that you’re currently using. However, the process to customize the toolbar remains the same. Hence, you can use the steps outlined in this tutorial to customize the quick access toolbar for any application.
How To Customize Quick Access Toolbar In Windows 10?
Customizing Quick Access Toolbar for any application is a piece of cake. Here’s the standard step by step illustrative tutorial (using Windows Explorer as an example) to get you started:
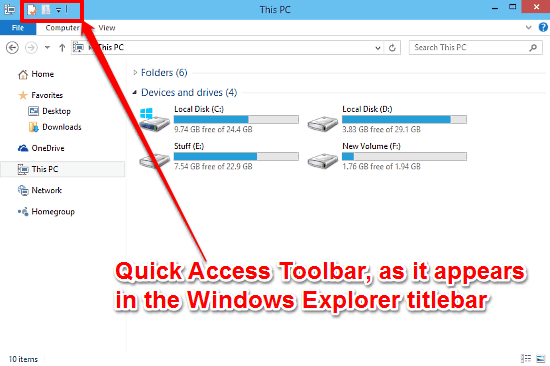
Step 1: Open up the Windows Explorer, and take a look at the window title bar. You should see something like this:

Pretty minimal, right? As illustrated by the above screenshot, the quick access toolbar is pretty unobtrusive, and sits in the left corner of the active application (Windows Explorer, in this case) window’s title bar. As mentioned before, it already consists of some direct shortcut icons, relevant to the active application. The icons are pretty much self explanatory, though you can still hover over them to know what they do.
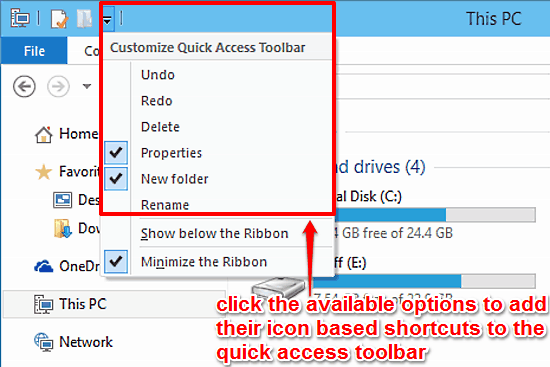
Step 2: Now that you know where this quick access toolbar is, it’s customization time. You can add or remove the most commonly used functions (relevant to the active application) to customize it according to your needs. To do so, simply click the drop down arrow besides the shortcut icons. Here’s a screenshot:

That’s all there’s to it, people! The drop down menu reveals a list of all the available commonly used actions (Undo, Redo, Delete etc.) for the active application. To add an action’s icon based shortcut to the Quick Access Toolbar, simply click on it. The selected actions are indicated by a checkmark icon before them. I’m sure it can’t get any easier than that!
Also See: How To Backup PC Settings To OneDrive In Windows 10?
Conclusion
The Quick Access Toolbar is an extremely nice usability enhancement feature, one that greatly enhances the overall user experience. It’s simple, easy to use and most importantly, non-obtrusive. The fact that it automatically lists the features relevant to the active application makes it even better. Do give it a try, and let me know how you find it, in the comments below.