This tutorial is all about how to organize all links of Slack Channel on an online board. After going through this post, you will be able to easily organize all the links shared on any of your Slack channels on an online board. Sometimes, it might occur to you that you want to find a link which was shared by your teammate on a Slack channel a few days ago. Then the possible solution to find the link among tons of messages and shared files is by looking for it manually. But, scrolling through tons of messages to find a link can be a difficult and time-consuming task.
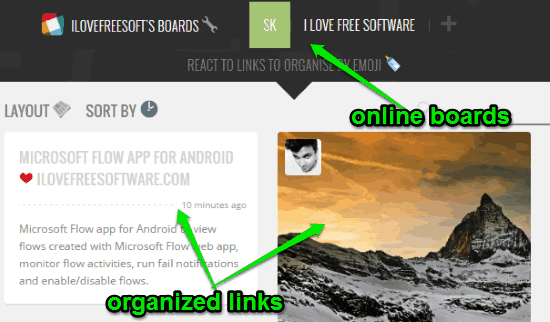
So, today in this tutorial, I will explain a method using which you can automatically organize all the links from any Slack channel on an online board. Doing so, you can easily access the links anytime you want and with ease. For this, I will use a Slack app called “Slinky” which will collect all the links from Slack channels and organize them automatically on an online board.
How to Organize All Links of Slack Channel on an Online Board:
Step 1: To get started, go to the Slinky homepage and then click on the button “Add to Slack”. After that, it will ask you to authorize Slinky for accessing your Slack information.

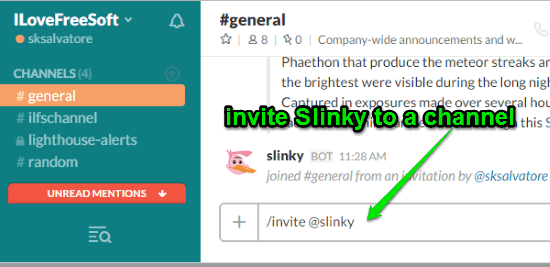
Step 2: Once you do that, the Slinky app will integrate with your Slack account and you can invite it to any channel you want. To invite Slinky to a channel, all you need to do is browse the channel and type “/invite @slinky” in the input field and hit Enter. This will add the app to that particular channel.
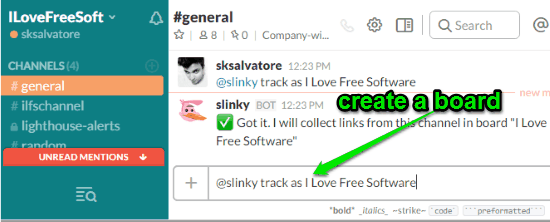
Step 3: After you’re done inviting Slinky to a channel, you need to create a board where all the links of this channel will be organized. For this, simply type “@slinky track as [your board name]” in the input field and press Enter. For example, if you want to create an online board named, “ABC” then you have to type “@slinky track as ABC“. This will automatically create a new online board which will be accessible on the homepage of Slinky.
Step 4: As soon as you create the online board, Slinky will start collecting all the links which are posted by you or any other team members and will organize them automatically on the board. The organized links on the board will be interactive, which means you can browse the links by clicking on them.
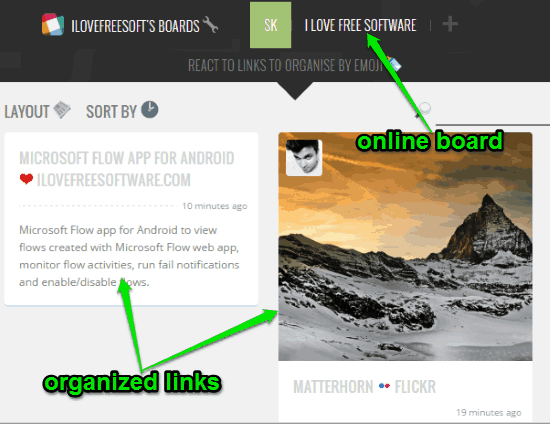
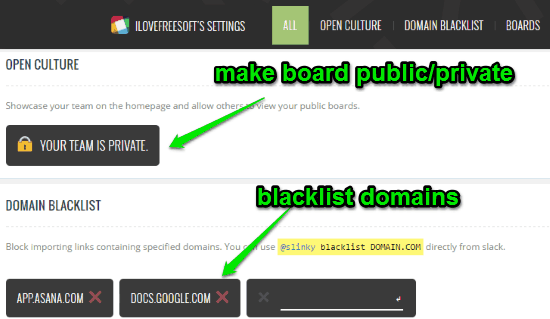
Step 5: Apart from that, you can also customize the board options by clicking on the “Settings” icon adjacent to your team name at the top of Slinky homepage. You can make your boards private or public, and also blacklist domains to block Slinky from importing links of those domains.
My Final Verdict:
This tutorial shows you a simple way for organizing all the shared links from Slack channels on an online board. You can use the Slack app “Slinky” and it will automatically organize the links for you. No more looking for older links manually which were shared by others on your Slack channel.