Boomla is a free online website builder with custom domain and static website hosting. Here this is like any website builders that we have covered earlier but with different functionality. Here it lets you quickly create a website for any purpose and host it. The free plan offers you 1 GB of storage which is good for small sites. It offers you a lot of templates to choose from the library. Not only this but it even allows you to clone an existing Boomla website to create a new one. The drag and drop editor makes website editing simpler and you get a code browser here as well that you can use to edit configuration or JavaScript files.
The best part of Boomla according to me is the static site hosting. You can just create a blank website and then upload the static assets there and host your website. It is as simple as that. The templates that it has are very professional and you can just select any and start editing in any way you want. Since you are also getting an IDE here so you can also edit the code directly in the source code files or you can use the visual website builder. However, you cannot export the code of your website here. You can only build the website here on the web UI and then host it.
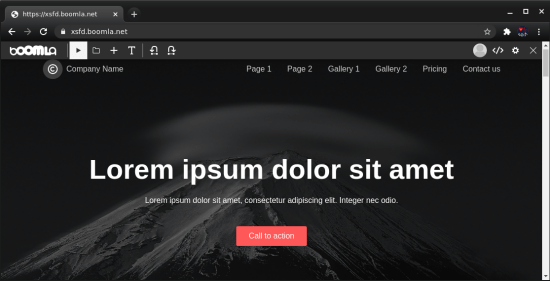
How to Host a Website with Boomla Website Builder?
Getting started with Boomla is very simple. You only have to create a free account on the main homepage. After creating the account and verifying your email address, you will reach the main UI where you can create your first website. The main UI is blank initially and looks like this.
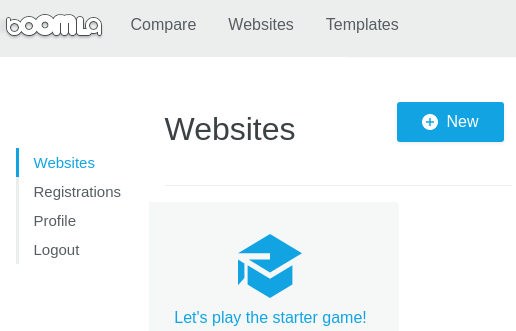
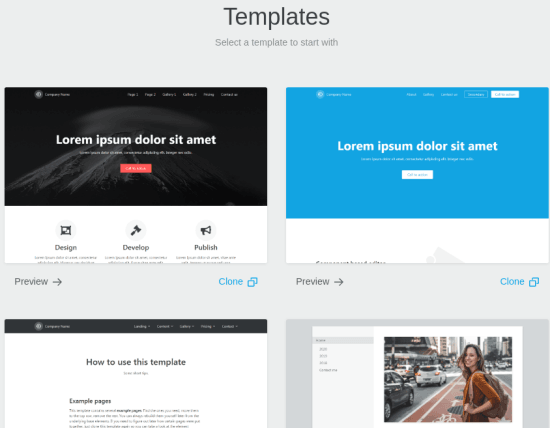
Now, you just click on the Create button and then start the website creation process. The very first thing that you have to do is select a template for your website. It has some very nice ready-mad templates that you will like. You can use the website template for blog or a simple landing page. Do not worry, all the templates that it shows are fully customizable.
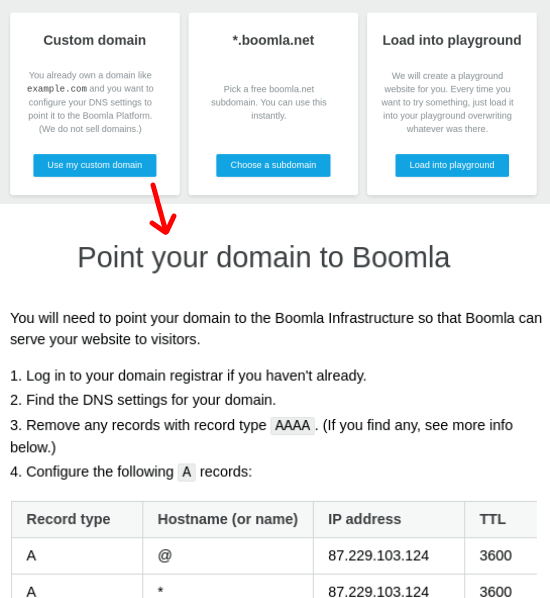
After selecting the template, you have to select the domain on which your website will be hosted. Here it gives you an option to host the website on your own domain that you own. Or, you can host the website on a free subdomain that it offers you in the free plan. If you choose your own domain then you will have to verify that first.
Now, your website will be created and you can access that on the URL that it creates for you. Initially, you will see the template with the default values. But you can change that by making edits in the design.

To edit the template, you can open that in the visual editor. You will be provided all the necessary options and tool that you will need to edit the website. You are free to edit anything that you want on the main homepage. Here you can edit text in the various sections of the website template and save the changes. You can simply edit what you want and then save it, and it will show you the final website immediately.
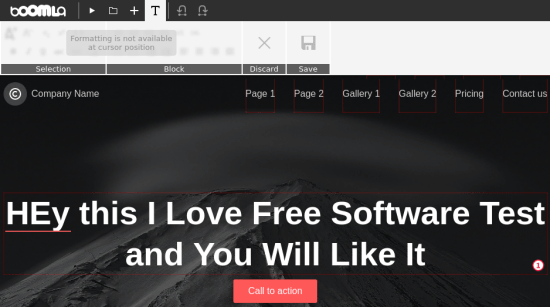
In this way, you can use Boomla to host a website by selecting a template.
How to Host a Static Site with Boomla Website Builder?
In the above section, I showed how to use Boomla to create a website from a template. If you have static website then you can also host that with Boomla with ease. Apart from Boomla, you can also host a static website on Firebase as well but on Boomla it is much simpler. You just have to get the static site assets ready for that.
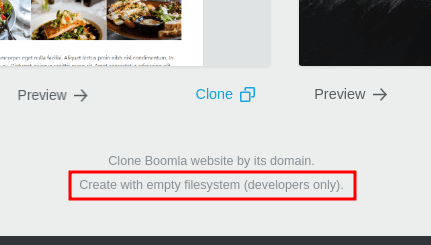
The process of hosting a static site on Boomla is pretty much same as that of creating and hosting a website from a template. You just follow the same process but on the template selection screen, you have to scroll down and select “Create with empty filesystem” option. You use this option to create a static website and the go tough the domain selection process. Domain selection is also same in static site hosting.
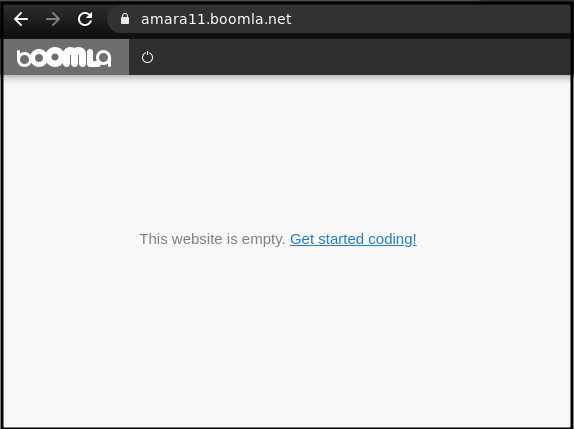
Now you will have a blank website that looks like the following. There are no elements or anything there. This is because, in static site, you have to manually add the assets.
To add content, you for the website code by opening in the IDE. The Boomla IDE is not configured for static sites automatically, so you will have to manually enable that. But it will ask for it automatically once you enter the code base. The initial code of the blank website looks like this.

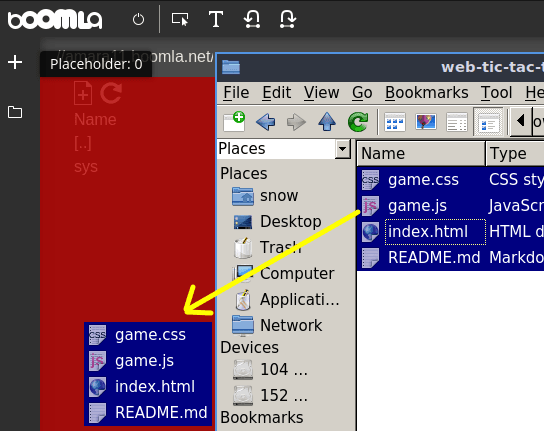
Now, it is time to upload the static website. You just get the static assets ready to upload. Use the drag drop operations to upload the assets and then wait for the files to upload. When all the files are uploaded then you have to do one more thing, that is setting routes. The site will not go online just after uploading the static assets. You will have to do some configuration in the website route in order to make it work.
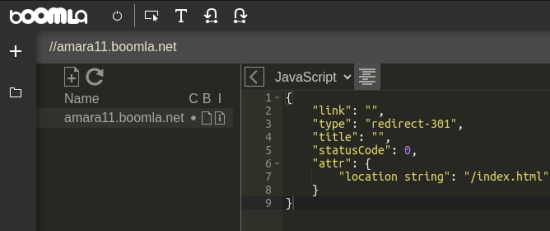
Go to the route of the website and edit the root file. The file has the URL of the website. You can just open it in the editor and fill all the fields with the appropriate data. Basically, you have to specify the redirect to the branch that and you write the following code. Make sure that the files looks like as shown in the screenshot.
{
"link": "",
"type": "redirect-301",
"title": "",
"statusCode": 0,
"attr": {
"location string": "/index.html"
}
}
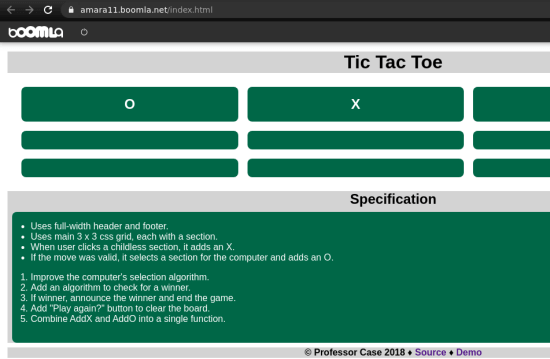
After you make the above changes, your website will be available on the specified domain. You can just check it there and then do whatever you want. In my case, I hosted a simple static website which is nothing but a TIC TAC TOE game. You can see that in the screenshot below.
In this way, you can use Boomla to host static website for free. The process is very simple and you can get your website up and running in just a few minutes. You can also see the whole process of static website on Boomla Docs itself with video demonstration.
Closing thoughts:
There are many website builders out there and I can safely say that Boomla is by far the best one I have ever used. Although, it doesn’t allow you to export the code but still good as you can host a professional website where. You can add your own domain and for free. It is perfect for hosting websites for individuals or small business who can’t afford the other solutions.