Making videos or movies using a software on your computer might not sound like a new concept anymore. There are literally hundreds of apps, web-apps, software which let you create videos or movies now days. The issue is the output. A lot of apps and tools promise you great quality output but they come with a price. The free version of the same app or tool, does not have ample features to give you a good quality output. This is where you can fall back on MiniTool MovieMaker for Windows 10.
MiniTool MovieMaker is a free software for Windows 10, which lets you create amazing quality movies using photos, videos, and music from your device. You can add various effects, transitions, text, etc. to your video and can also download it to your device in various formats. The effects and transitions provided are of high quality and you can even use pre made video templates which have amazing video quality.
Let’s look at how this movie making software works.
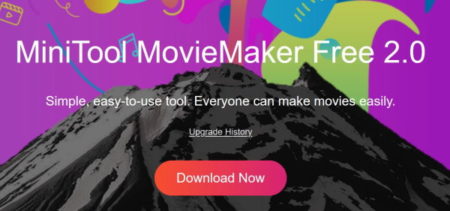
First of all use the link given at the end of this article to go to the page of this software download. The page will look like the screenshot above. Click on the download now button given on the page.
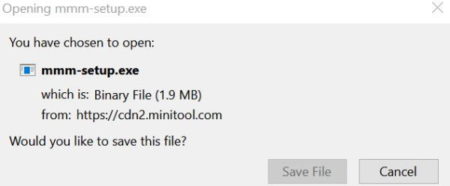
This will bring up the file download window, as shown in the screenshot above. Save the file to your computer and run the exe file once it is downloaded.
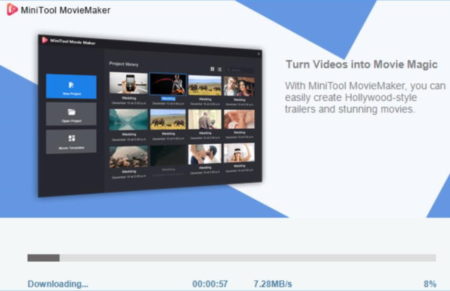
As soon as you run the file it will first download the software and then start installing it on your computer. It will take a few minutes to install. Once it is installed it will open up in full screen mode and will look like the screenshot below.
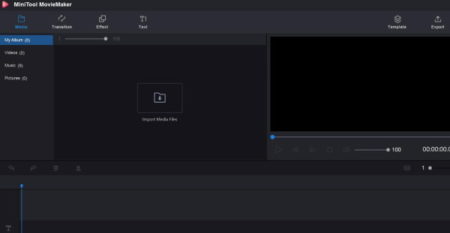
You can upload your media files which can be images or videos using the “import media files” icon given in the center of the screen. As can be seen in the screenshot below.
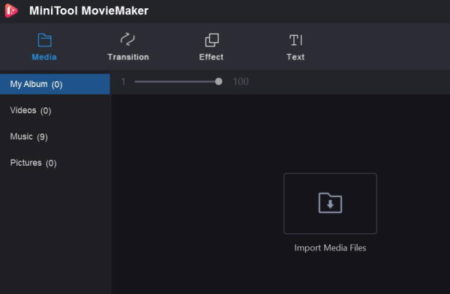
You will also see the editing options on the top and all the uploaded media on the left side. The editing options at the top are media, transitions, effect, and text.
Media
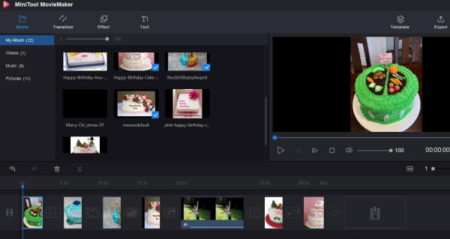
The media tab is the one selected by default. In this section you will see a menu on the left side with 4 things my album, videos, music, and pictures. All your uploaded pictures will show up in the pictures section, and all the video will show up under videos section. The music section has preloaded music files which you can use or you can also import media files of your choice. The my album section will show all the media including pictures, music, and videos.
This section is only used for uploading pictures and videos. Then we move on to the next section.
Transitions
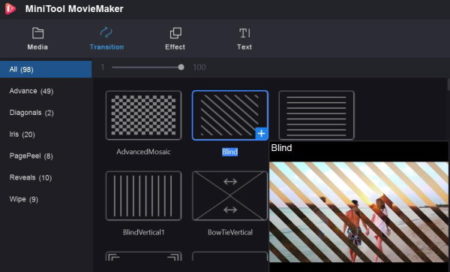
In this section you can add transitions between photos and videos. This section can be seen in the screenshot above. Transitions are the kind of effects shown when switching from one picture to another. The transitions are placed under different categories. You can look under categories or look under all tab to see all the transition effects. The transition effects will be seen on the right side of the categories. When you hover your mouse over a transition name, a small pop up preview of the effect will open up on the side. You can look at this transition effect, and then choose if you want to use it in your video.
To apply the transitions, you have to first select the photo or video after which you want this transition to be added. After selecting the picture, click on the plus icon given in the bottom right corner of the transition. This will add the transition effect after that particular photo.
Effect
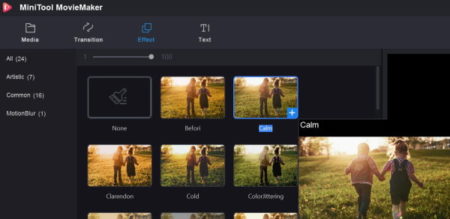
In this section it will add various effects to your photos. This section can be seen in the screenshot above. The effects are also placed in different categories on the left side of the page. You can browse the categories for effects which you want to apply to your pictures or videos. When you hover your mouse over a picture, a pop up preview window will open up where you can see the effect and how it will look. Based on this you can decide whether you want to use this effect on your picture.
Applying the effect is simple, just select the photo or video you want to apply the effect on. Then click the plus icon shown at the bottom right corner of the effect. This will add the effect to the photo chosen.
Text
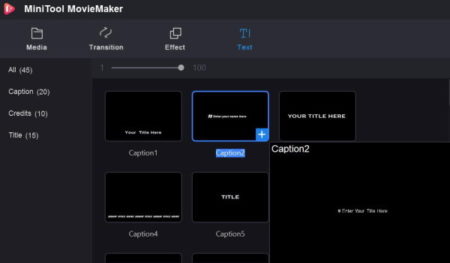
In this section you can add text to your photo or video. This section can be seen in the above screenshot. The text addition is divided into 3 categories caption, credits, and title. You can browse the section which you want to apply to your photo. Like if you want to add a title to your photo then you can browse that particular section. All the title text styles will be shown on the right side of the categories. When you hover your mouse over a title style, a pop up window will open up showing how the title will look once placed on your photo.
To apply the text to your photo or video, select the photo or video first. Then click on the text style that you want to apply to it. A text editing window will open on the right side of the page. In this editor you can add text that you want to add and you can also choose a font, font size, font alignment, etc.
Once you are through all these sections, you can see your video in the right side video player window. You can also make the video player window full screen to get a better view of the video created.
At the bottom of the interface of this software you will see a timeline of all the photo and videos added. It also shows the time each photo is displayed for. You can view the order of photos and what all effects and transitions have been applied in here too.
Let’s look at the top right side of the page. You will see two options templates and export.
Templates
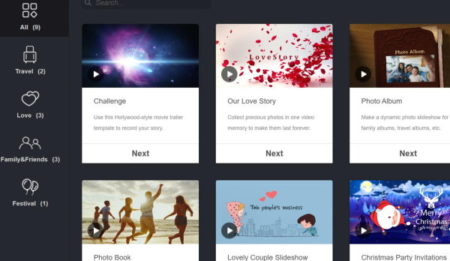
In this section you will find some pre made video templates which you can use. As you see in the screenshot above, the pre made video templates are on your screen with thumbnails and a small description. These templates have also been put into categories like travel, love, festival, and family & friends. When you choose a template it will open up the browse window asking you to choose photos that you would like to include in the video. Choose a photo and the video will open up as seen in the screenshot below.
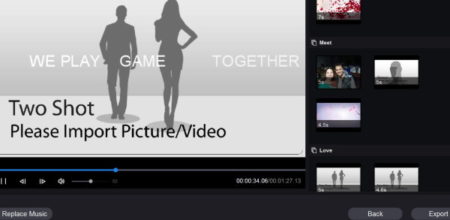
The video will play on the left side of the screen and the editor can be seen on the right side. The editor window has various sections of the video displayed. You have to add photos or videos in the empty slides shown in the editor. Once added you can preview the video by playing it. If you are happy with the video you can go ahead and export it.
Export
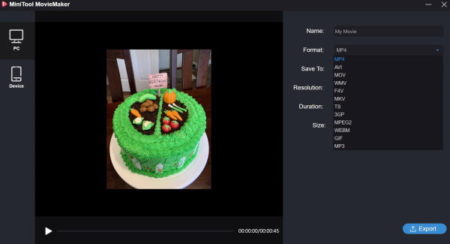
When you click the export button on the top right side, it will open up a window like the one shown above. You can export the video for PC or mobile device. In both the cases, the downloadable format will be different.
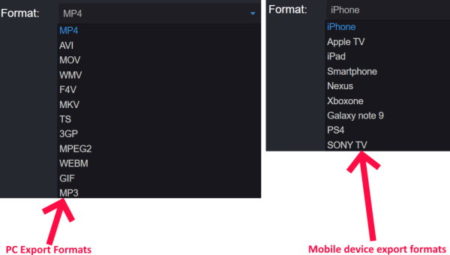
The downloadable formats for both PC and mobile device are shown in the above screenshot. You can choose the one which you need.

Once you have chosen a format to download, there are some other things you need to check out. Like in the very first field you will be asked to give a name to the video you created before you download it. After format you can also change the location to save this video on your device. In resolution section also you can choose a quality to be downloaded among good, better, and best.
Features of this Movie Maker Software:
- Free to download and use.
- Make videos using photos and videos.
- Use pre made video templates.
- Add transitions.
- Add effects.
- Add text as title, caption, or credits.
- Add music.
- Download video for PC or Mobile devices.
- Choose download resolution of video.
Overview:
MiniTool MovieMaker is a really good tool to create videos from photos and videos. The effects, transitions offered make the video look amazing. I specially like the pre made video templates which have placeholders for photos or videos. You can just add images to these video templates and come up with amazing videos. The video can easily be downloaded for any device in various formats. The best part is that it is free to use. So go ahead and create amazing videos to share with your friends and family.
Check MiniTool MovieMaker free for Windows 10 here.