This tutorial explains how to view devices connected to your WiFi network on Android. By using the method explained in this tutorial, you’ll be able to see all devices connected to your WiFi network. The best part of the method demonstrated in this tutorial is that you will also be able to view other details of the connected devices like their IP address, MAC address, etc. These details will help you in distinguishing between the authorized or unauthorized devices connected to your WiFi network.
For this, I will use an Android application named WiFi Inspector. This Android app will list the devices connected to your WiFi network and it also gives you the option to mark the connected devices as recognized ones. This option will help you to easily spot the unrecognized devices connected to your WiFi.
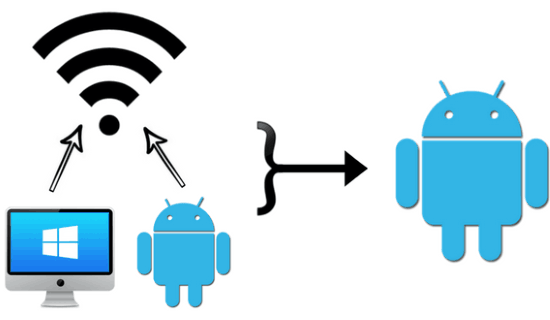
We have also covered various other Android apps to schedule turn on/off WiFi, check the signal strength of WiFi and many others. You can use the method explained in this tutorial to monitor WiFi devices and spot the unrecognized devices. You can then immediately remove the unauthorized device from the network by other means like blocking the device MAC address, create a MAC filter for your WiFi network, etc.
How to view devices connected to your WiFi network on Android:
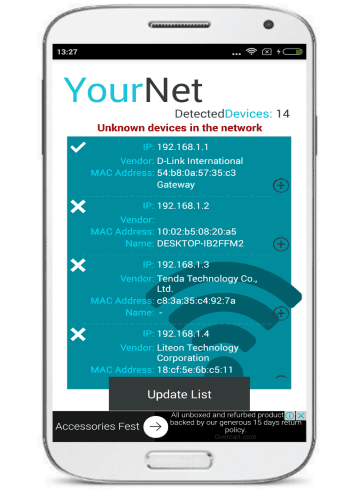
As I mentioned, I will use WiFi Inspector Android app to view connected devices on a WiFi network. This Android app comes with a simplistic interface and you can very easily view connected devices with just a few taps. You just have to scan the WiFi network (to which your device is connected) with the help of this free WiFi connected device finder app and then it will display a list of connected devices, as you can see in the screenshot below. You can then analyze the details of the connected devices and identify which one is authorized or not.
Let’s see the steps to find unauthorized or unrecognized devices on your WiFi network using this free Android app:
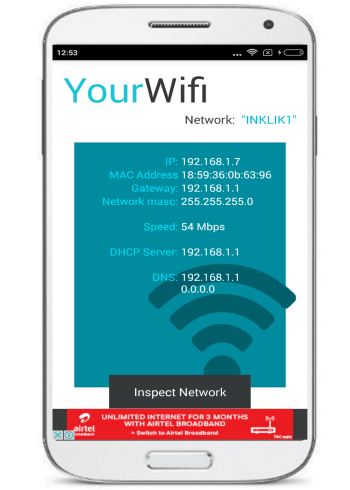
Step 1: Download WiFi Inspector from the link provided at the end of this tutorial. After it’s installed, open it, and you’ll see its interface as shown in the screenshot below. It displays some basic info about your WiFi like IP address, MAC Address, Gateway, etc on its main screen itself. You have to click on the Inspect Network button to begin the scanning process.
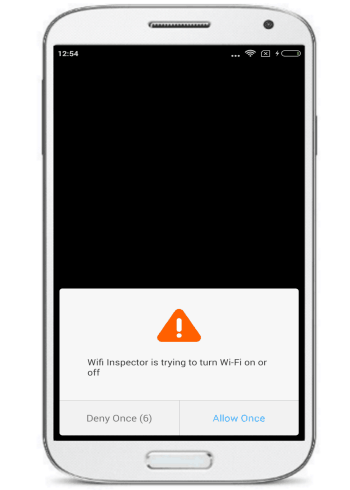
Step 2: After you will click on “Inspect Network” button, you will have to allow WiFi Inspector to turn on and off your device WiFi, as you can see in the screenshot below. This will appear quite a few times and you will have to allow it every time to turn on and off your device WiFi. After that, it will show a list of connected devices as shown in the first screenshot of this Android app.
From the list of connected devices, you will also be able to view their MAC address, IP address, Vendor, and Name. You can use this info to identify authorized devices and add them as trusted or known devices. To add a device as known, tap on the “+” button that appears on each device info. After that, you can specify a device name and then click on “Is known” button to add that device as known or trusted.
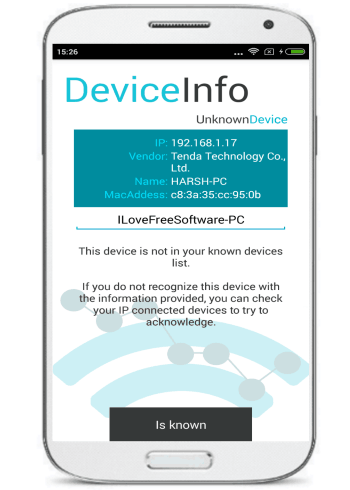
After you have added a device as trusted, you’ll see a tick mark against it in the connected device list. An unauthorized device will have a wrong mark against it. So after you marked all of your devices as trusted, you can easily spot the unauthorized ones very quickly and take appropriate action against them.
Verdict:
In this tutorial, I explained how to view devices connected to your WiFi network on Android. By using the method in this tutorial, you can very easily monitor connected devices to your WiFi network from your Android device and you can take appropriate action if you find some unidentified devices on time.