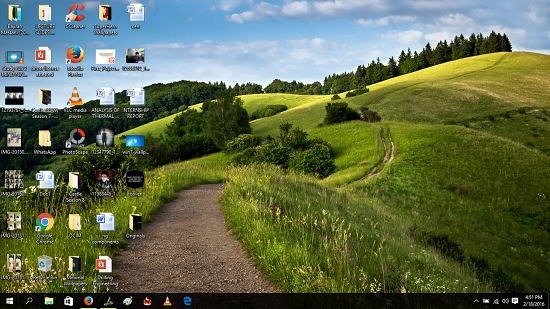
This tutorial explains how to make Windows 10 look like Ubuntu.
Windows vs. Linux – the topic has been a hot one for debate. There are avid supporters of each group. What if I told you that there is a way to get the Ubuntu Linux goodness onto Windows 10, would you believe me? Would it not be the best of all worlds?
Whether you are someone stuck with Windows 10 who craves for the look and feel of Ubuntu or just someone who wants to get the feel of Ubuntu on their Windows 10 installation, this guide will definitely cater to all of your needs. This guide makes use of a simple skinpack which installs itself on your machine and makes your Windows 10 PC look like Ubuntu. The difficulty rating for this guide? Ruggedly simple, with awesome results!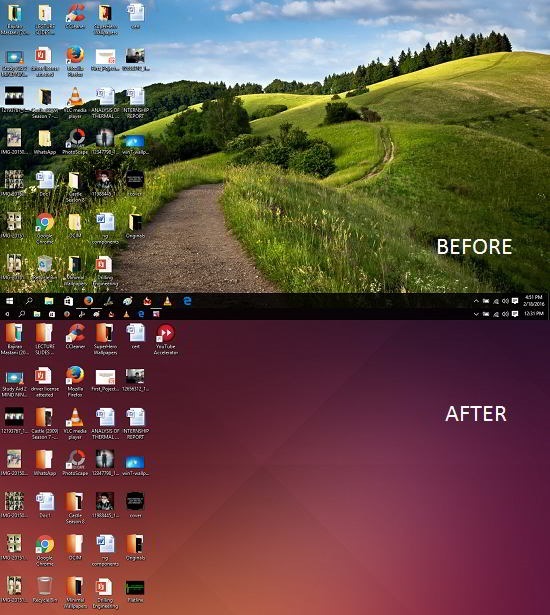
How to Make Windows 10 Look Like Ubuntu:
Step 1: Head over to this link and download the file on your system. The file is a setup of the format .exe and is password protected. Fret not, simply enter the password skinpacks.com when prompted for one when you install the file.
Step 2: Creating a system restore point is absolutely essential before you choose to continue the installation of the skin. To do so, fore up the Start menu, and type Restore. 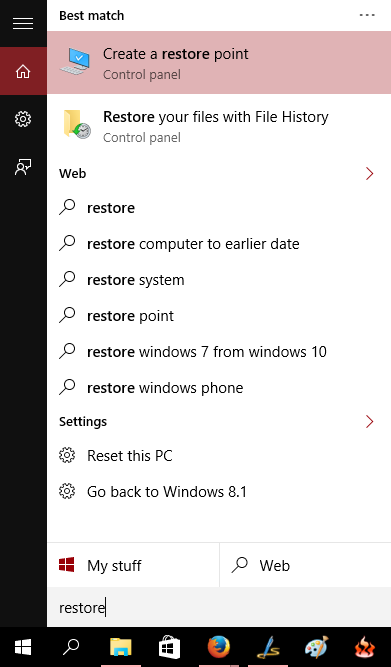 Click on the option Create a Restore Point which shows up.In the window which pops up, click on Create button at the bottom of the pop up interface.
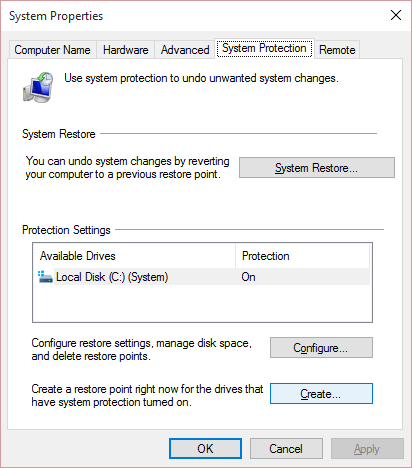
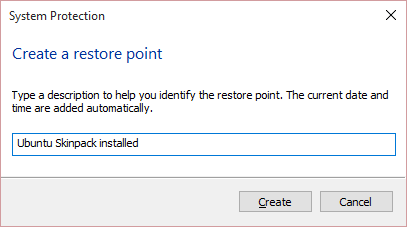 And finally click on Create. The restore point will now be in the creation process.
  It will take a few minutes to be set up.
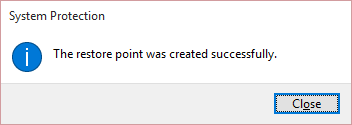
A confirmation prompt pops up once the restore point is created.
That’s it, you are now safe if anything goes wrong while you install Ubuntu Skin Pack on Windows 10. Time to proceed to the next step.
Step 3: Go to the download directory and double click on the file that you have downloaded from Step 1. When you double click on the installer, the .sfx file will prompt you for a password. Just enter skinpacks.com as the password and your .sfx file will be extracted to a simpler, much easier to install .exe file. You can see this .exe file highlighted in the screenshot attached below. Just double click on the SkinPack Ubuntu 3.0 exe file and wait for the installer to open up. Accept the terms in the license agreement and click on Next. Wait for the installer to complete the installation. The installation process is shown below.
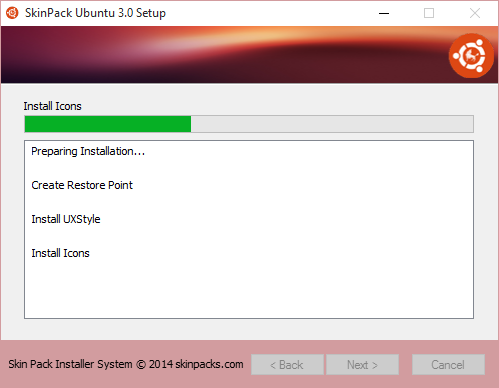
Step 4: When the installer has finished installing the skinpack, you will see a major difference in the look and feel of your Windows 10 machine. You can see this in the screenshot below. That’s it! You have successfully installed the Ubuntu skin on your Windows 10 machine!
Also see: How to Make Windows 10 look like Mac.
The result
If you have successfully followed the guide, you will have transformed the Windows 10 machine’s look and feel from stock to completely Ubuntu-esque!
The verdict
Just like it’s always nice to have a change of scenery once in a while, it’s always a welcome change to change the look and feel of your system from time to time. The method above is easy, intuitive and completely changes the look and feel of your Windows 10 machine.
Do let me know of your results in the comments below!
