This tutorial explains how to delete all System Restore points for a disk partition in Windows 10. Today’s Operating Systems (regardless of the vendor) are pretty robust and stable software, and coupled with the powerful hardware they run on, can take care of all your productivity needs. However, no matter how good a software is, there’s always a possibility of a random system crash messing things up. For those times, modern day Operating Systems include tools that can (mostly) get a crashed PC back on track in no time.
If we take the super awesome Windows 10 as am example, its built-in System Restore mojo helps you get your messed up computer working again, by reverting it to one of its older stable configurations, saved as Restore Points.
In one of my previous write ups, I talked about specifying the disk (partition) space to be used for System Restore. But what if that space is taken up by restore points you no longer need? In such an event, the OS won’t be able to create and save newer restore points. Quite a problem, don’t you think?
Hardly, my friend, as you can easily erase all the saved system restore points to create space for new ones. Psyched? Let’s find out how you can delete all system restore points for a disk partition in Windows 10.

How To Delete All System Restore Points For A Disk Partition In Windows 10?
Getting rid of all the currently saved system restore points on a per partition basis in Windows 10 is extremely simple. Let’s see how it’s done, courtesy of a detailed illustrative tutorial:
Step 1: Open up This PC (or My Computer, if you still prefer to call it by its older moniker). Head over to the Ribbon Menu, and click on System Properties, under the Computer tab.

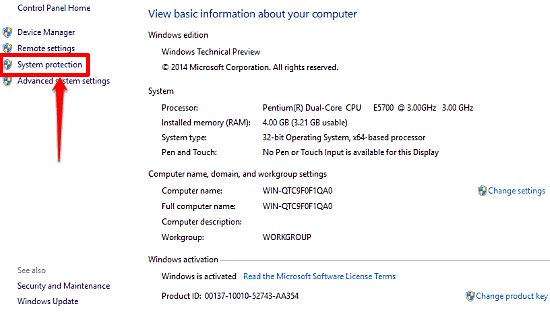
Step 2: When the system information pane comes up, move over to its left corner, and click on System Protection.

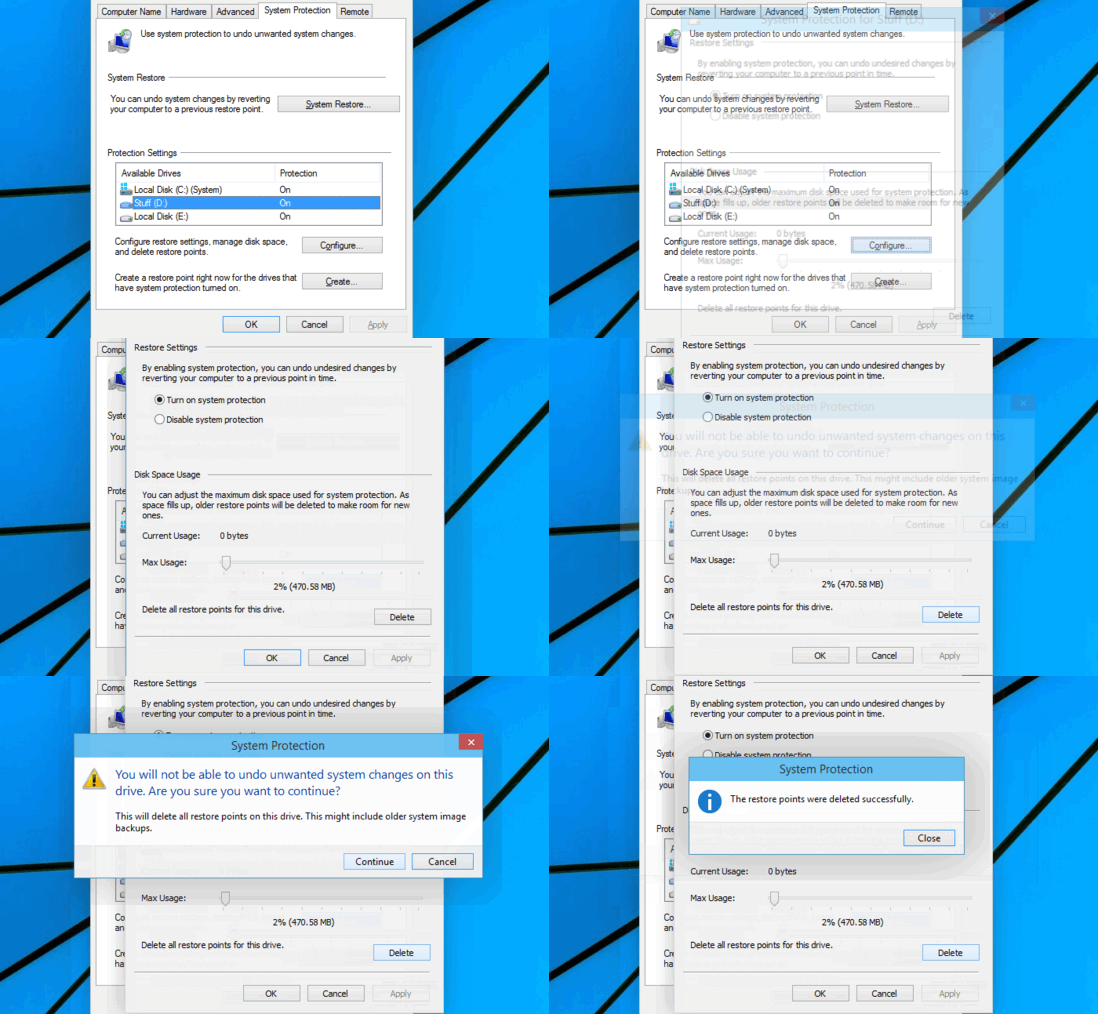
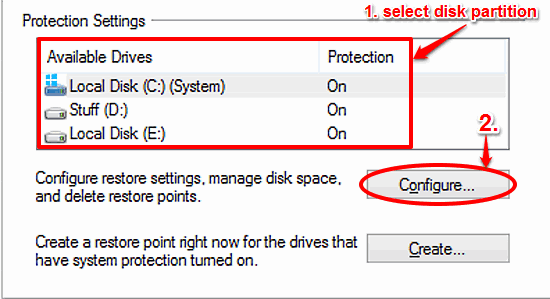
Step 3: You should be now looking at the System Properties dialog box, with the System Protection tab already in focus. Under the Protection Settings sub-heading, click on the disk partition whose restore points you need to delete, and click the Configure button.

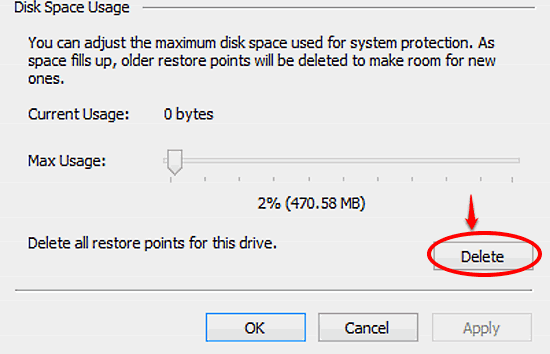
Step 4: Another settings window will now come up, having system restore options specific to the selected disk partition. Simply click the Delete button against the Delete all restore points for this drive option under the Disk Space Usage section. After confirming your action, hit Apply > OK. Check out the screenshot:

That’s it. All the current saved restore points for the selected disk partition would be deleted. Easy-peasy!
See Also: Turn On System Restore For Individual Disk Partitions In Windows 10
Closing Words
System Restore is a hugely useful native feature of Windows and can be extremely crucial in getting a crashed PC working again. However, the automatic restore points that it creates can quickly fill up the allocated disk space, leaving no room for the newer restore points. Good thing is that you can easily purge them as explained above. Try it out and let me know what you think in the comments below.