DigiKam is a free cross platform photo management software. List of image manipulation tools that can be found in DigiKam make it a very useful tool for everyone who has large collections, even those that have RAW images, which is one of the strengths of this free photo management software. RAW image conversion, tagging, search and filtering, editing are just some of the things that you get with DigiKam.
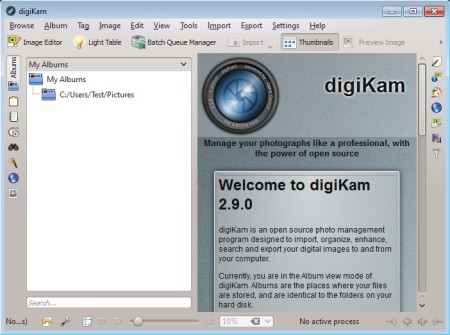
Even though DigiKam was created as a part of KDE, which is a very popular desktop environment for Linux, it can also be used on Windows and BSD, screenshot below is from Windows. Interface is tightly packed with tools all around it.
Similar software: MyJaPhoo, Picasa, SunLit Photo Manager, JPhoto Studio.
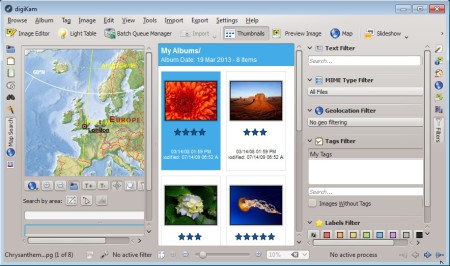
On each side you can see tabs strung alongside the edges. With the help of those the user can change what’s gonna be shown. For example on the image above we have the photo collection directories on the left and welcome screen on the right. Image down below on the other hand shows us geotagging filtering and text filtering tools, left and right of the image preview window in the middle.
We activated those tools by clicking on their tab, notice that Map Search and Filters tabs are selected. A lot more tools are also available at the top. It would take a long time to go over all of them, so we’re just gonna list some of the more interesting ones:
- Image converter – convert RAW, JPEG, PNG, BMP, GIF photos
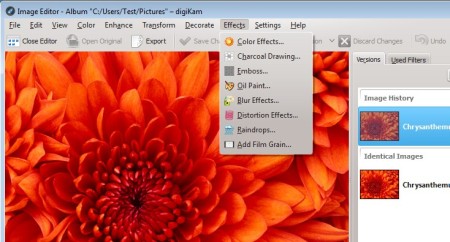
- Image editor – crop, resize, decorate, effects, enhance, color, etc.
- Geotagger – geotag images using an actual globe – see image above
- Metadata editor – change image EXIF, IPTC, XMP information
- RAW image processing – import and process images directly from cameras
- Duplicate image finder – find duplicate photos with sketches, metadata
- Panorama creator – stitch images together and create panoramas
How to manage images and photos with DigiKam: free photo management software
Welcome wizard waits for you when you first run DigiKam. This is where you’ll be able to setup basic things like the location of your image collection directory. Once that you do that, images should appear in the central column, if not, you can add them manually by clicking on Import >> Add Images.
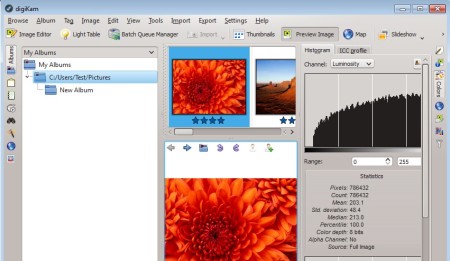
Use the tabs on the sides of the image in order to turn on various different tools, like color adjustment tool that we’ve activated in the right column. If you need more, click Tools >> Image Editor.
There you should be able to find everything that you need for some simple image editing. When you’re done, save your work, return back to the main window. Click Export to directly export images to one of numerous online photo sharing services and social networks like Facebook.
Conclusion
DigiKam offers a lot of useful tools, and it should be in the arsenal of every photographer. Linux users are probably already familiar with this awesome photo management software. Windows version is a bit bulkier, around 200MB. You might also notice that it’s not quite as responsive, perhaps that was just the case with our test machine. Give it a try yourself and see how it goes.


