As part of our day to day activities (both work related and leisurely), we often have to present ideas to others. These ideas could be regarding anything, from the next science project to the upcoming quarter’s business strategy. And nothing works better for presenting ideas efficiently than, well, presentations (also known as slideshows). Now, there are a lot of presentation creator applications out there (including the grand daddy of them all, Microsoft PowerPoint), but what if you need to quickly create a presentation, and that too on a system that doesn’t have any presentation maker application installed on it?
Not an issue, as that’s where Slides is going to help you out. A simple yet feature laden free online presentation maker service, Slides lets you create awesome looking presentations from the convenience of your browser. You can add anything, from images to speaker notes to even code snippets to your presentations. The created presentations can be then easily presented, directly in the browser. Let’s take a finer look.

How To Use This Free Online Presentation Maker Service?
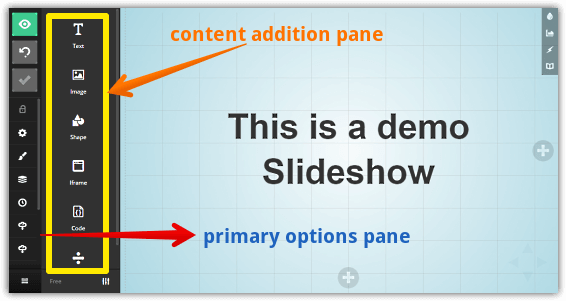
Step 1: Each presentation that you create in Slides is called a deck, and the free level account gives you 250 MB of free space to store your created slideshows. As is the case with most web services, you need to create a free account before using Slides. You can directly sign up using your Facebook or Google account credentials. Once logged in, you’re directed to Slides’ editor UI. Here’s how it looks like:

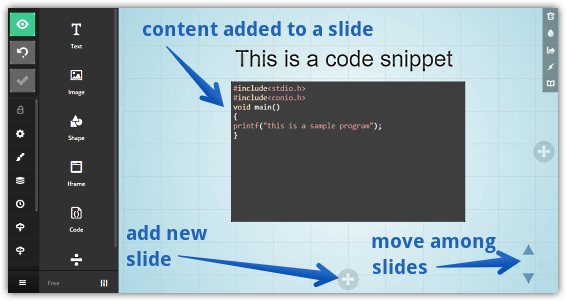
Pretty awesome, right? The editor has two parallel vertical settings/options bars on the left. The primary options bar can be used to access settings, choose a background template, rearrange slides etc., whereas the secondary bar lets you add content to the active slide. You can add anything from text to images to code snippets, via their respective options. The right column is where you add new slides to the deck, and edit their contents. Notice the small vertical bar on the top right corner, which can be used to specify options such as background image/color, as well as speaker notes.
Step 2: To add something to a slide, simply click on the desired element from the secondary bar, and add it. The added elements are automatically snapped into position with respect to each other on the slide, thanks to the grid layout. Based on the item added to a slide, you can configure different options for it (e.g. font size and alignment for textual items, and image size for pictures). Once you’ve added the contents to a slide, click the “+” button to add a new slide. At this point, you can also select the slide template from the given choices. All the changes you make are saved to your Slides account in real-time.

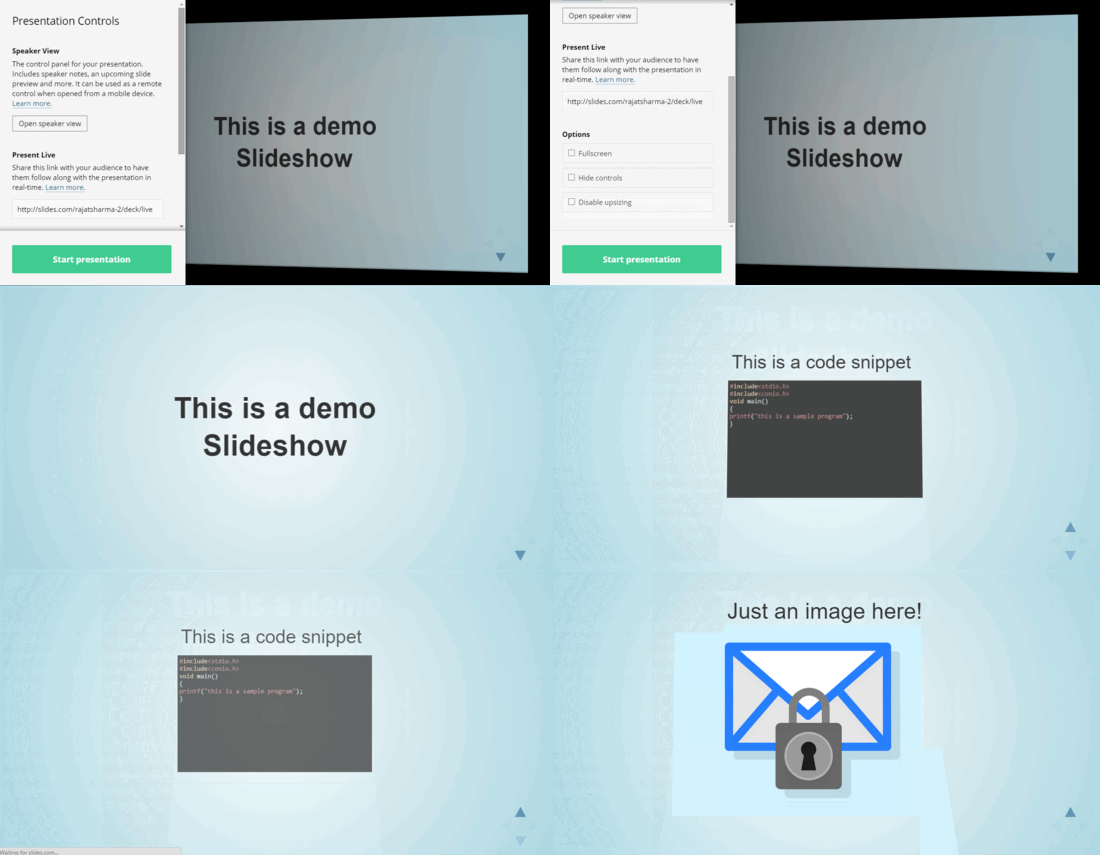
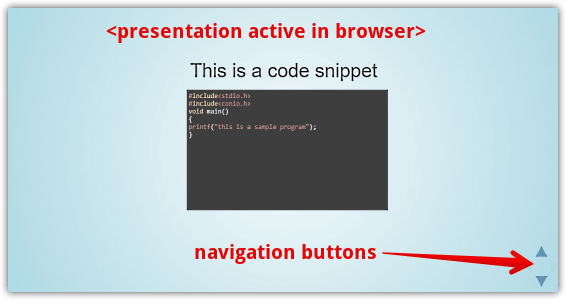
Step 3: When you’re done creating your presentation, it’ll be saved as a deck under your Slides profile. From here, you can simply click on the Present button to show the presentation directly in the browser. The sharing option lets you share the created slideshow with others. Check the screenshot below:

You Might Like: Online Presentation Maker To Create Stunning Presentations And Deliver Online: Prezi
Closing Thoughts
Slides is a pretty incredible free presentation creator service that lets you make great looking presentations in no time. And the fact that it runs directly from the browser, without requiring any extra installations or anything, makes things even better. Give it a shot, and holler off your thoughts in the comments below.