ThunderFox ScreeN Recorder is a free screen capture software to automatically capture desktop screenshots at regular intervals. Just start the software, and it will start capturing the screenshots of desktop (or whichever program you are using).
Now, there are many such automatic screen capture software, but what sets ThunderFox ScreeN Recorder apart is that the screenshots are captured very quickly. In fact, at the slowest speed, it captures 10 screenshots per second! (and can go up to 100 screenshots per second). So, once you view the screenshots, it will be like watching a video recording of your desktop, instead of watching screenshots.
This feature can come handy in many situations, like, you want to record video chats at regular intervals, want to capture screenshots of some movie that you are playing, or stuff like that. But this too fast speed also makes this software useless for situations, like employee monitoring, parental control, etc., because you do not need screenshots at such short interval in that. For such scenarios, you are better off using software like this and this one that regularly take screenshots, but at a much slower frequency.
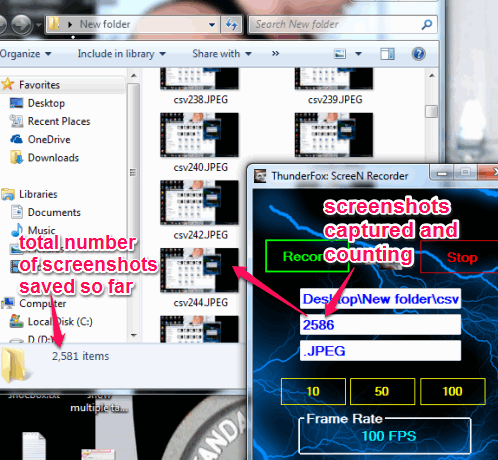
Screenshot above shows screenshots captured using its auto screen recorder mode.
How To Use This Free Screenshot Capture Tool?
Grab the homepage link available at the end of this review. On its homepage, multiple other tools will be available. You need to find and click on the Download button of ThunderFox.
This lightweight screenshot capture tool is less than 2 MB in size. It is a portable tool and will run without installation. Once you have downloaded its application file, execute it to open its main interface.
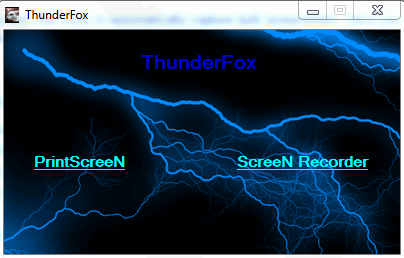
Main interface of this tool provides two options: ScreeN Recorder and PrintScreeN.
ScreeN Recorder Option:
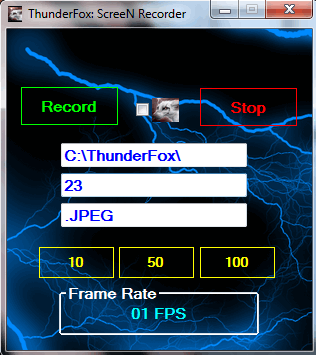
This is the most important option that helps to automatically capture screenshots. Before starting the record mode, you need setup a couple of things. You can choose any available frame frequency preset (10, 50, and 100) and copy paste the destination location for storing the screenshots.
Once you have done this, use Record button, and screenshots will start capturing automatically and continuously. You have to use Stop button whenever you want to end auto screen capture mode.
PrintScreeN Option:
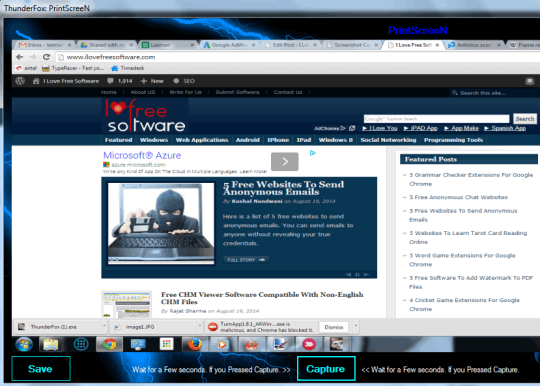
ThunderFox ScreeN Recorder also lets you capture full desktop screen manually and helps to save that snapshot as jpg image. You need to use PrintScreeN option. After this, use CAPTURE button to capture full desktop screen. With a few seconds delay, it will capture the screenshot and show you in its window. From that window, you can save the screenshot to required destination location as jpeg image.
Although this is a very simple feature, but it is better than default PrintScreen option. You don’t have to use any standalone image viewer to save captured screenshot.
Conclusion:
ThunderFox ScreeN Capture brings an impressive feature that it can continuously capture screenshots one after another. I wish it let users set custom time interval to capture screenshots or set total number of screenshots. Other than that, it works fine.


